.jpg)
.jpg)
.jpg)
| 유나 크로포드 | |||
|---|---|---|---|
.png) |
Class VII: Special Operations (Tennis Club) | ||
| An energetic girl with a strong sense of justice and a love for her hometown of Crossbell. | |||
| Prejudiced Had a chip on her shoulder toward the empire when she first arrived, but her time spent with its people changed her mind. | |||
| Saved Felt powerless when she couldn't save her siblings and admitted that she was taking her frustrations out on their savior, Rean. | |||
| Shy Girl Wants to thank Rean for saving her brother and sister, but every time she tries, she gets too embarrassed and snaps instead. | |||
| Police Academy After protesting Lloyd's wanted status, her school credits were taken away. Claire advised she come to the branch campus. | |||
유나 크로포드: 두 판 사이의 차이
kiseki
다른 명령
잔글 문자열 찾아 바꾸기 - "(Ishmelga)(?!([\S\s](?!<gallery>))*<\/gallery>)(?!.+\.(png)|(jpg)|(jpeg)|(PNG)|(JPG)|(JPEG))" 문자열을 "이슈멜가" 문자열로 |
잔글 문자열 찾아 바꾸기 - "(Matteus Vander)(?!([\S\s](?!<gallery>))*<\/gallery>)(?!.+\.(png)|(jpg)|(jpeg)|(PNG)|(JPG)|(JPEG))" 문자열을 "마테우스 반다르" 문자열로 |
||
| 101번째 줄: | 101번째 줄: | ||
Juna temporarily travels to Crossbell to help with the ousting of the Imperial Defence Force, helping the SSS reach the upper levels of the [[Orchis Tower]] by crashing a stolen Zauber Soldat through the window. She escorts civilians down and out of the battle. | Juna temporarily travels to Crossbell to help with the ousting of the Imperial Defence Force, helping the SSS reach the upper levels of the [[Orchis Tower]] by crashing a stolen Zauber Soldat through the window. She escorts civilians down and out of the battle. | ||
In her first main story appearance, Juna accompanies Rean with the rest of new Class VII to Ymir where Claire had invited them. There they are tested by [[ | In her first main story appearance, Juna accompanies Rean with the rest of new Class VII to Ymir where Claire had invited them. There they are tested by [[마테우스 반다르]] and Claire to see if they are strong enough for the important mission of finding the missing Prince. They successfully prove themselves after Altina works with Juna to get past Claire. | ||
Juna joins Rean in Mishelam where they hunt for the [[Sonorous Seashell]]. The group encounters Mischneider, and locate the pieces of the 'Treasure of M' that grant them access to the Castle of Mirrors. Juna tries to get through to Mischneider about the true feelings of 밋시, and in the end he self detonates. Inside, Juna encounters a [[simulacrum]] of herself and 이슈멜가 Rean on the top floor. | Juna joins Rean in Mishelam where they hunt for the [[Sonorous Seashell]]. The group encounters Mischneider, and locate the pieces of the 'Treasure of M' that grant them access to the Castle of Mirrors. Juna tries to get through to Mischneider about the true feelings of 밋시, and in the end he self detonates. Inside, Juna encounters a [[simulacrum]] of herself and 이슈멜가 Rean on the top floor. | ||
2024년 3월 25일 (월) 11:46 판
유나 크로포드 (Juna Crawford, ユウナ・クロフォード) is a student at the Thors Branch Campus, and a major character in the latter half of the Erebonia arc and 영웅전설 시작의 궤적, as well as the temporary protagonist of 영웅전설 섬의 궤적 IV until 린 슈바르처's rescue.
Profile
Appearance
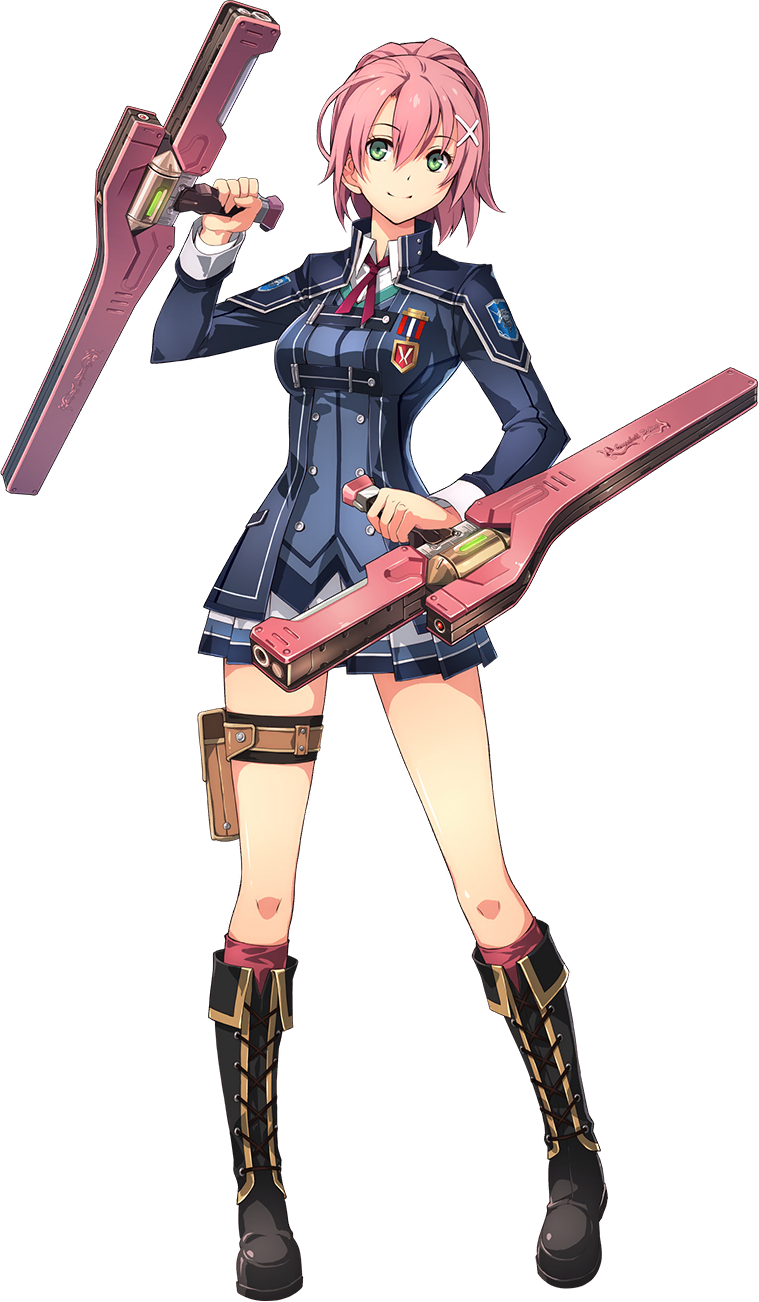
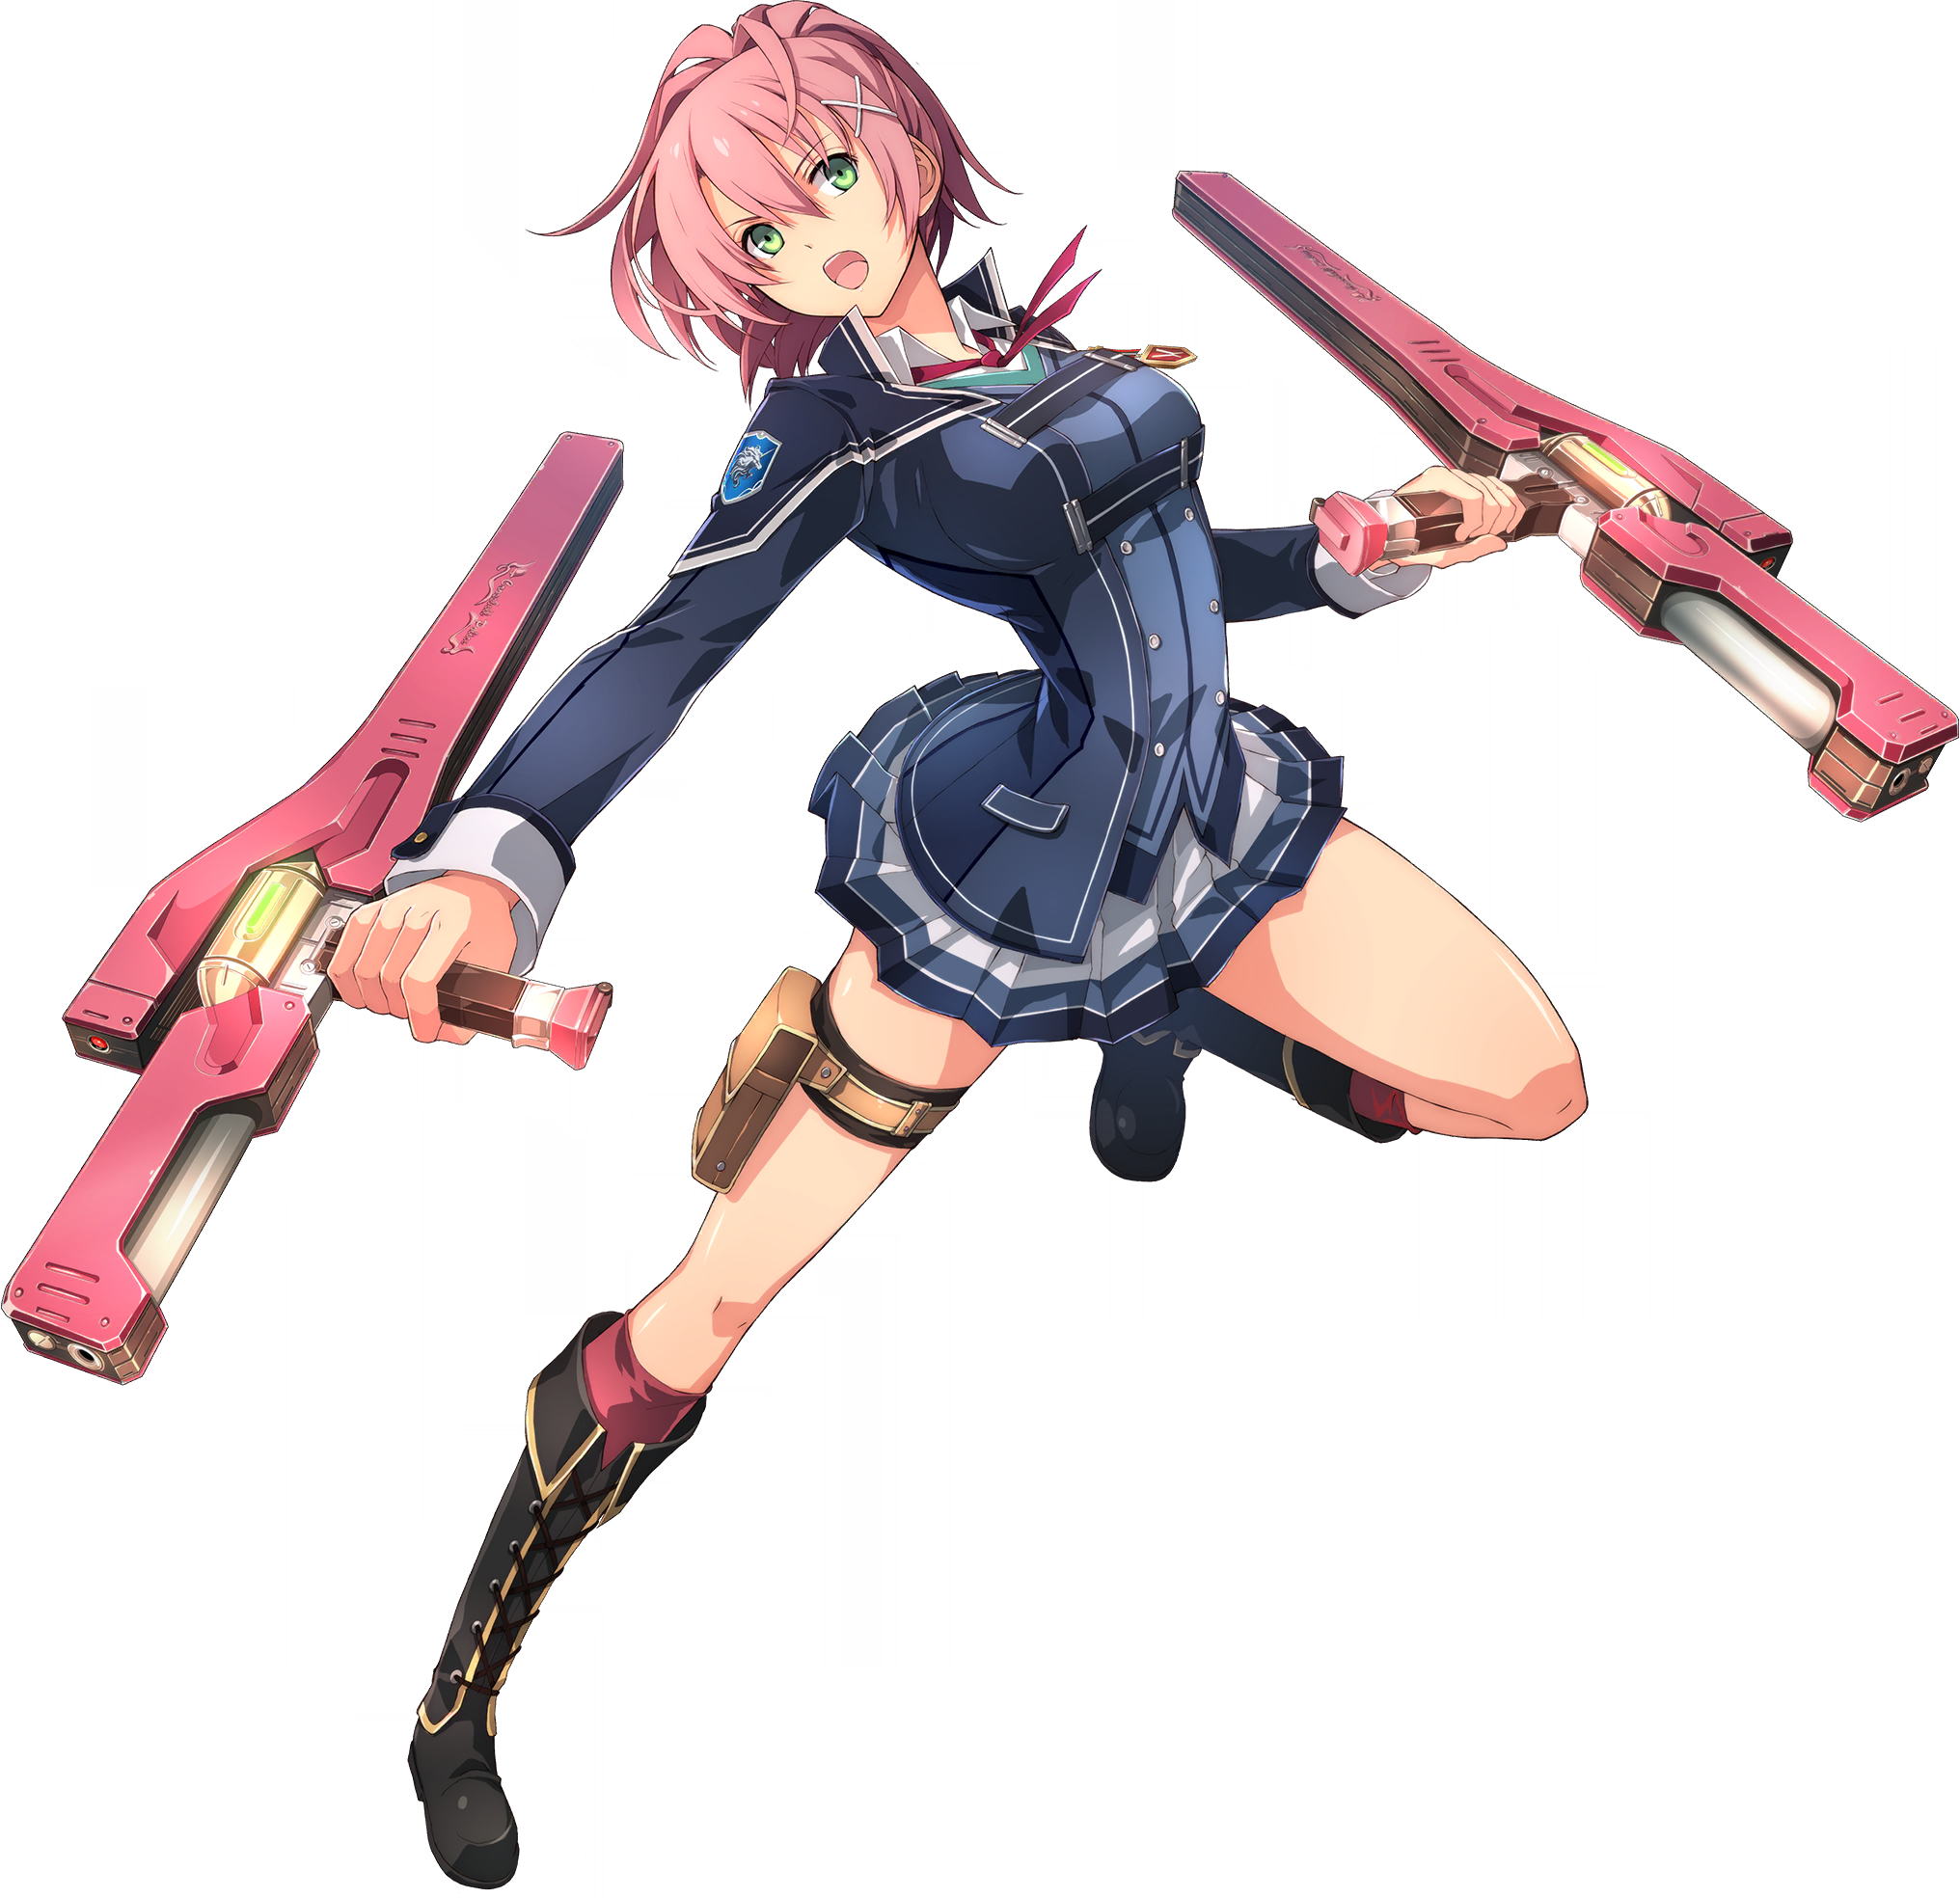
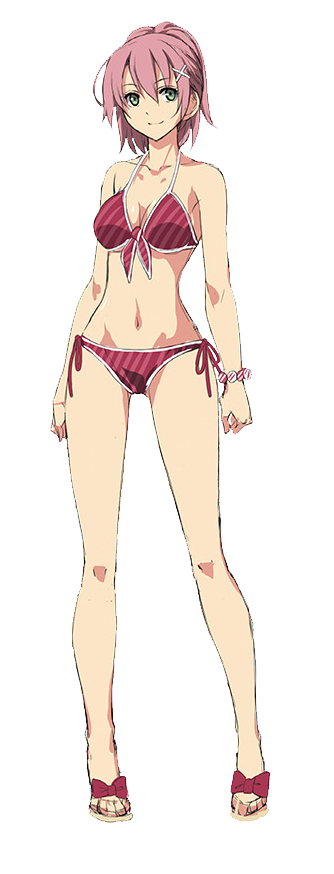
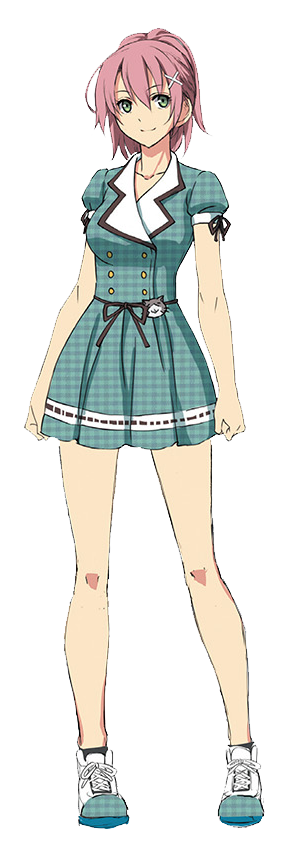
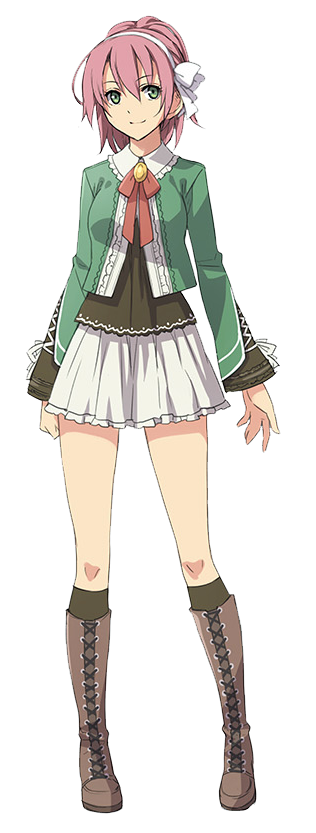
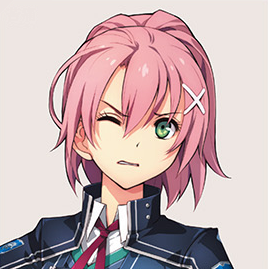
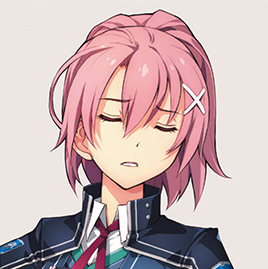
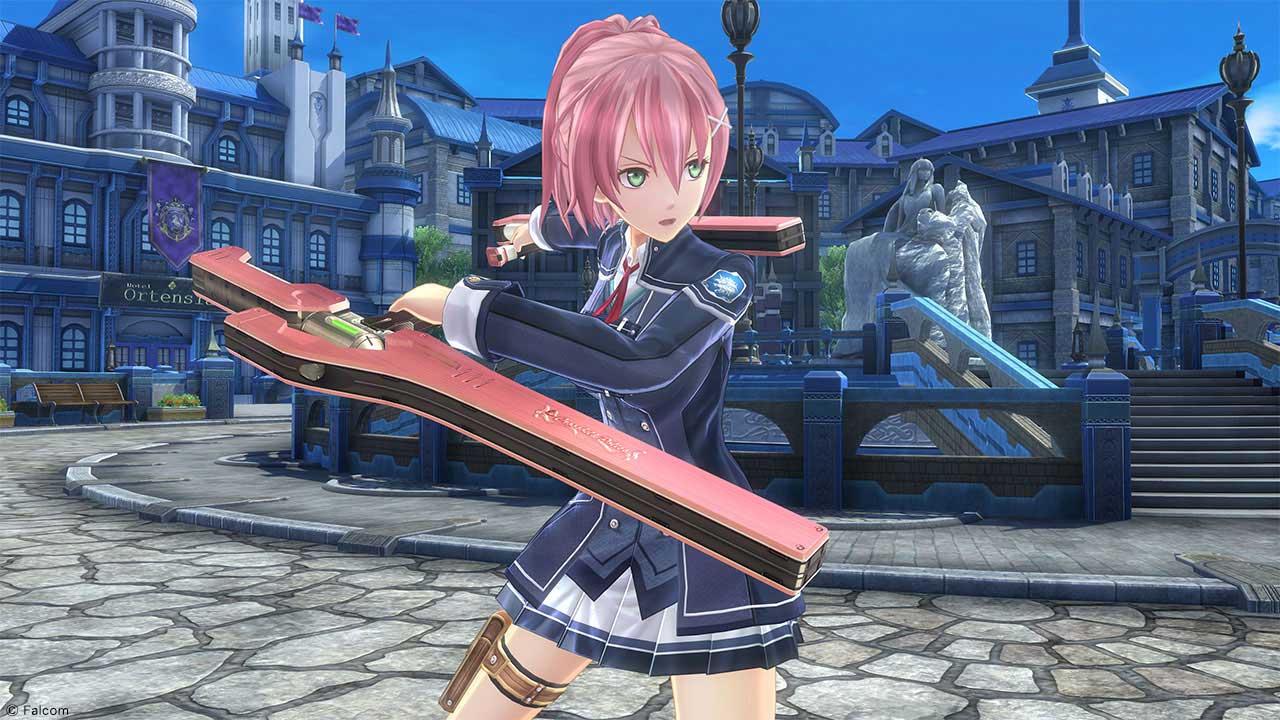
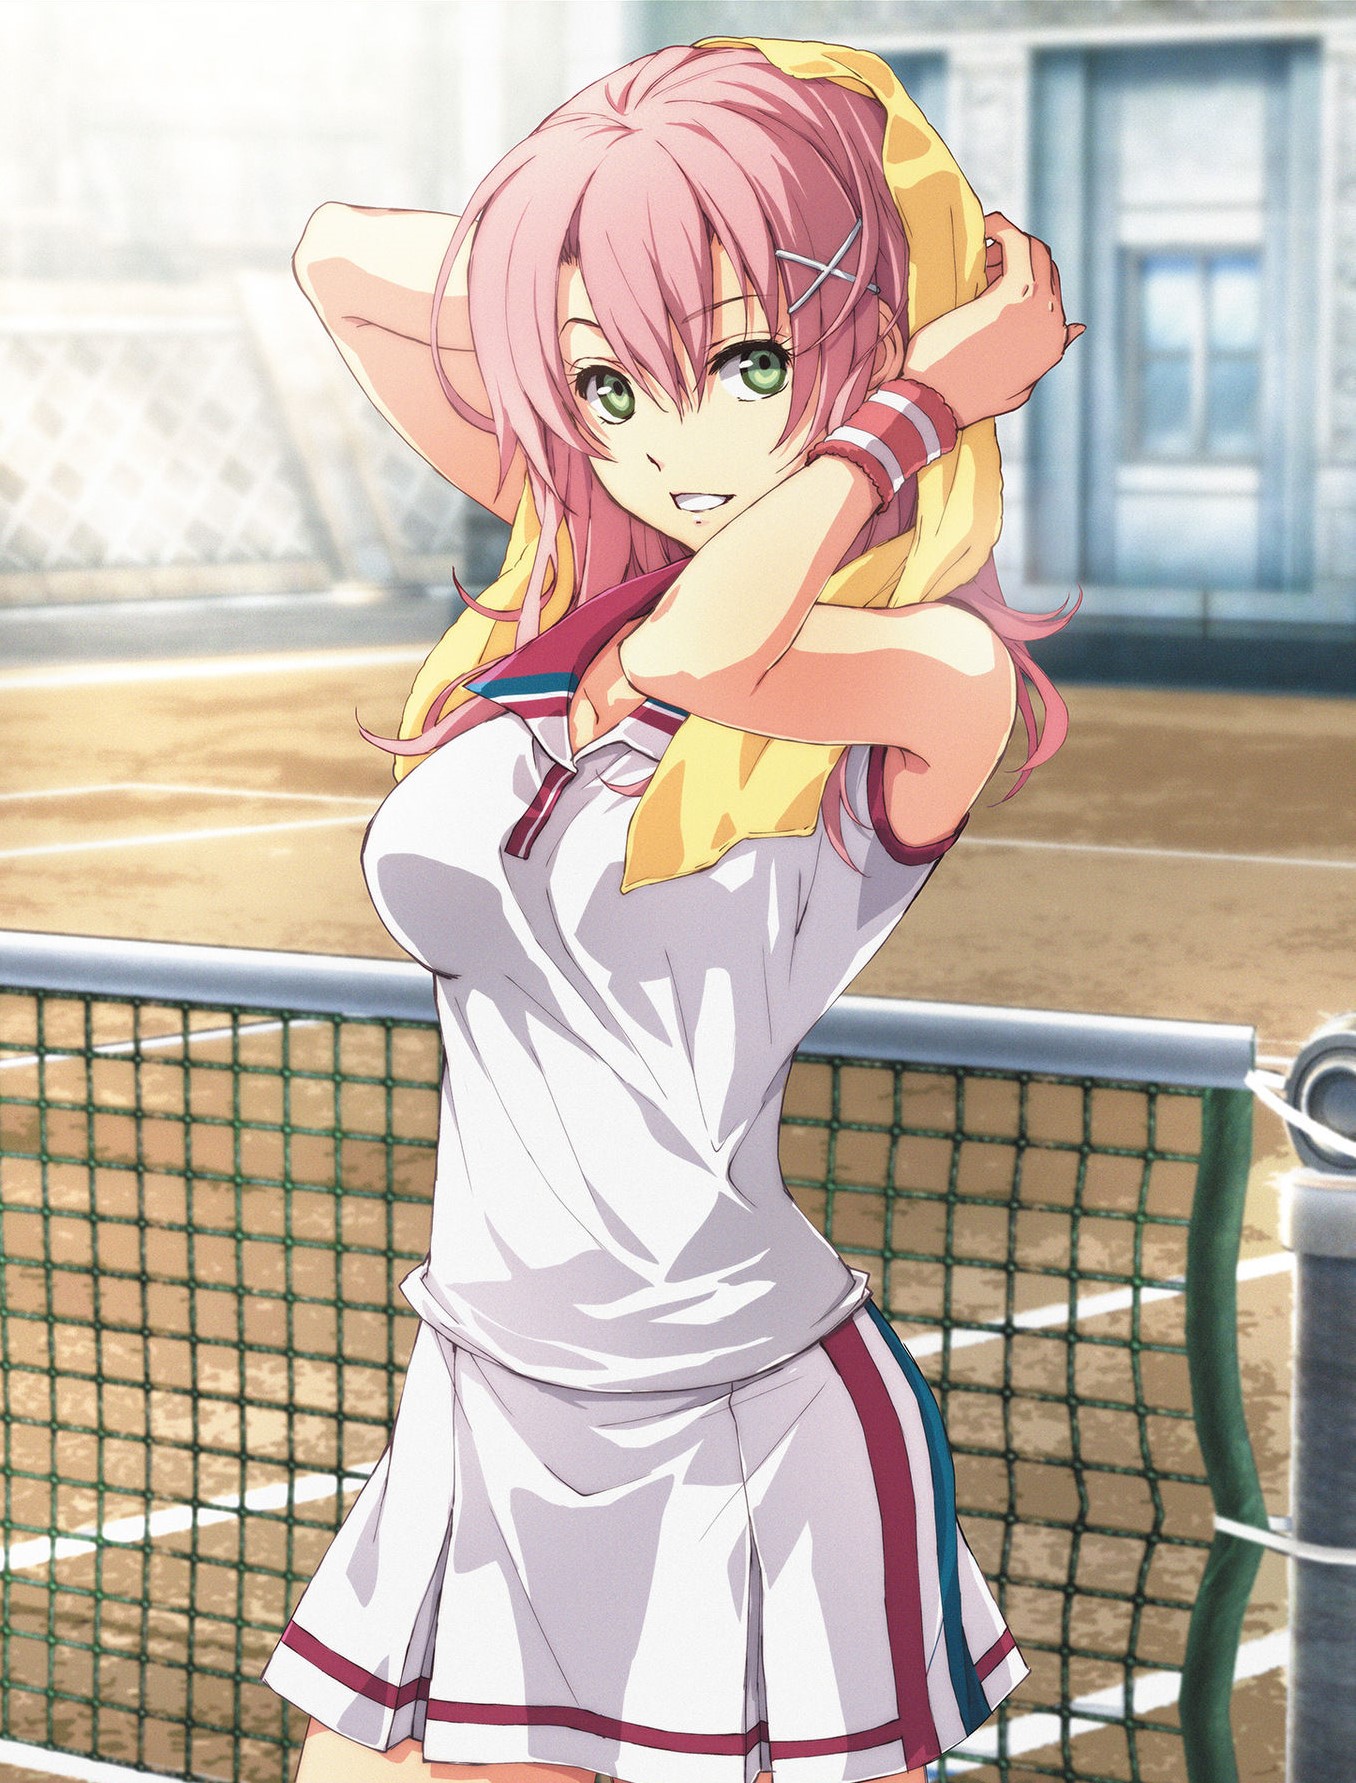
Juna is a young woman with pink pink hair and green eyes, bearing a strong familial resemblance to her mother and siblings in the 크로포드 가족. As a student of the branch campus, Juna wears the standard uniform of a blue blazer, waistcoat and skirt, with an accompanying white skit and red ribbon tie. She also wears knee high laced boots and red socks, with an ammunition pouch strapped around her thigh.
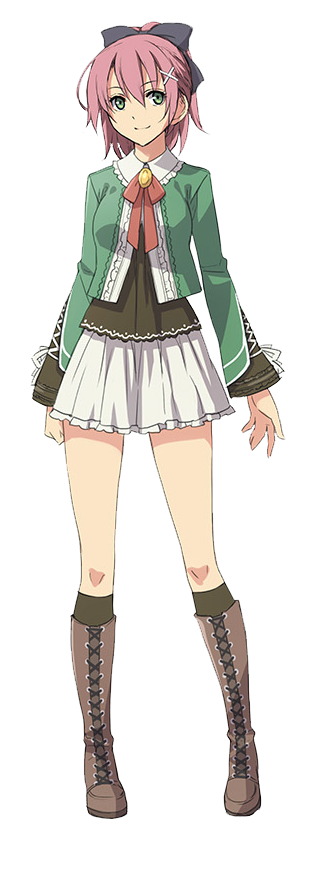
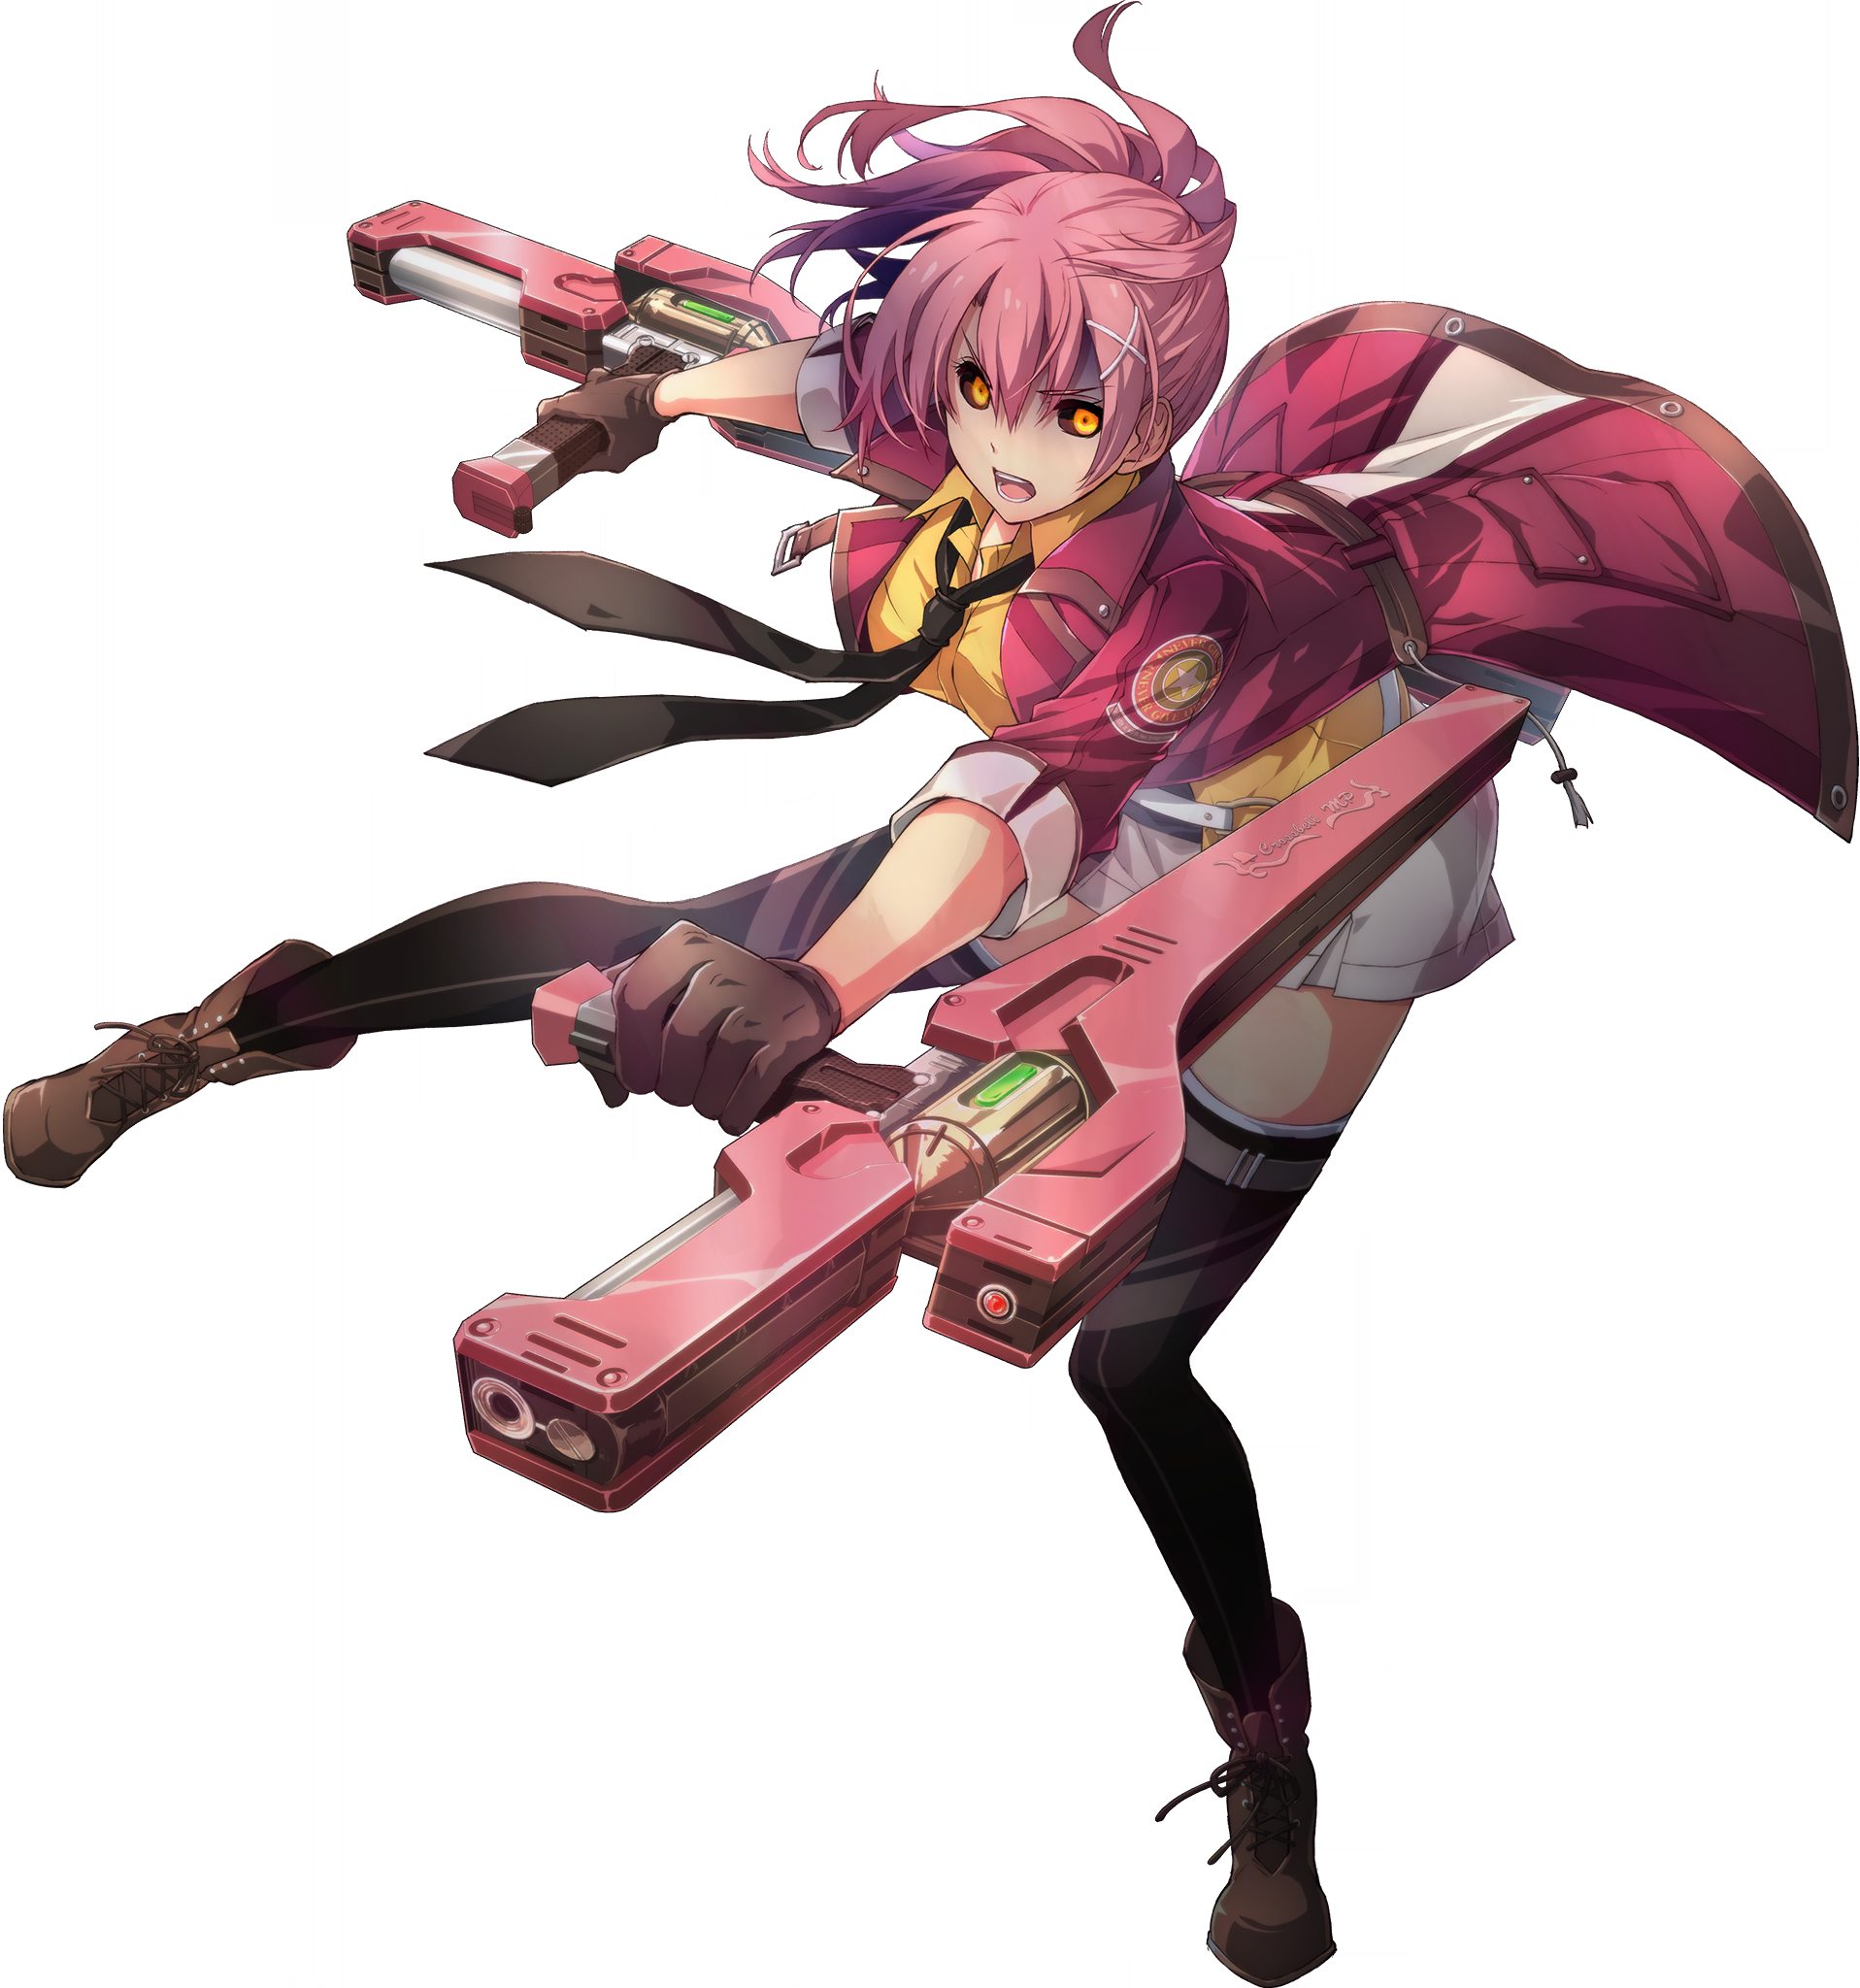
In her travelling clothes, Juna wears a untucked yellow collar shirt and black neck tie, with a white miniskirt, black thigh high stockings, leather boots and a medium-length magenta coat.
Juna is armed with two gunbreakers, long pink tonfas that double function as firearms.
Personality
Juna is a straightforward, energetic girl and hard worker. She takes immense pride in her heritage and state, being a staunch and vocal supporter for Crossbell's independence. She eagerly takes on anything related to Crossbell and despises people who meddle in its affairs. She tends to get easily worked up about Erebonia's invasion and occupation of her homeland of Crossbell. Juna admires the Special Support Section, especially 로이드 배닝스, for the work that they do despite the immense challenges they face.
Despite her appearance, Juna admits that she appreciates being praised for her work and can be easily offended by people mocking her, intentional or not. She has also proven to be a capable leader when Rean is not around.
Background
Juna was born and raised in Crossbell. She is the daughter of Matthew Crawford and Lina Crawford, who work at the Planning and Sales Department of Hotel Delphinia in Mishelam. Her father often has to work late. Juna has two younger siblings, the twins Ken and Nana. They live in the Bellheim Apartments in Crossbell City's West Street.
Inspired by the Special Support Section's endeavors, Juna enrolled in the Crossbell Military Police Academy with the hopes of becoming a police agent with the Crossbell Police Department.
During Erebonia's invasion of Crossbell, its other suzerain, Calvard, responded with a large-scale invasion of its Armored Aviation divisions. While evacuating from Crossbell City to Armorica Village, the van Juna and her siblings were in was attacked by a Republican gunship, flinging them out of the van. Feeling powerless despite all of her police academy training, Juna threw herself on top of her siblings to protect them from the gunship when Rean, who was piloting Valimar, appeared and saved them.
As her dream of joining the CPD was no longer attainable due to the annexation of Crossbell, Juna decided to transfer to the Thors Branch Campus school following the recommendation of a certain someone. She decided to use this chance to investigate the country that invaded her home in S.1205.
영웅전설 섬의 궤적 III
During the first day at Thors Branch Campus, Juna finds out that she has been assigned to Class VII. Her instructor is 린 슈바르처, who was involved in the occupation of Crossbell. One of her fellow classmates is 쿠르트 반다르, son of the prestigious Erebonian military family. Initially, Juna finds herself trapped in a mindset of prejudice over all Erebonians. Over time, however, she reflects that she was wrong to tar all imperial citizens with the same brush.
Although she warmed up to Kurt rather quickly, she kept her instructor at a distance. Ultimately, she confesses that she has been trying to thank Rean for his actions during Erebonia's invasion of Crossbell.
Class VII's second field study takes them to Crossbell. Juna shows them around, emphasizing her pride as a Crossbellan. Her pride attitude is short-lived, however, when she finds out through a conversation between Prince 올리발트 라이제 아르노르 and Governor General 루퍼스 알바레아 that her heroes, members, and affiliates of the Special Support Section, have been locked away at Mishelam. She loudly begs her instructor to return her city, the one where everyone can freely dream, before breaking down into a depression.
As Rean goes out to carry out orders from the imperial government, Juna's classmates and other students from the Branch Campus lift up her spirits. She arrives at the realization that, starting with Rean, there are plenty of Erebonians that share the spirit of the Special Support Section. She decides that she wants to work toward a future where both Crossbell and Erebonia are happy.
Before leaving Crossbell to head back to the academy, she learns that 로이드 배닝스 and the others have been let go.
Juna continues to support New Class VII throughout their following field studies in Lamare and the capital, and joins the operation to hunt down Calvardian agents in the capital and the subsequent plan to defeat the reborn Zoro-Agruga. Juna joins Rean all the way down the Gral of Erebos to the final tier.
영웅전설 섬의 궤적 IV
Two weeks following the Gral of Erebos events, Juna wakes up and finds herself in Eryn Village alongside Kurt and Altina, following Musse's departure to begin Mille Mirage. Walking around the village with her classmates, Juna learns that Osborne is Rean's actual father. Angered by this revelation, she gathers Original Class VII and convinces both them and her classmates to get Rean back, taking the role of temporary leader and the 'heart of Class VII'. Through their efforts, they eventually reunite with Ash, Musse and face 루퍼스 알바레아 in the Lake Elm Wetlands. They are able to locate the Black Workshop where they get through to a berserk Rean and he is successfully rescued.
Juna then accompanies Rean in their efforts around the empire, first retrieving comrades at various sites such as the mansion in Ordis, Dreknor Fortress and Einhel Keep at the Branch campus. They then attend the conference to discuss Operation Mille Mirage onboard the Pantagruel. Juna continues to lend her support to Rean afterwards, locating the shrines and special grounds for the Rivalries and overcoming the barriers that have been placed upon them.
Juna is present in the final operation to storm the Tuatha De Danann for the final rivalries and takes part in the battle. She questions Mariabell and 캄파넬라 when they try to escape about the nature of Ouroboros.
She later attends the Imperial wedding of 올리발트 라이제 아르노르 and 셰라자드 하비.
영웅전설 시작의 궤적

Hello there, beautiful. May I have a moment of your time?
Please be aware spoilers for 영웅전설 시작의 궤적 may be present in the following section. Hit [Show] on the right if the show must go on. Adios, amigos!
Juna is present at several events take that place before the main story, including the Branch Campus Academy Festival, the tasting of food for the Imperial wedding, aiding 티타 러셀 with the testing of the Orbal Gear IV and the Erebonian Martial Arts Tournament. She also is involved in solving a mysterious case at St. Astraia Girls' School, going undercover and eventually foiling a devil's plot.
Juna temporarily travels to Crossbell to help with the ousting of the Imperial Defence Force, helping the SSS reach the upper levels of the Orchis Tower by crashing a stolen Zauber Soldat through the window. She escorts civilians down and out of the battle.
In her first main story appearance, Juna accompanies Rean with the rest of new Class VII to Ymir where Claire had invited them. There they are tested by 마테우스 반다르 and Claire to see if they are strong enough for the important mission of finding the missing Prince. They successfully prove themselves after Altina works with Juna to get past Claire.
Juna joins Rean in Mishelam where they hunt for the Sonorous Seashell. The group encounters Mischneider, and locate the pieces of the 'Treasure of M' that grant them access to the Castle of Mirrors. Juna tries to get through to Mischneider about the true feelings of 밋시, and in the end he self detonates. Inside, Juna encounters a simulacrum of herself and 이슈멜가 Rean on the top floor.
Juna is present for the final battle against Elysium at the Retributive Tower.
There we go, the end of spoilers. Thank you for your time!
Character Notes
영웅전설 섬의 궤적 III
| ユウナ・クロフォード | |||
|---|---|---|---|
|
Ⅶ組特務科【テニス部】 | ||
| 後ろで結んだピンクの髪が印象的な生徒。正義感あふれる活発な性格で、可愛いもの全般に目が無い。 | |||
| 帝国人だからって 入学当初は帝国人への先入観や競争意識に囚われていたが、帝国人だからと言って嫌う事は間違っていると反省した。 | |||
| 命の恩人 かつてリィンに弟妹の命を救ってもらった際に何も出来なかった自分の無念さを引きずって、リィンに反発していた事を打ち明けた。 | |||
| ツンデレ娘 昔リィンに助けられたお礼を弟や妹の分までしようと思い続けているが、恥ずかしくなってしまい上手くいかない。 | |||
| 入学の理由 ロイドが指名手配されたと知り抗議したら軍警学校の単位を取り消されたため、クレアの勧めを受け第Ⅱで再度単位を取る事となった。 | |||
영웅전설 섬의 궤적 IV
| 유나 크로포드 | |||
|---|---|---|---|
.png) |
Class VII: Special Operations | ||
| A spunky young woman with a strong sense of justice. Hailing from Crossbell, her positive outlook on life endears her to all. | |||
| Determination The events at the Gral mired Class VII in despair. However, Juna refused to give up, and rallied everyone together to find Rean. | |||
| Thank You It seems like only yesterday that Rean saved Juna and her family. She was finally able to thank him properly and move forward. | |||
| Heart and Soul As Class VII fought against the Great Twilight, Juna became a new center of the group in a different way from Rean. | |||
| ユウナ・クロフォード | |||
|---|---|---|---|
|
Ⅶ組特務科【テニス部】 | ||
| 正義感あふれる活発な性格の少女で、帝国の属州となったクロスベル出身。持ち前の明るさで仲間を勇気付けている。 | |||
| 決意 《黒キ星杯》の一件で絶望する新旧Ⅶ組。しかし、リィンを取り戻すと宣言したユウナの強い決意が全員を奮い立たせた。 | |||
| 2年越しの 2年近く前リィンによって、弟妹や自身の命を救われたユウナ。やっと礼を告げられた事で再び向き合う事が出来た。 | |||
| もう一つの重心 Ⅶ組としての学院生活や《黄昏》に諍う戦いの中で、ユウナはリィンとは違った意味での“重心”へと成長していた。 | |||
영웅전설 시작의 궤적
| 유나 크로포드 | |||
|---|---|---|---|
|
Class VII: Special Operations (Tennis Club) | ||
| A spunky young woman with a strong sense of justice. While a student of Thors, as a citizen of Crossbell, she joins the operation hoping to free her home. | |||
| Second Home As much as she wishes to be present for the signing ceremony, Juna chooses to remain with Class VII, signifying how important it has come to be for her. | |||
| Pride Trampled Juna sobs in Rean's arms at the news that her home has had its freedom taken yet again, but once she's done, she lifts her head, determined to keep fighting. | |||
| Reuniting with Dad Juna reunites with her father in Mishelam. Though the status of her mother and siblings is unknown, she presses on to liberate Crossbell for good. | |||
| ユウナ・クロフォード | |||
|---|---|---|---|
|
Ⅶ組特務科【テニス部】 | ||
| 正義感あふれる活発な性格の少女。トールズ士官学院の生徒ながら、危機にある故郷を救うべくクロスベル解放作戦に加わった。 | |||
| 居場所 クロスベルの再独立調印式が気になりながらも、Ⅶ組と行動することを選んだユウナ。Ⅶ組もまた大事な居場所だった。 | |||
| 故郷への想い 再び自由と誇りを奪われた故郷を想い、リィンの胸で涙を流したユウナ。それでも顔を上げ戦うことを決意した。 | |||
| 父との再会 ミシュラムにて父マシューと再会。母や弟妹の状況は未だ分からないものの、家族のためにもクロスベル解放を目指す。 | |||
Gameplay
Weapons
스트라이커 모드는 STR·DEF·MOV 보너스를, 거너 모드는 사거리 보너스와 함께 주 대상 주변 반경 5의 원형 범위를 공격 대상으로 삼는다.
| 이름 | 설명 | 위치 | |
|---|---|---|---|

|
피스 메이커 ピースメーカー / Peacemaker |
스트라이커: STR+140/DEF+10/MOV+2/RNG+1 거너: STR+130/RNG+5 군경학교에 비치된 건 브레이커. |
Default weapon of Juna |
|
|
실버 스타 シルバースター / Silver Star |
스트라이커: STR+195/DEF+15/MOV+2/RNG+1 거너: STR+185/RNG+5 은백색 포신이 아름다운 최신형 건 브레이커. |
Chapter 1: Weapons and Armor Shops |
|
|
부스트 해머 ブーストハンマー / Boost Hammer |
스트라이커: STR+240/DEF+15/MOV+2/RNG+1/필살률+5% 거너: STR+230/RNG+5/필살률+5% 고출력이라 다루기 힘들지만, 위력이 높은 강화 건 브레이커. |
Chapter 1: Weapon Upgrades (Upgraded Silver Star) |
|
|
크라임 버스터 クライムバスター / Crime Buster |
스트라이커: STR+295/DEF+20/MOV+2/RNG+1 거너: STR+280/RNG+5 범죄를 소탕하기 위해 만들어진 건 브레이커. |
Chapter 2: Weapons and Armor Shops |
|
|
배틀 트위스터 バトルツイスター / Battle Twister |
스트라이커: STR+340/DEF+20/MOV+2/RNG+1/필살률+5% 거너: STR+325/RNG+5/필살률+5% 빠른 전환으로 백병전에 적합한 강화 건 브레이커. |
Chapter 2: Weapon Upgrades (Upgraded Crime Buster) |
|
|
낭아곤 狼牙棍 / Wolf Fang |
스트라이커: STR+395/DEF+25/MOV+2/RNG+1 거너: STR+375/RNG+5 타격부에 날카로운 칼날을 부착한 살벌한 건 브레이커. |
Chapter 3: Weapons and Armor Shops |
|
|
용조곤 龍爪棍 / Dragon Claw |
스트라이커: STR+440/DEF+25/MOV+2/RNG+1/필살률+5% 거너: STR+420/RNG+5/필살률+5% 부착한 칼날을 철저하게 연마한 강화 건 브레이커. |
Chapter 3: Weapon Upgrades (Upgraded Wolf Fang) |
|
|
가디언 ガーディアン / Guardian |
스트라이커: STR+495/DEF+30/MOV+2/RNG+1 거너: STR+470/RNG+5 단단한 프레임을 가진 높은 위력의 건 브레이커. |
Chapter 4: Weapons and Armor Shops |
|
|
올라운더 オールラウンダー / All-Rounder |
스트라이커: STR+540/DEF+30/MOV+2/RNG+1/필살률+5% 거너: STR+515/RNG+5/필살률+5% 어떤 상황에서도 유연하게 대응할 수 있는 강화 건 브레이커. |
Chapter 4: Weapon Upgrades (Upgraded Guardian) |
|
|
시그드리파 シグルドリーヴァ / Sigrdrifa |
스트라이커: STR+585/DEF+35/MOV+2/RNG+1/필살률+5% 거너: STR+560/RNG+5/필살률+5% 완전무결한 승리를 가져다주는 눈부신 금빛의 강화 건 브레이커. |
Final Chapter: Weapon Upgrades (Upgraded All-Rounder) |
|
|
성추 제투알 星槌ゼトワール / Etoile |
스트라이커: STR+655/DEF+40/MOV+2/RNG+1/필살률+10% 거너: STR+625/RNG+5/필살률+10% 모든 존재를 분쇄하는 검은 제무리아광 건 브레이커. |
Black Zemurian Ore weapon |
스트라이커 모드는 STR·DEF·MOV 보너스를, 거너 모드는 사거리 보너스와 크래프트 범위(반경/폭) +1, 그리고 주 대상 주변 반경 5의 원형 범위를 공격 대상으로 삼는다.
| 이름 | 설명 | 위치 | |
|---|---|---|---|
|
|
올라운더 オールラウンダー / All-Rounder |
스트라이커: STR+490/DEF+40/MOV+2/RNG+1 거너: STR+465/RNG+5 어떤 상황에서도 유연하게 대응할 수 있는 강화 건 브레이커. |
Default weapon of Juna |
|
|
올라운더+1 オールラウンダー+1 / All-Rounder +1 |
스트라이커: STR+535/DEF+44/MOV+2/RNG+1/필살률+2% 거너: STR+510/RNG+5/필살률+2% 어떤 상황에서도 유연하게 대응할 수 있는 강화 건 브레이커. |
Act 1-1: Weapon Upgrades (Upgraded All-Rounder) |
|
|
듀얼 스타 デュアルスター / Dualstar |
스트라이커: STR+590/DEF+48/MOV+2/RNG+1 거너: STR+565/RNG+5 별처럼 빛나는 포신의 건 브레이커. |
Act 1-1: Weapons and Armor Shops |
|
|
헤비 트위스터 ヘヴィツイスター / Heavy Twister |
스트라이커: STR+635/DEF+52/MOV+2/RNG+1/필살률+2% 거너: STR+610/RNG+5/필살률+2% 유성처럼 빛나는 포신에 위력을 더한 강화 건 브레이커. |
Act 1-1: Weapon Upgrades (Upgraded Dualstar) |
|
|
디펜더 ディフェンダー / Defender |
스트라이커: STR+690/DEF+56/MOV+2/RNG+1 거너: STR+665/RNG+5 다방향 수비에 특화된 건 브레이커. |
Act 1-2: Weapons and Armor Shops |
|
|
뱅가드 ヴァンガード / Vanguard |
스트라이커: STR+735/DEF+60/MOV+2/RNG+1/필살률+2% 거너: STR+710/RNG+5/필살률+2% 선두를 이끌기 위해 공수에 특화된 강화 건 브레이커. |
Act 1-2: Weapon Upgrades (Upgraded Defender) |
|
|
테이크 프리즈너 テイクプリズナー / Prisoner Taker |
스트라이커: STR+790/DEF+64/MOV+2/RNG+1 거너: STR+765/RNG+5 악인을 포박하기 위해 만들어진 건 브레이커. |
Act 1-3: Weapons and Armor Shops |
|
|
소드 브레이커 ソードブレイカー / Sword Breaker |
스트라이커: STR+835/DEF+68/MOV+2/RNG+1/필살률+2% 거너: STR+810/RNG+5/필살률+2% 적을 무기와 함께 파괴하는 접근전에 특화된 강화 건 브레이커. |
Act 1-3: Weapon Upgrades (Upgraded Prisoner Taker) |
|
|
흑조곤 黒鳥棍 / Black Swan |
스트라이커: STR+890/DEF+72/MOV+2/RNG+1 거너: STR+865/RNG+5 타격 부분에 칠흑의 칼날을 장착한 아름다운 건 브레이커. |
Fragments: Weapons and Armor Shops |
|
|
주작추 朱雀槌 / Phoenix Hammer |
스트라이커: STR+935/DEF+76/MOV+2/RNG+1/필살률+2% 거너: STR+910/RNG+5/필살률+2% 장착된 진홍의 칼날이 빛나는 아름다운 강화 건 브레이커. |
Fragments: Weapon Upgrades (Upgraded Black Swan) |
|
|
세인트 해머 セイントハンマー / Saint Hammer |
스트라이커: STR+990/DEF+80/MOV+2/RNG+1 거너: STR+965/RNG+5 적에게 철퇴를 휘두르는 여신의 축복을 받은 건 브레이커. |
Act 2-1: Weapons and Armor Shops |
|
|
아크 레이더 アークレイダー / Arc Raider |
스트라이커: STR+1035/DEF+84/MOV+2/RNG+1/필살률+2% 거너: STR+1010/RNG+5/필살률+2% 사악한 존재를 놓치지 않는 눈부시게 빛나는 강화 건 브레이커. |
Act 2-1: Weapon Upgrades (Upgraded Saint Hammer) |
|
|
히트 슬러거 ヒートスラッガー / Heat Slugger |
스트라이커: STR+1090/DEF+88/MOV+2/RNG+1 거너: STR+1065/RNG+5 높은 열을 발하여 적을 물리치는 중량형 건 브레이커. |
Act 2-3: Weapons and Armor Shops |
|
|
그랜드 슬램 グランドスラム / Grand Slam |
스트라이커: STR+1135/DEF+92/MOV+2/RNG+1/필살률+2% 거너: STR+1110/RNG+5/필살률+2% 전장을 제압하는 자가 휘두를 수 있는 강화 건 브레이커. |
Act 2-3: Weapon Upgrades (Upgraded Grand Slam) |
|
|
아토믹 해머 アトミックハンマー / Atomic Hammer |
스트라이커: STR+1190/DEF+96/MOV+2/RNG+1 거너: STR+1165/RNG+5 강한 충격파를 내는 기구를 내장한 건 브레이커. |
Act 3-1: Weapons and Armor Shops |
|
|
다이아몬드 스타 ダイヤモンドスター / Diamond Star |
스트라이커: STR+1235/DEF+100/MOV+2/RNG+1/필살률+2% 거너: STR+1210/RNG+5/필살률+2% 어떠한 공격에도 흠집 하나 나지 않는 견고함을 자랑하는 강화 건 브레이커. |
Act 3-1: Weapon Upgrades (Upgraded Atomic Hammer) |
|
|
백뢰곤 百雷棍 / Brooding Sky |
스트라이커: STR+1290/DEF+104/MOV+2/RNG+1 거너: STR+1265/RNG+5 최신예 도력 유닛이 격렬한 전격을 만들어 내는 건 브레이커. |
Act 3-2: Weapons and Armor Shops |
|
|
만뢰추 万雷槌 / Wrathful Sky |
스트라이커: STR+1335/DEF+108/MOV+2/RNG+1/필살률+2% 거너: STR+1310/RNG+5/필살률+2% 개량한 도력 유닛이 무수한 폭뢰를 발사하는 건 브레이커. |
Act 3-2: Weapon Upgrades (Upgraded Brooding Sky) |
|
|
란드그리즈 ランドグリーズ / Land Grithr |
스트라이커: STR+1390/DEF+112/MOV+2/RNG+1 거너: STR+1365/RNG+5 때려 부술 수 없는 건 없다는 용맹한 건 브레이커. |
Finale: Weapons and Armor Shops |
|
|
룰 브레이커 ルールブレイカー / Rule Breaker |
스트라이커: STR+1435/DEF+116/MOV+2/RNG+1/필살률+2% 거너: STR+1410/RNG+5/필살률+2% 동화 속 거인이 휘두르는 전투 망치가 생각나는 폭위의 강화 건 브레이커. |
Finale: Weapon Upgrades (Upgraded Land Grithr) |
|
|
천추 아스테리아 天槌アステリア / Heavenly Hammer Asteria |
스트라이커: STR+1490/DEF+120/MOV+2/RNG+1/필살률+4% 거너: STR+1465/RNG+5/필살률+4% 타격과 총격이 찰나의 하늘 같은 검은 제무리아광 건 브레이커. |
Black Zemurian Ore weapon |
| 이름 | 설명 | 위치 | |
|---|---|---|---|
|
|
소드 브레이커 ソードブレイカー / Sword Breaker |
스트라이커: STR+940/DEF+140/MOV+2/RNG+1 거너: STR+915/RNG+5 적을 무기와 함께 파괴하는 접근전에 특화된 강화 건 브레이커. |
Default weapon of Juna |
|
|
소드 브레이커+1 ソードブレイカー+1 / Sword Breaker +1 |
스트라이커: STR+1040/DEF+150/MOV+2/RNG+1 거너: STR+1015/RNG+5 적을 무기와 함께 파괴하는 접근전에 특화된 강화 건 브레이커. |
|
|
|
뱅가드 ヴァンガード / Vanguard |
스트라이커: STR+1140/DEF+160/MOV+2/RNG+1 거너: STR+1115/RNG+5 선두를 이끌기 위해 공수에 특화된 강화 건 브레이커. |
|
|
|
뱅가드+1 ヴァンガード+1 / Vanguard +1 |
스트라이커: STR+1240/DEF+170/MOV+2/RNG+1 거너: STR+1215/RNG+5 선두를 이끌기 위해 공수에 특화된 강화 건 브레이커. |
|
|
|
뱅가드+2 ヴァンガード+2 / Vanguard +2 |
스트라이커: STR+1340/DEF+180/MOV+2/RNG+1 거너: STR+1315/RNG+5 선두를 이끌기 위해 공수에 특화된 강화 건 브레이커. |
|
|
|
뱅가드+3 ヴァンガード+3 / Vanguard +3 |
스트라이커: STR+1440/DEF+190/MOV+2/RNG+1 거너: STR+1415/RNG+5 선두를 이끌기 위해 공수에 특화된 강화 건 브레이커. |
|
|
|
광퇴 제투아르 光槌ゼトワール / Astral Etoile |
스트라이커: STR+1590/DEF+205/MOV+2/RNG+1/필살률 +2% 거너: STR+1565/RNG+5/필살률 +2% 모든 존재를 분쇄하는, 성스러운 빛을 띤 건 브레이커. |
Black Zemurian Ore Weapon |
|
|
광퇴 제투아르+1 光槌ゼトワール+1 / Astral Etoile +1 |
스트라이커: STR+1990/DEF+245/MOV+2/RNG+1/필살률 +2% 거너: STR+1965/RNG+5/필살률 +2% 모든 존재를 분쇄하는, 성스러운 빛을 띤 건 브레이커. |
Black Zemurian Ore Weapon |
|
|
천퇴 아마르티아 天槌アマルティア / Amartya's Faith |
스트라이커: STR+2490/DEF+295/MOV+2/RNG+1/Critical Rate +2%] 거너: STR+2465/RNG+5/필살률 +2% 불굴의 정신을 지닌 자에게 무한의 축복을 전한다는 성스러운 건 브레이커. |
Black Zemurian Ore Weapon |
Crafts
| 이름 | 습득 | 소모 | 지연 | 위력 | 브레이크 | 언밸런스 | 대상/효과 | |
|---|---|---|---|---|---|---|---|---|

|
크로스 브레이크 クロスブレイク / Cross Break |
Initial | 30 CP | 20 AT | 130% (B) |
350% (A+) |
+5% | Circle around target (1 range + user MOV, 5 radius) |
| Physical - Area M (Set) - Impede (100%) - Faint (30%) 건 브레이커에 전격을 휘감아 전방에 발산한다. |
Interrupts casting of skills Faint (30% chance, 2t) Faint (30% chance, 2t)
| |||||||
|
|
제미니 블래스트 ジェミニブラスト / Gemini Blast |
Level 10 | 40 CP | 25 AT | 100% (D) |
100% (D) |
Yes | Set circle (5 range + user MOV, 7 radius) |
| Physical - Area L (Set) - DEF/SPD↓ (S) (3 turns) 노도와 같은 연사로 적 집단을 벌집으로 만든다. |
 DEF-25% (3t) DEF-25% (3t) SPD-15% (3t) SPD-15% (3t)
| |||||||
|
|
브레이브 스매시 ブレイブスマッシュ / Brave Smash |
Level 24 | 60 CP | 30 AT | 170% (S) |
150% (C) |
+20% | Set line (3 width) |
| Physical - Line M (Set) - Seal (30%) 투기를 두른 일점돌파의 돌격 기술. |
 Seal (30% chance, 2t) Seal (30% chance, 2t)
| |||||||
|
|
퀵 스타 クイックスター / Quick Star |
Level 42 | 60 CP | 30 AT | — | — | — | Set circle (5 range + user MOV, 5 radius) |
| Support - Area M (Set) - Accelerate - SPD↑ (M) (3 turns) 시간의 결계를 산산조각내 동료의 행동 순서를 빠르게 한다. |
Targets' turn occurs immediately after SPD+30% (3t) SPD+30% (3t)
| |||||||

|
엑셀 브레이커 エクセルブレイカー / Excel Breaker |
5/20 | 100+ CP | 40 AT | 225% (SS+) |
100% (D) |
No | Set circle (10 radius) |
| Physical - Area LL (Set) 숨 돌릴 새도 없는 가열한 연격을 때려 넣어 매우 두꺼운 레이저로 마무리한다. |
— | |||||||
기갑병
| 이름 | 습득 | 소모 | 지연 | 위력 | 브레이크 | 언밸런스 | 대상/효과 | |
|---|---|---|---|---|---|---|---|---|
|
|
크로스 브레이크 クロスブレイク / Cross Break |
Initial | 30 CP | 30 AT | 130% (B) |
150% (C) |
+70% | Single target |
| Physical - One - Impede (100%) - Unblockable 건 브레이커에 전격을 휘감아 전방에 발산한다. |
Ignores enemy guard and dodge Interrupts casting of skills | |||||||
|
|
제미니 블래스트 ジェミニブラスト / Gemini Blast |
Initial | 60 CP | 40 AT | 150% (A) |
250% (B+) |
+10% | All targets |
| Physical - All - SPD↓ (S) (2 turns) - Unblockable 노도와 같은 연사로 적 집단을 벌집으로 만든다. |
Ignores enemy guard and dodge SPD-15% (2t)
| |||||||
|
|
브레이브 러시 ブレイブラッシュ / Brave Rush |
Initial | 2 BP | 40 AT | 200% (SS) |
300% (A) |
No | Single target |
| Finisher - SPD↓ (M) (2 turns) 필살 |
 SPD-30% (2t) SPD-30% (2t)
| |||||||
|
|
엑셀 버스트 エクセルバースト / Excel Burst |
Initial | 5 BP | 40 AT | 500% (2p) 600% (3p) |
300% (A) |
No | All targets |
| Unite Finisher 협력기 - 마무리 일격기. |
— | |||||||
Gunner mode adds +1 radius/width to attack crafts.
| 이름 | 습득 | 소모 | 지연 | 위력 | 브레이크 | 언밸런스 | 대상/효과 | |
|---|---|---|---|---|---|---|---|---|
|
|
크로스 브레이크 クロスブレイク / Cross Break |
Initial | 30 CP | 20 AT | 130% (C+) |
300% (S) |
+5% | Circle around target (1 range + user MOV, 5 radius) |
| Physical - Area M - Impede (100%) Faint (20%) 건 브레이커에 전격을 휘감아 전방에 발산한다. |
Interrupts casting of skills Faint (20% chance, 2t)
| |||||||
|
|
제미니 블래스트 ジェミニブラスト / Gemini Blast |
Initial | 40 CP | 25 AT | 100% (D) |
100% (D) |
Yes | Set circle (5 range + user MOV, 7 radius) |
| Physical - Area L (Set) - DEF/SPD↓ (S) (4 turns) 노도와 같은 연사로 적 집단을 벌집으로 만든다. |
DEF-25% (4t) SPD-15% (4t)
| |||||||
|
|
브레이브 스매시 ブレイブスマッシュ / Brave Smash |
Initial | 60 CP | 30 AT | 170% (A+) |
150% (C) |
+20% | Set line (3 width) |
| Physical - Line S+ (Set) - Seal (20%) 투기를 두른 일점돌파의 돌격 기술. |
Seal (20% chance, 2t)
| |||||||
|
|
퀵 스타 クイックスター / Quick Star |
Level 56 | 80 CP | 30 AT | — | — | — | Set circle (5 range + user MOV, 5 radius) |
| Support - Area M (Set) - Accelerate - SPD↑ (M) (3 turns) 시간의 결계를 산산조각내 동료의 행동 순서를 빠르게 한다. |
Targets' turn occurs immediately after SPD+30% (3t)
| |||||||
|
|
플레어네스 하트 フレアネスハート / Burning Heart |
Level 64 | 30 CP | 20 AT | — | — | — | User |
| Support - Self - STR/DEF↑ (M) (4 turns) - Restores 1 BP 투지를 불태워 자신의 힘을 높인다. 동료도 고무시켜 BP 상승. |
 STR+30% (4t) STR+30% (4t) DEF+50% (4t) DEF+50% (4t)Restores 1 BP | |||||||
|
|
크로스 브레이크Ⅱ クロスブレイクⅡ / Cross Break 2 |
Level 72 | 30 CP | 20 AT | 140% (B) |
350% (S+) |
+5% | Circle around target (1 range + user MOV, 5 radius) |
| Physical - Area M - Impede (100%) Faint (40%) 건 브레이커에 뇌광전격을 휘감아 전방에 쏘아낸다. |
Interrupts casting of skills Faint (40% chance, 2t)
| |||||||
|
|
제미니 블래스트Ⅱ ジェミニブラストⅡ / Gemini Blast 2 |
Level 80 | 40 CP | 25 AT | 110% (D+) |
100% (D) |
Yes | Set circle (5 range + user MOV, 7 radius) |
| Physical - Area L (Set) - DEF/SPD↓ (M) (4 turns) 거센 파도와 같은 연사로 적 집단을 구멍 낸다. |
 DEF-50% (4t) SPD-30% (4t) DEF-50% (4t) SPD-30% (4t)
| |||||||
|
|
브레이브 스매시Ⅱ ブレイブスマッシュⅡ / Brave Smash 2 |
Level 105 | 60 CP | 30 AT | 185% (S) |
150% (C) |
+25% | Set line (5 width) |
| Physical - Line M+ (Set) - Seal (40%) 거친 투지로 충격파를 구사하며 일점돌파를 노리는 돌격 기술. |
Seal (40% chance, 2t)
| |||||||

|
드라켄 소환 ドラッケン召喚 / Summon Drakkhen |
8/7 | 250 EP | 3/25 AT | 185% (S) |
250% (A) |
No | All targets |
| Physical - All 드라켄Ⅱ를 조종하여 적을 섬멸한다. 전투 중 한 번만 사용 가능. |
— | |||||||
|
|
드라켄 소환Ⅱ ドラッケン召喚Ⅱ / Summon Drakkhen 2 |
Level 118 | 250 EP | 3/25 AT | 220% (SS) |
400% (SS) |
No | All targets |
| Physical - All 드라켄Ⅱ를 조종하여 적을 섬멸한다. 전투 중 한 번만 사용 가능. |
— | |||||||
|
|
엑셀 브레이커 エクセルブレイカー / Excel Breaker |
Initial | 100+ CP | 40 AT | 240% (SS+) |
200% (B) |
No | Set circle (10 radius) |
| Physical - Area LL (Set) 숨 돌릴 새도 없는 가열한 연격을 때려 넣어 매우 굵은 레이저로 마무리한다. |
— | |||||||
|
|
배리언트 차지 ヴァリアントチャージ / Valiant Charge |
Level 128 | 100+ CP | 40 AT | 280% (SSS+) |
250% (A) |
No | All targets |
| Physical - All 강화된 건 브레이커로 번개구를 쏜 후 혼신의 돌격으로 마무리를 한다. |
— | |||||||
기갑병
| 이름 | 습득 | 소모 | 지연 | 위력 | 브레이크 | 언밸런스 | 대상/효과 | |
|---|---|---|---|---|---|---|---|---|
|
|
크로스 브레이크 クロスブレイク / Cross Break |
Initial | 30 CP | 30 AT | 110% (C) |
200% (B+) |
+50% | Single target |
| Physical - One - Seal (30%) 건 브레이커에 전격을 휘감아 전방에 발산한다. |
Ignores enemy guard and dodge Seal (30% chance, 1t)
| |||||||
|
|
제미니 블래스트 ジェミニブラスト / Gemini Blast |
Initial | 60 CP | 40 AT | 140% (B+) |
100% (D) |
+50% | All targets |
| Physical - All - Impede (100%) - SPD↓ (S) (2 turns) 노도와 같은 연사로 적 집단을 벌집으로 만든다. |
Ignores enemy guard and dodge Interrupts casting of skills SPD-15% (2t)
| |||||||
|
|
크로스 브레이크Ⅱ クロスブレイクⅡ / Cross Break 2 |
Level 72 | 30 CP | 30 AT | 110% (C) |
225% (A) |
+50% | Single target |
| Physical - One - Seal (30%) 건 브레이커에 뇌광전격을 휘감아 전방에 쏘아낸다. |
Ignores enemy guard and dodge Seal (30% chance, 1t)
| |||||||
|
|
제미니 블래스트Ⅱ ジェミニブラストⅡ / Gemini Blast 2 |
Level 80 | 60 CP | 40 AT | 150% (A) |
100% (D) |
+50% | All targets |
| Physical - All - Impede (100%) - SPD↓ (S) (2 turns) 거센 파도와 같은 연사로 적 집단을 구멍 낸다. |
Ignores enemy guard and dodge Interrupts casting of skills SPD-15% (2t)
| |||||||
|
|
브레이브 러시 ブレイブラッシュ / Brave Rush |
Initial | 2 BP | 40 AT | 200% | 200% | No | Single target |
| Finisher - SPD↓ (M) (2 turns) 마무리 일격기. |
SPD-30% (2t)
| |||||||
|
|
협력기 エクセルバースト / Excel Burst |
Initial | 5 BP | 40 AT | 500% (2p) 600% (3p) |
125% | No | All targets |
| Unite Finisher 마무리 일격기. |
— | |||||||
| 이름 | 위력 | 브레이크 | 언밸런스 | 소모 | 습득 | |
|---|---|---|---|---|---|---|
|
|
크로스 브레이크Ⅱ クロスブレイクII / Cross Break 2 |
B | S+ | D+ | 30 CP | Initial |
| Physical - Area M - Impede (100%) - Faint (40%) 건 브레이커에 뇌광전격을 휘감아 전방에 쏘아낸다. | ||||||
|
|
크로스 브레이크Ⅲ クロスブレイクIII / Cross Break 3 |
B+ | S+ | D+ | 30 CP | Level 132 |
| Physical - Area M - Impede (100%) - Faint (60%) 건 브레이커에 강력한 뇌광전격을 휘감아 자비없이 쏘아낸다. | ||||||
|
|
제미니 블래스트Ⅱ ジェミニブラストII / Gemini Blast 2 |
D+ | D | D | 40 CP | Initial |
| Physical - Area L (Set) - DEF•SPD ↓ (M) for 4 turns 거센 파도와 같은 연사로 적 집단을 구멍 낸다. | ||||||
|
|
제미니 블래스트Ⅲ ジェミニブラストIII / Gemini Blast 3 |
C | D | D | 40 CP | Level 198 |
| Physical - Area L+ (Set) - STR•DEF•SPD ↓ (M) for 4 turns 적 진영에 바람구멍을 낼 노도의 연사로 표적의 능력을 저하시킨다. | ||||||
|
|
발키리 스매시 バルキリースマッシュ / Valkyrie Smash |
S | C | A | 60 CP | Level 101 |
| Physical - Line M (Set) - Seal (60%) 두려워하지 않는 투지로 충격파를 구사하여 일점돌파를 노리는 돌격기. | ||||||
|
|
퀵 스타 개 クイックスター改 / Quick Star |
— | — | — | 80 CP | Level 119 |
| Support - Area M+ (Set) - Accelerate - SPD ↑ (M) for 3 turns 시의 결계를 산산조각내서 동료의 행동순서를 앞당긴다. | ||||||
|
|
플레어네스 하트 フレアネスハート / Burning Heart |
— | — | — | 30 CP | Initial |
| Support - Self - STR•DEF ↑ (M) for 4 turns - Restores 1 BP 투지를 불태워 자신의 힘을 높인다. 동료도 고무시켜 BP 상승. | ||||||
|
|
엑셀 브레이커 エクセルブレイカー / Excel Breaker |
SS+ | B | No | 100+ CP | Initial |
| Physical - Area LL (Set) 숨 돌릴 새도 없는 가열찬 연격을 때려 넣고, 매우 두꺼운 레이저로 마무리한다. | ||||||
|
|
엑셀 브레이커Ⅱ エクセルブレイカーII / Excel Breaker 2 |
SSS+ | A | No | 100+ CP | Level 107 |
| Physical - Area LL (Set) 반격할 틈도 주지 않는 맹렬한 연격을 때려 넣고, 매우 두꺼운 고출력 레이저로 마무리한다. | ||||||
|
|
밸리언트 차지 ヴァリアントチャージ / Valiant Charge |
SSS | A | No | 100+ CP | Initial |
| Physical - All 강화된 건 브레이커로 번개구를 쏜 후 혼신의 돌격으로 마무리한다. | ||||||
|
|
밸리언트 차지Ⅱ ヴァリアントチャージII / Valiant Charge 2 |
4S | A | No | 100+ CP | Trial Door |
| Physical - All 압축 에너지탄을 발사한 후 천둥번개를 휘감은 혼신의 돌격으로 마무리한다. | ||||||
Brave Order
영웅전설 섬의 궤적 III
| Name | BP | Effect |
|---|---|---|
| Sledgehammer[4] スレッジハンマー |
1 | Break Damage +300% (4 turns) |
영웅전설 섬의 궤적 IV
| Name | BP | Effect | Acquire |
|---|---|---|---|
| Sledgehammer スレッジハンマー |
2 | Break Damage +150% (4 turns) | Initial |
| Sledgehammer EX スレッジハンマー改 |
2 | Break Damage +250% (4 turns) | Trial chest[note 1] |
| War Hammer トールハンマー |
2 | Break Damage +250% (6 turns) | Trial chest[note 2] |
영웅전설 시작의 궤적
| Name | BP | Effect | Acquire |
|---|---|---|---|
| War Hammer トールハンマー |
2 | Break Damage +300% (3 turns) | Initial |
Orbment
영웅전설 섬의 궤적 III
영웅전설 섬의 궤적 IV
Gallery
영웅전설 벽의 궤적
.jpg)
.jpg)
.jpg)
영웅전설 섬의 궤적 III
-
-
 S-Craft
 -
 Promotional artwork
 -
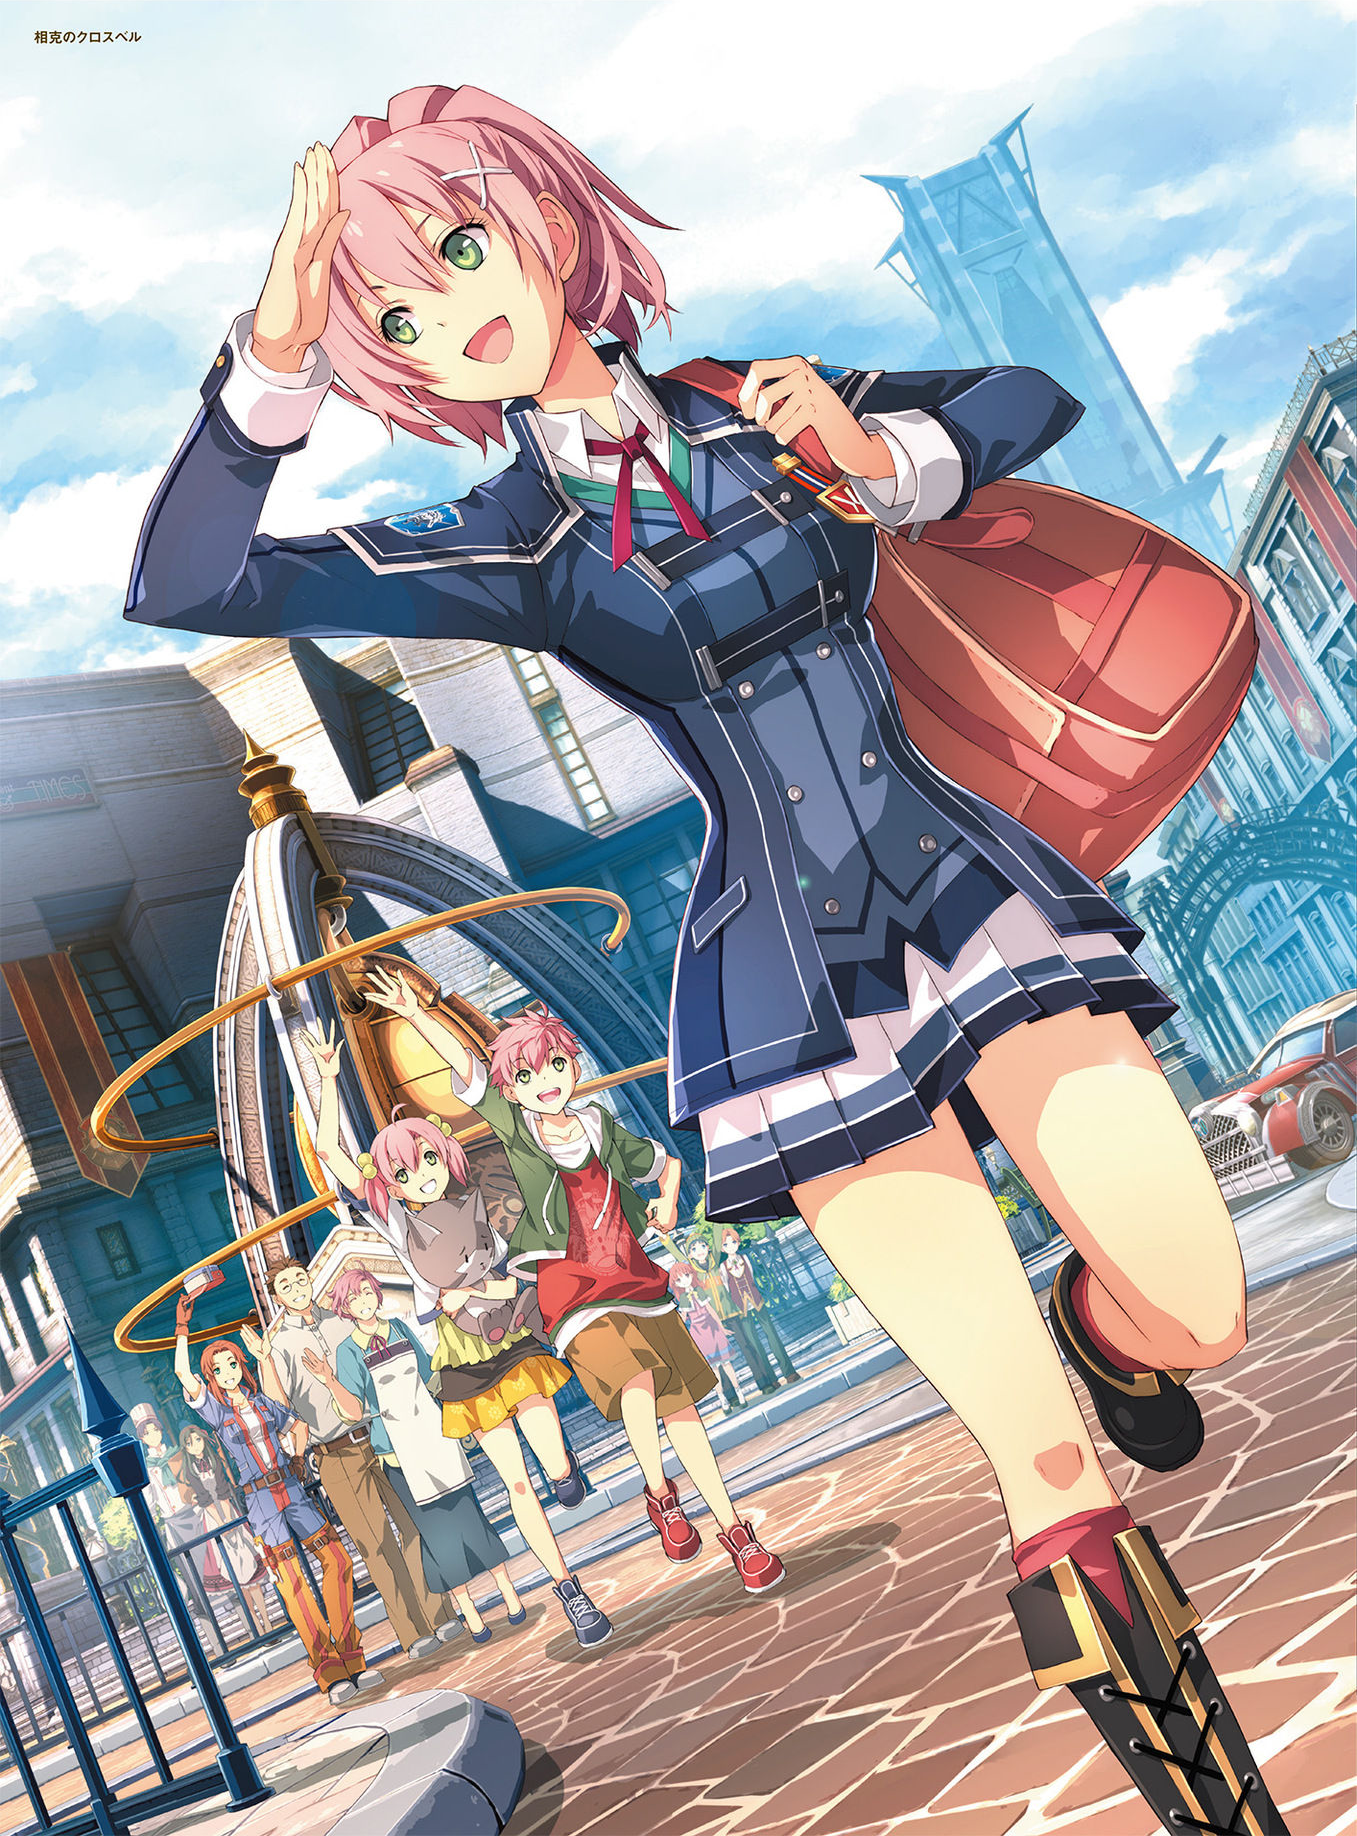 Promotional artwork
 -
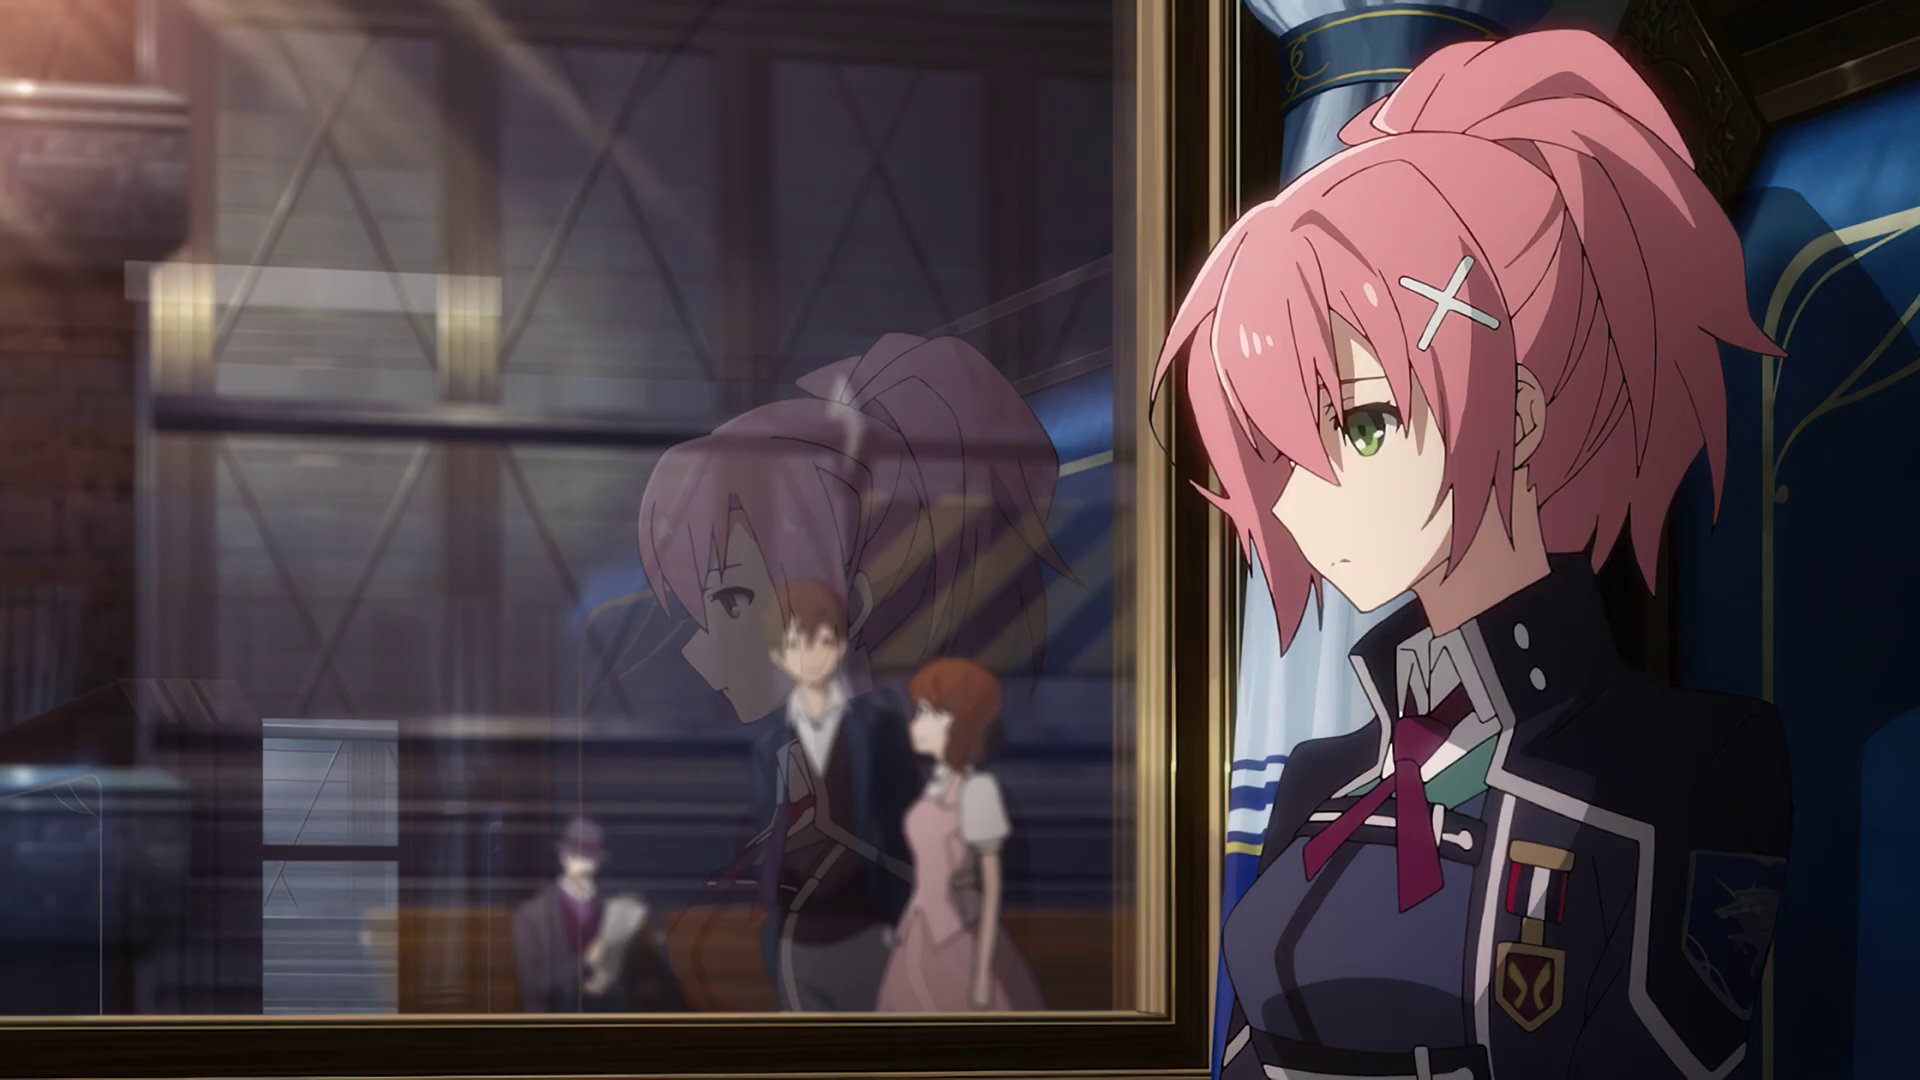 Opening
 -
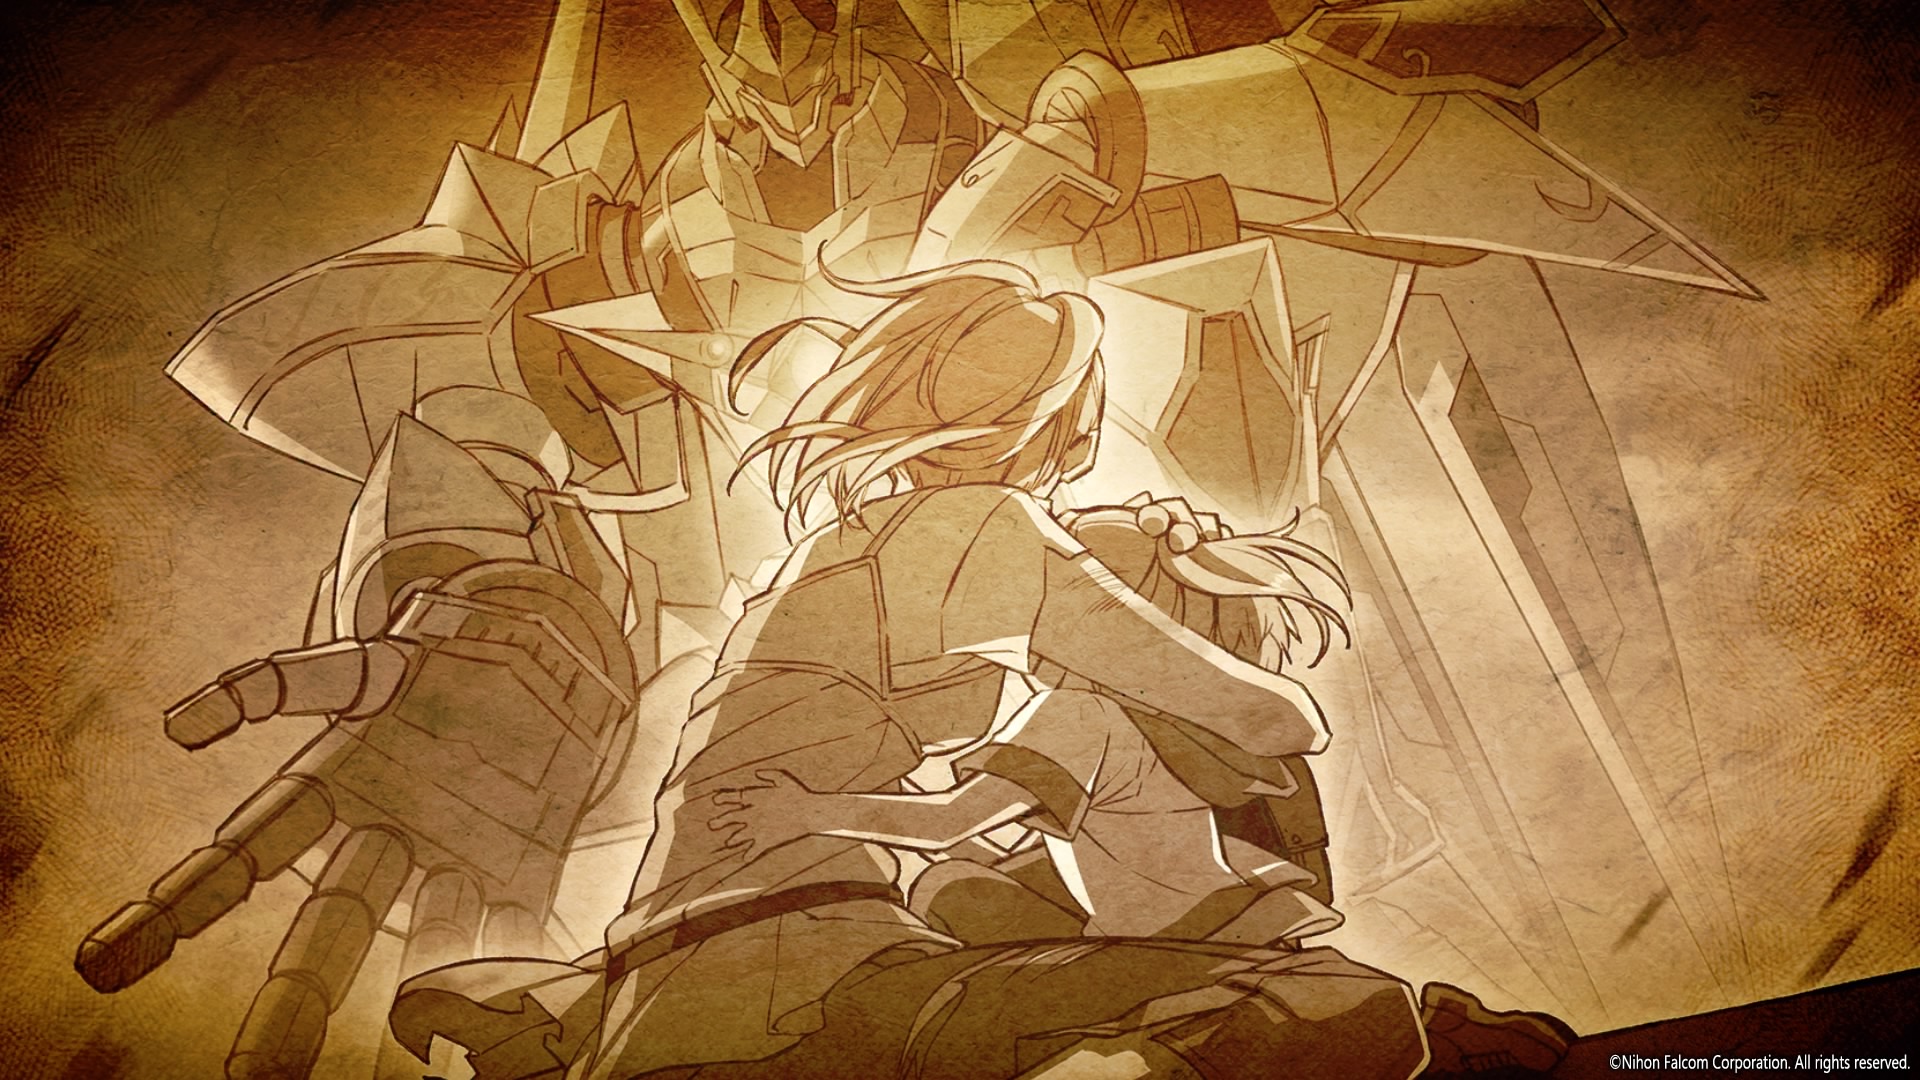 Flashback
 -
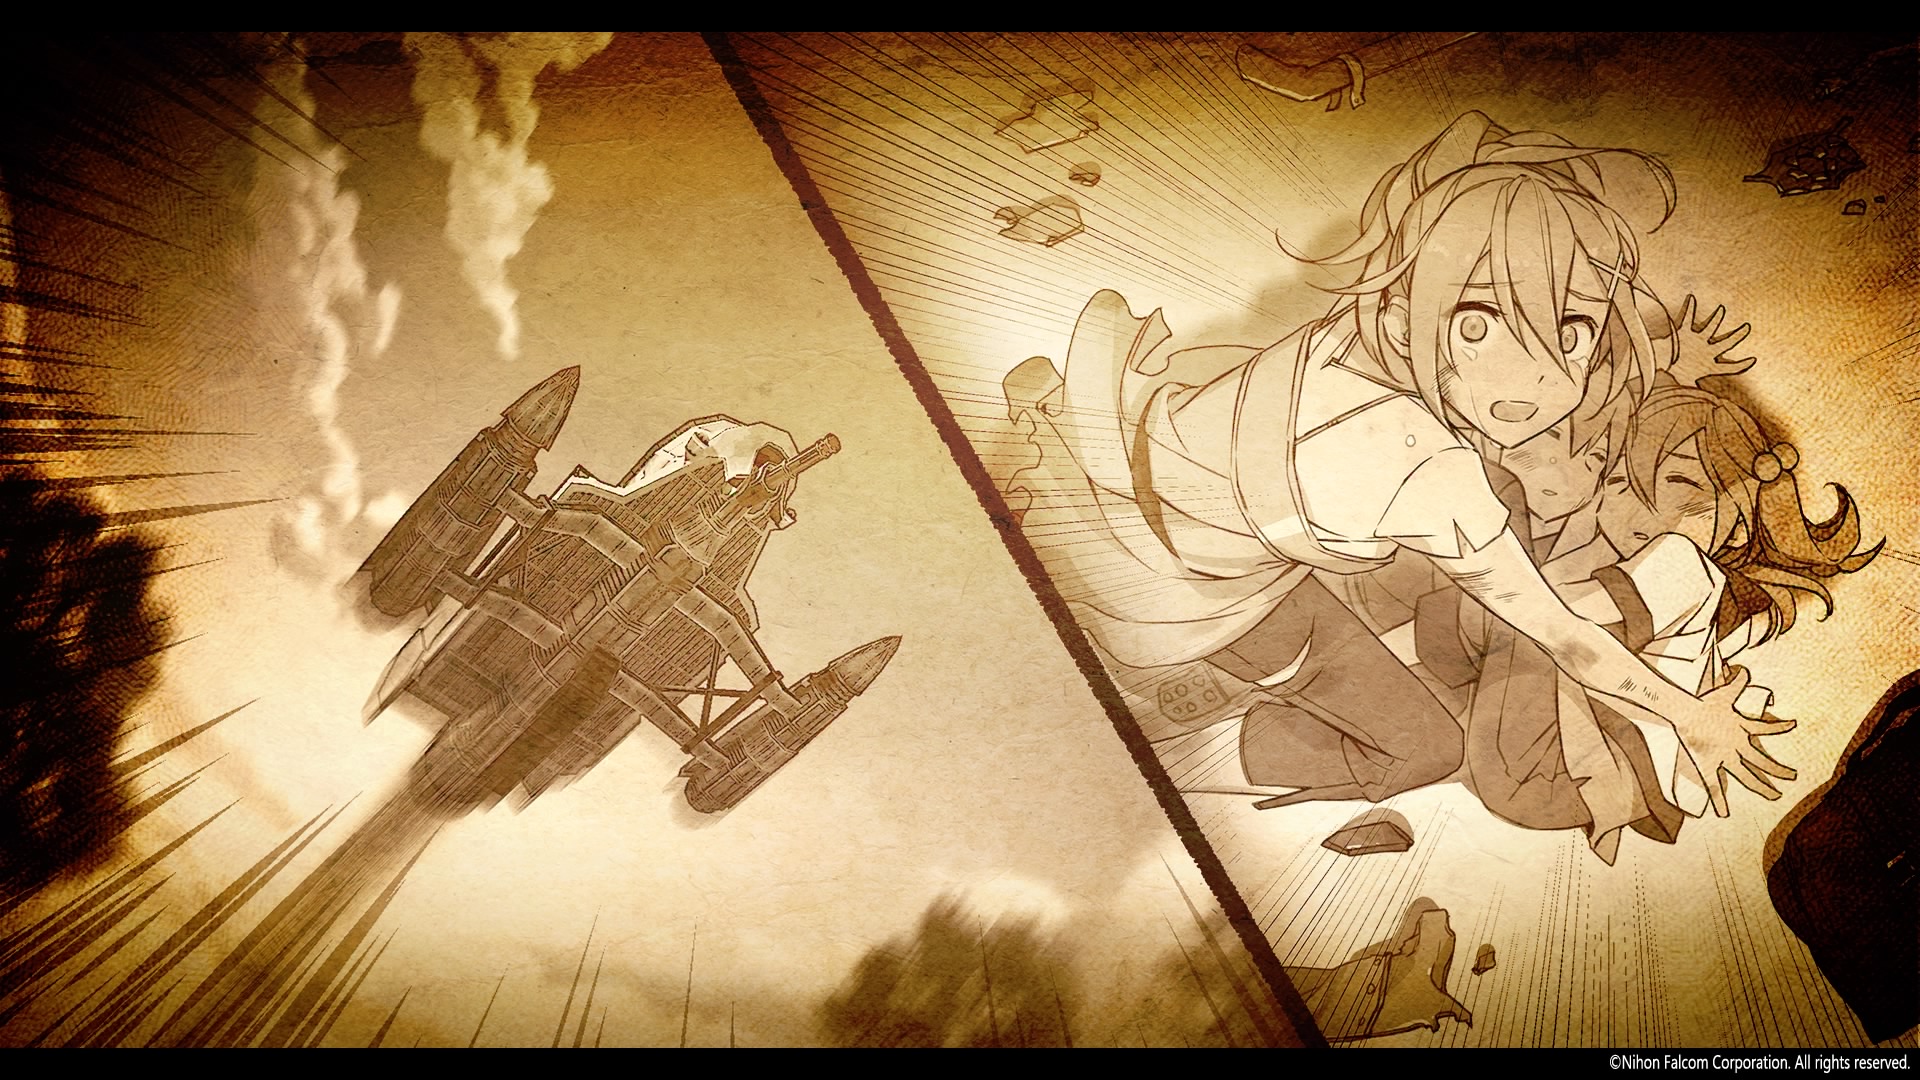 Flashback
 -
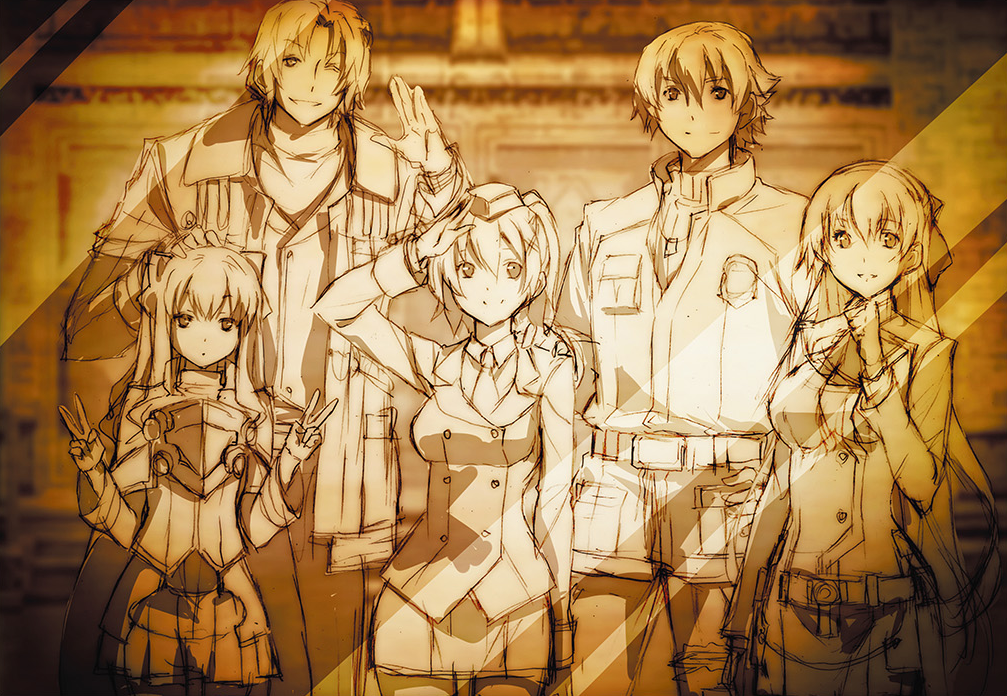 Yuna with the Special Support Section (not shown in-game).
 -

-
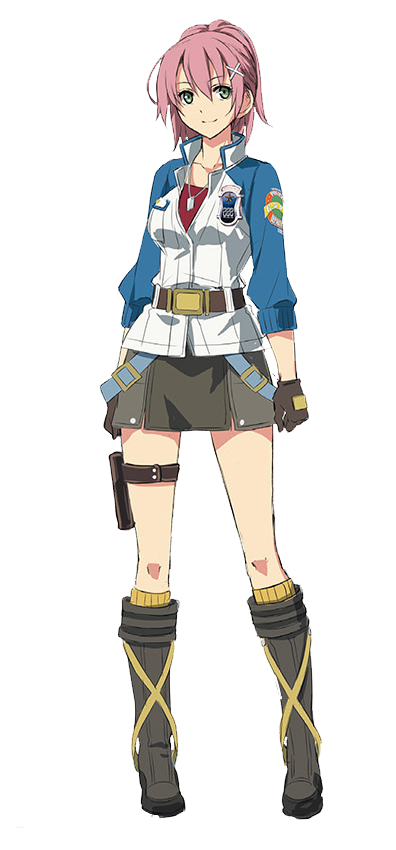 Lloyd's outfit (Dengekiya bonus)
 -
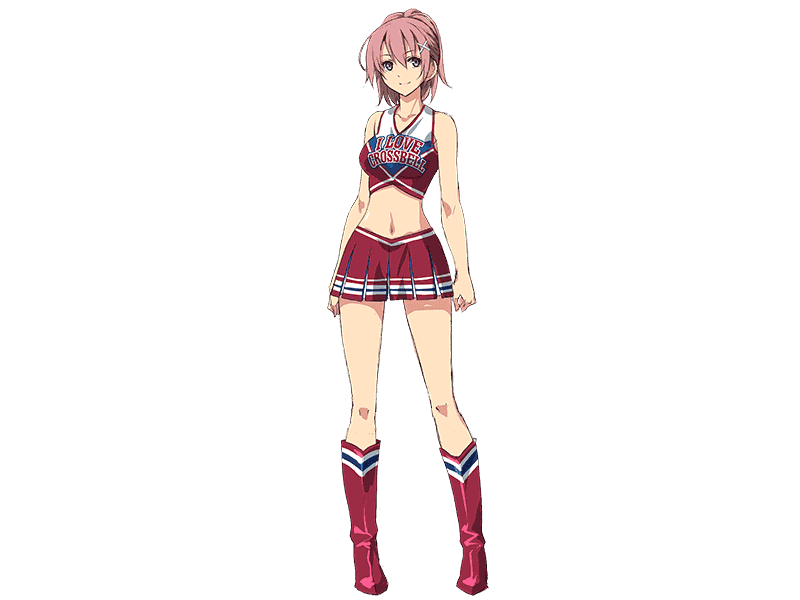 Tsutaya bonus
 -
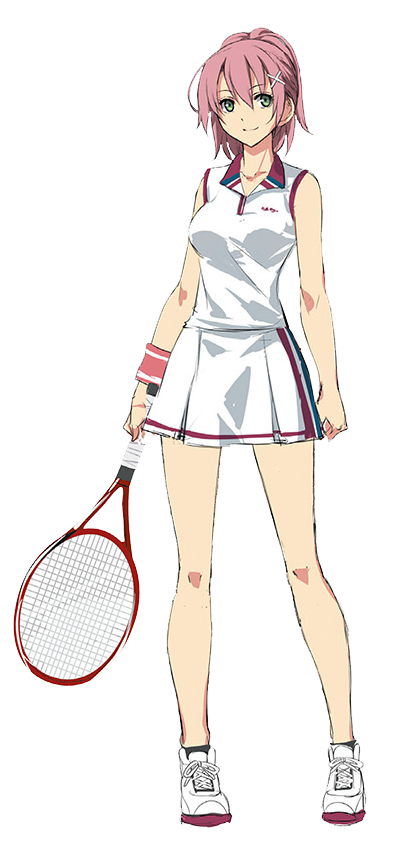
-
-
-
-
-
-
 Variant of battle portrait
 -
 Variant of battle portrait
 -
 Variant of battle portrait
 -
 Concept Art
 -
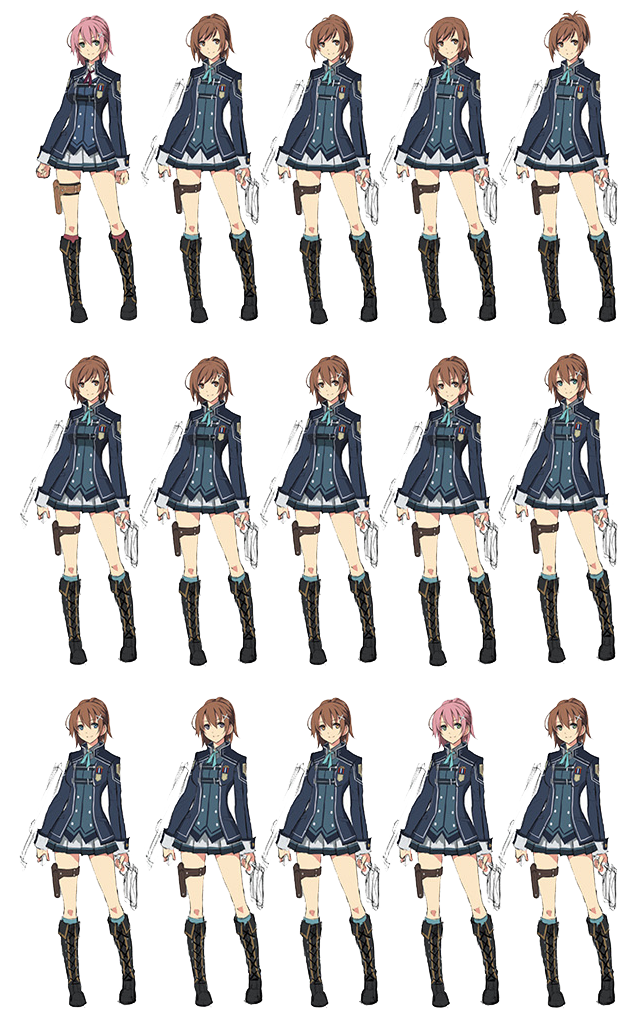
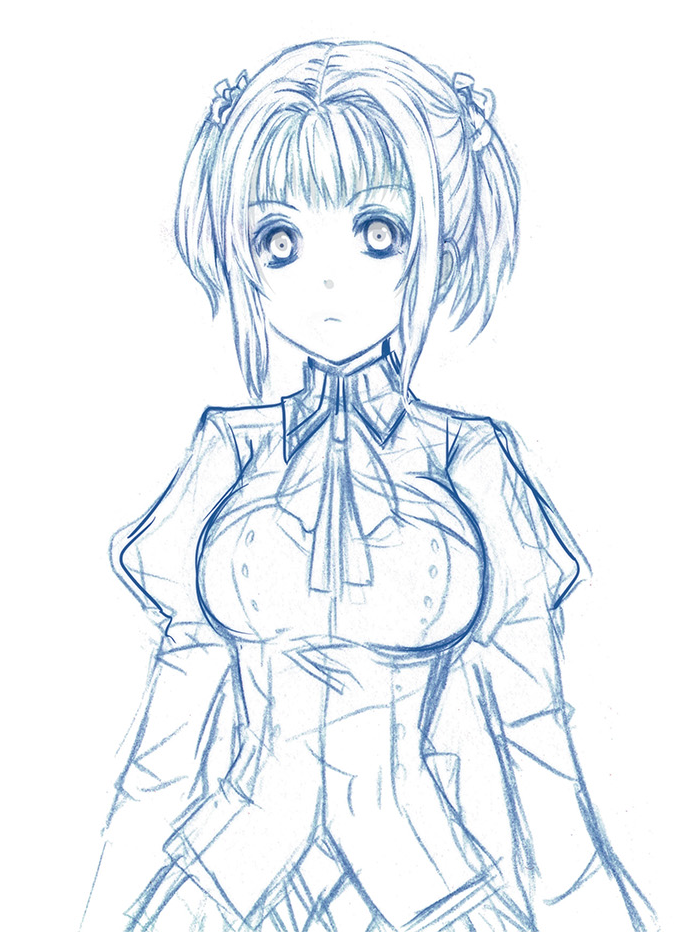 Initial proposal
 -
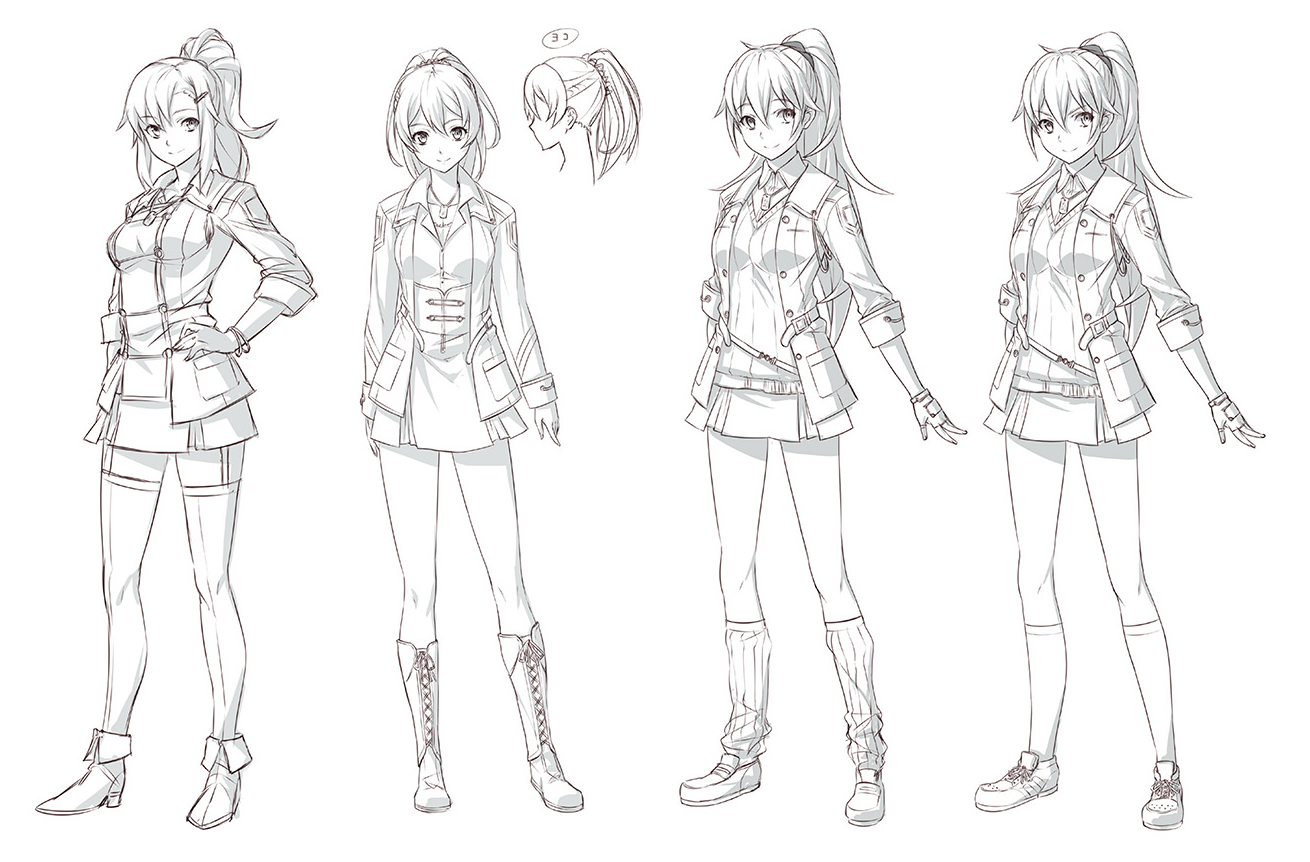 Initial proposal
 -
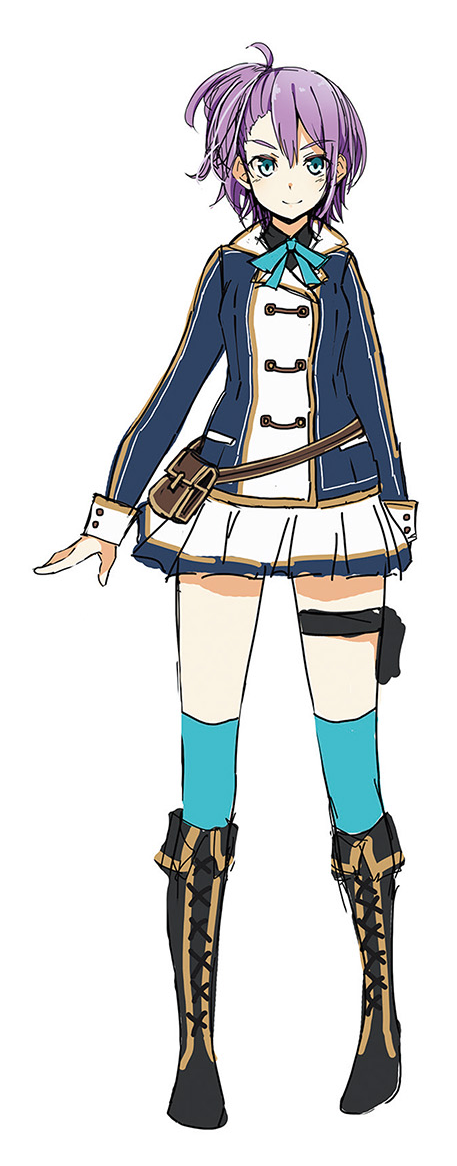 Initial proposal
 -
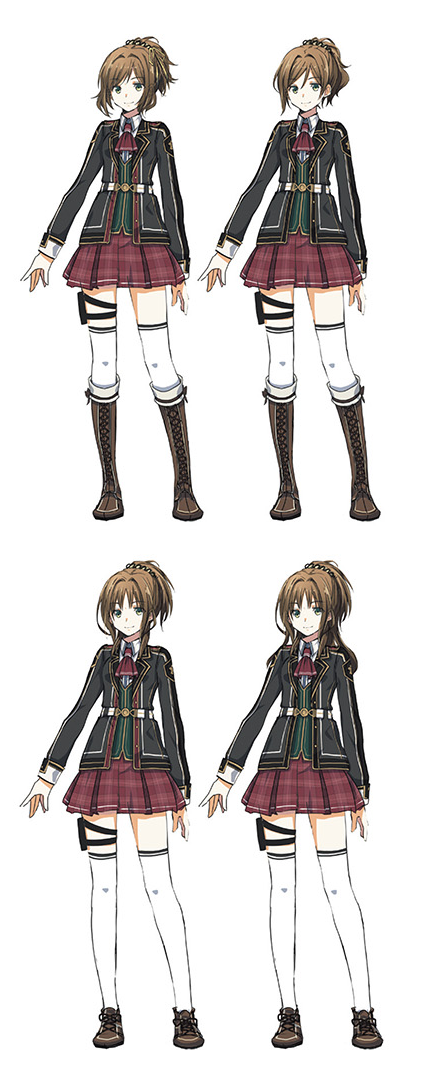 Initial proposal
 -
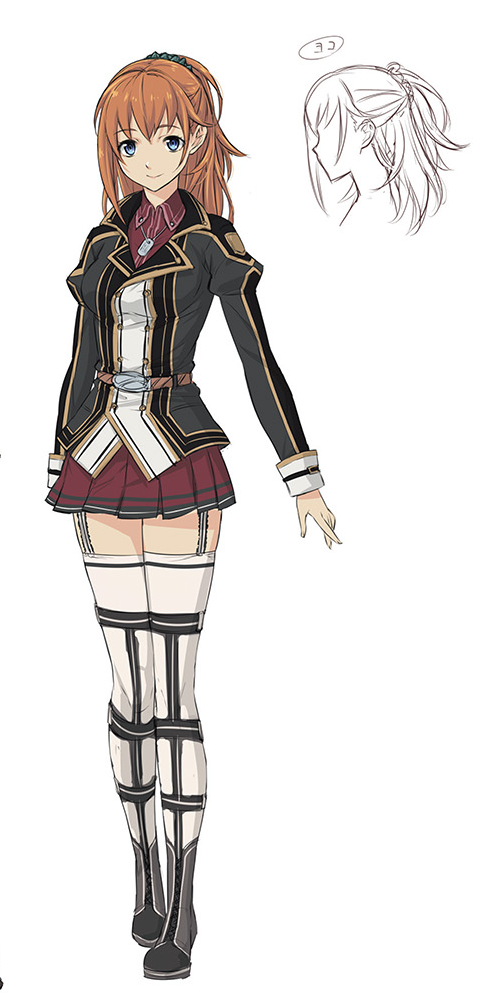 Initial proposal
 -
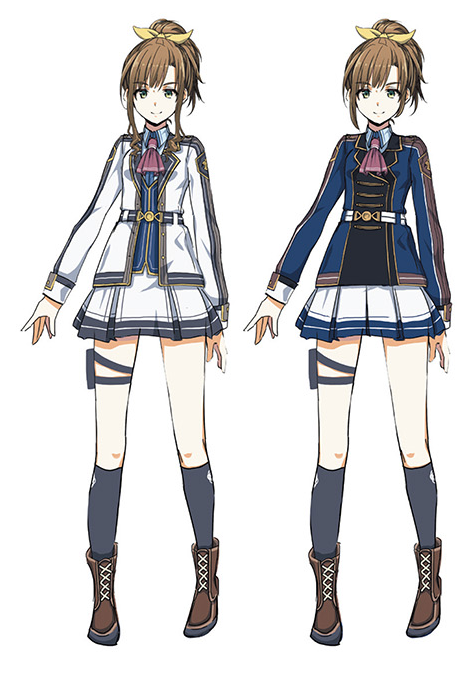 Initial proposal
 -
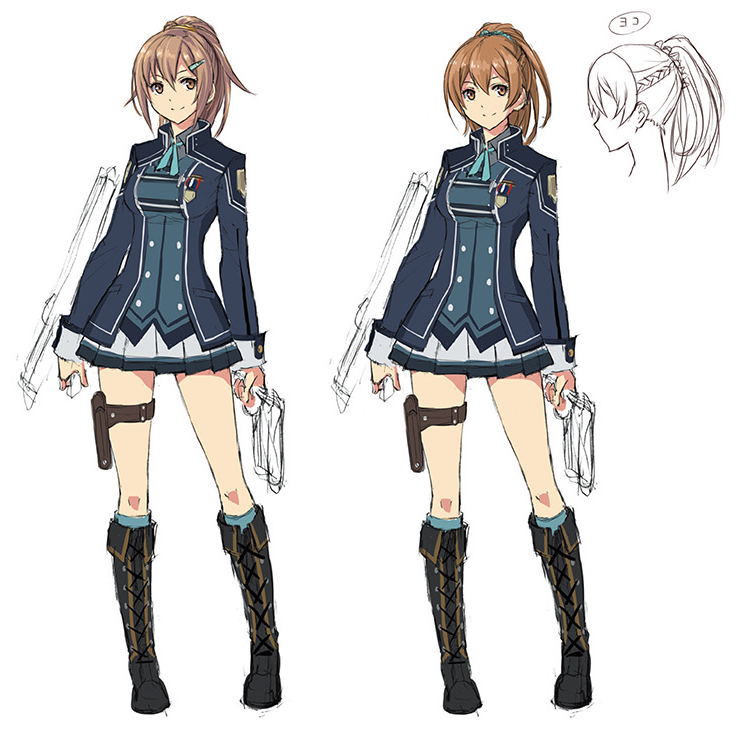 Initial proposal
 -
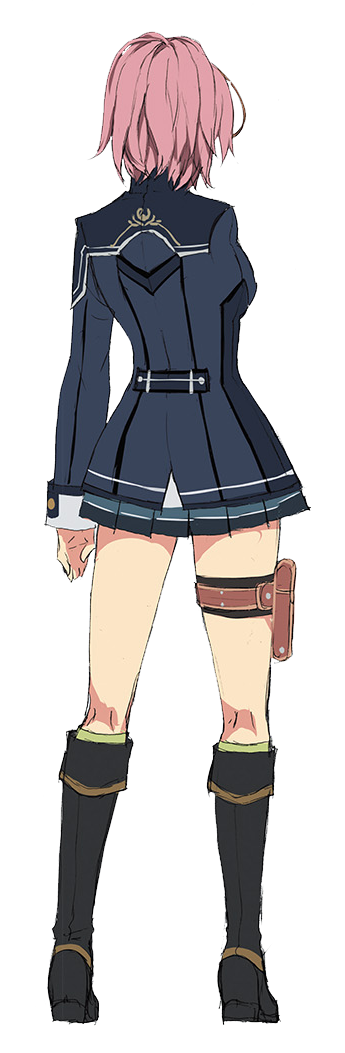 Fine-tuning sketches
 -
 Fine-tuning sketches
 -
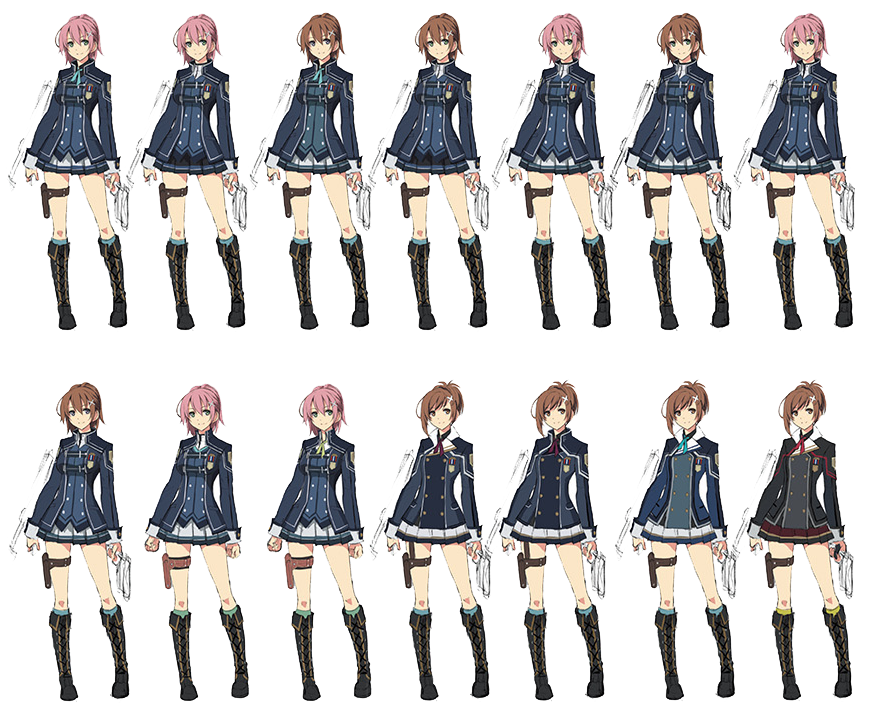 Fine-tuning sketches
 -
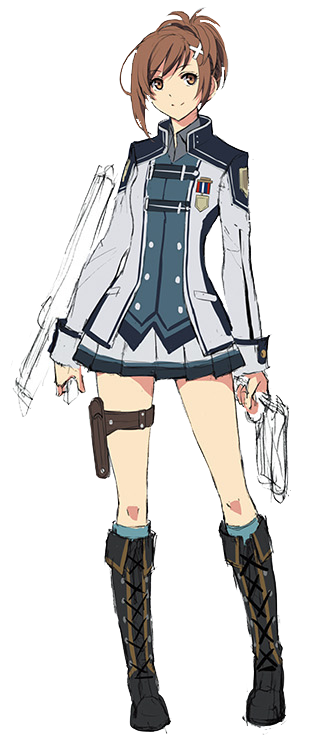 Fine-tuning sketches
 -
 Pre-production screenshot
 -
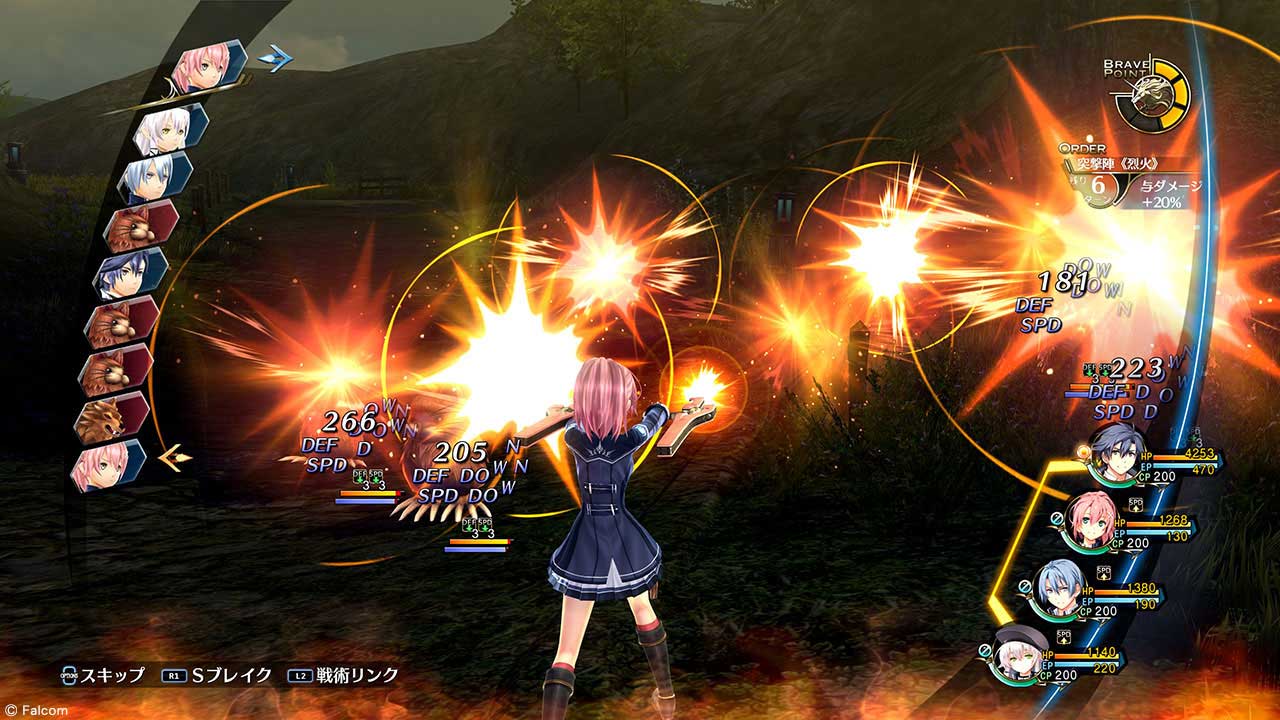 Pre-production screenshot
 -
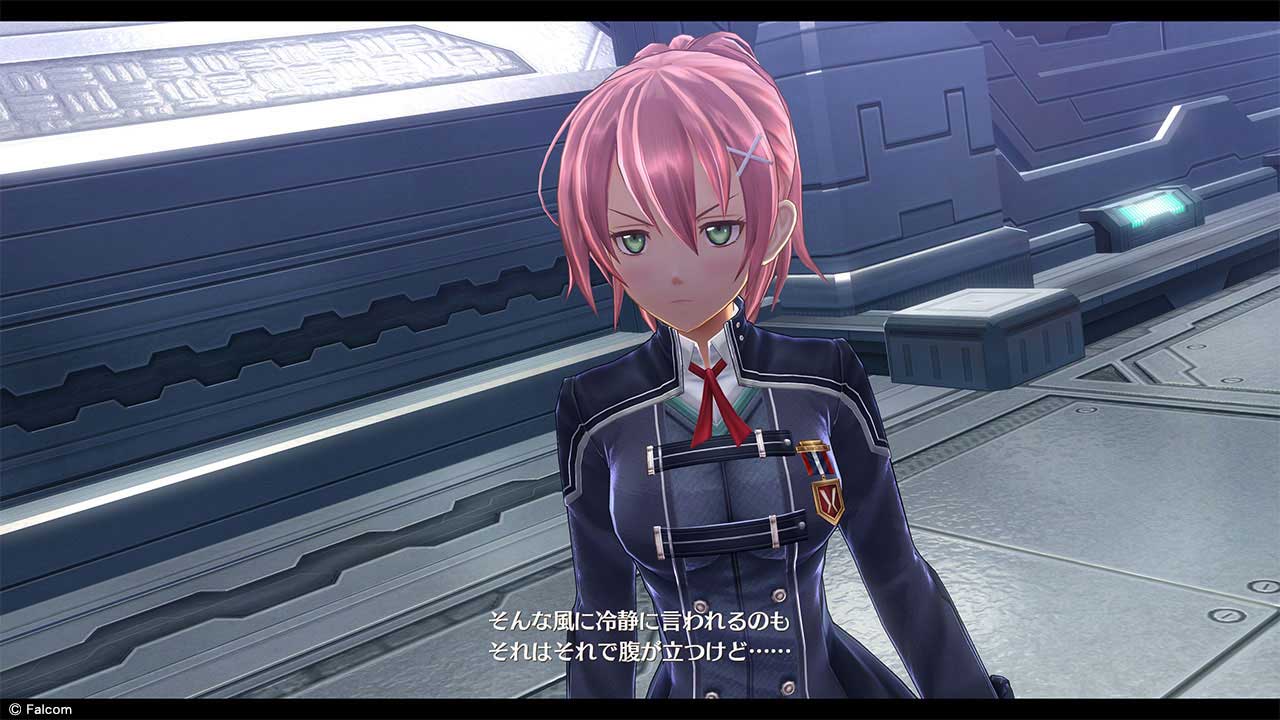 Pre-production screenshot
 -
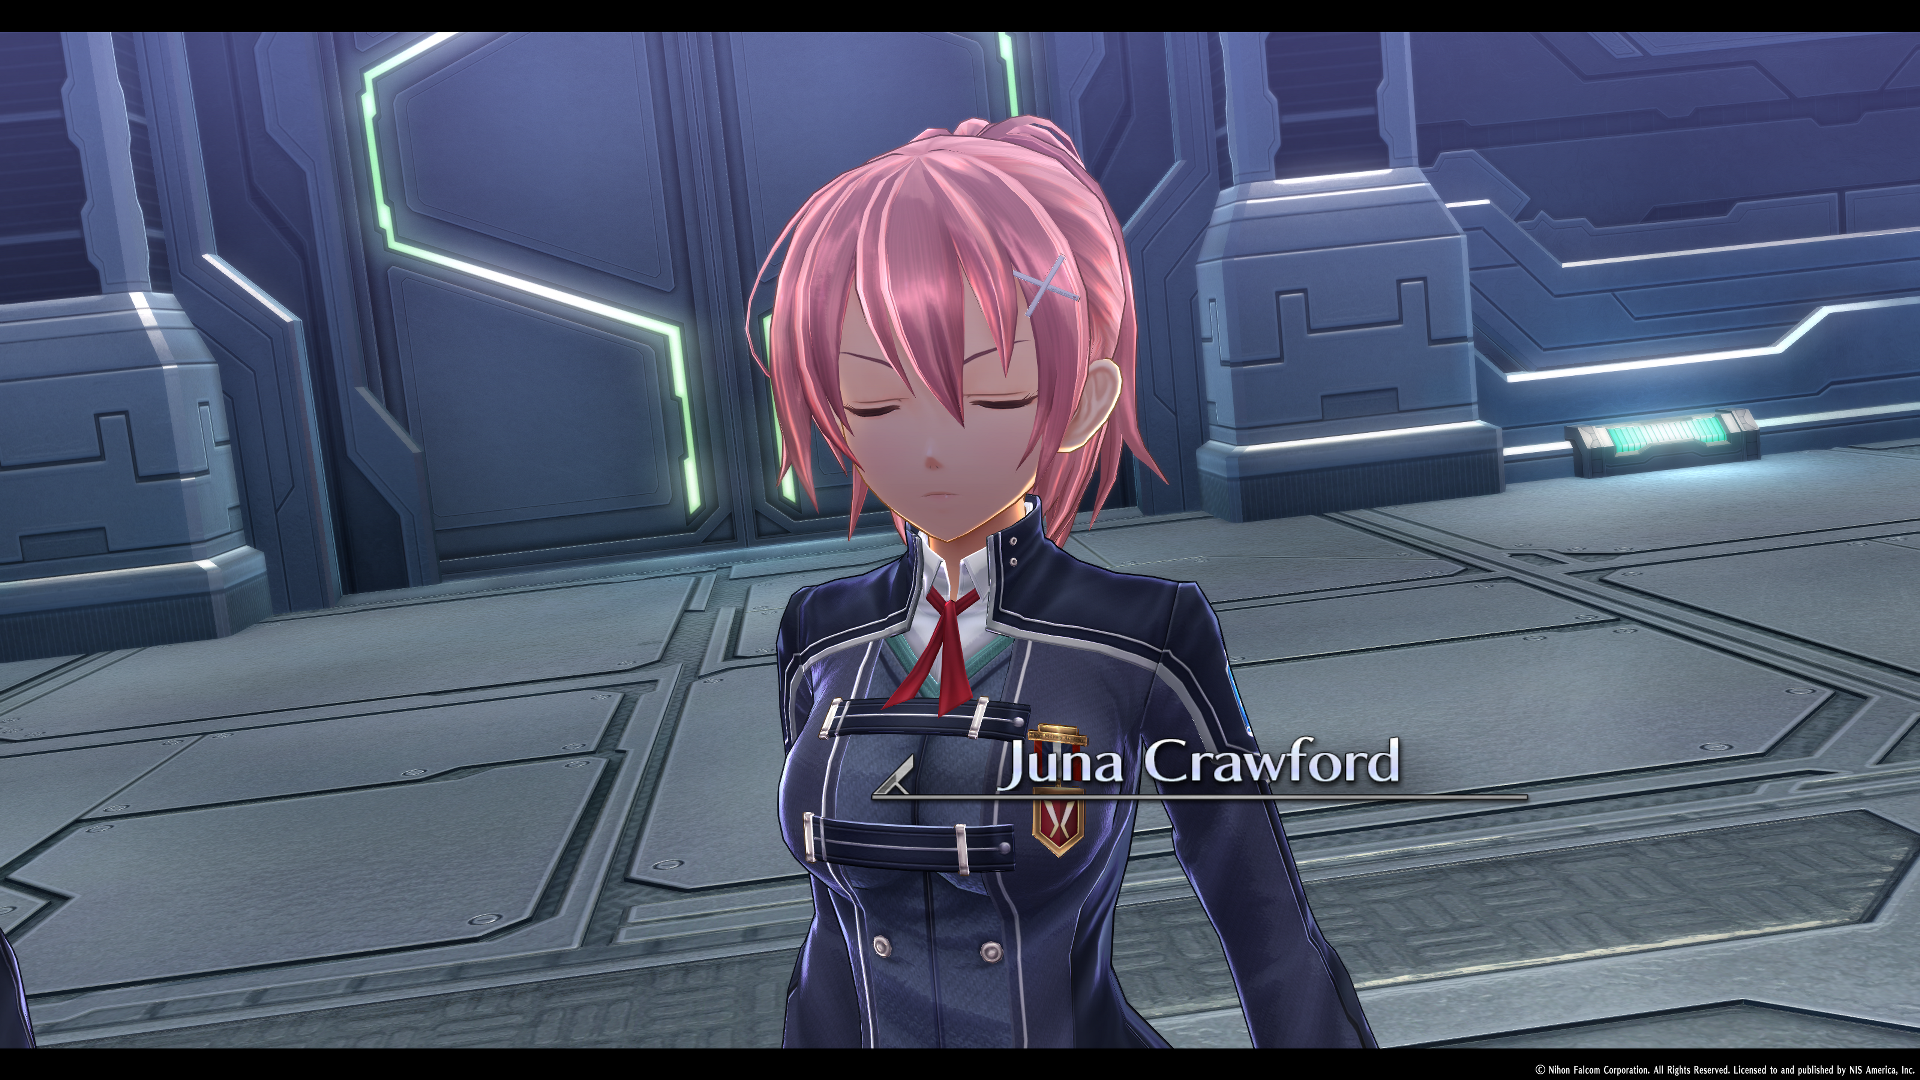 Introduction
 -
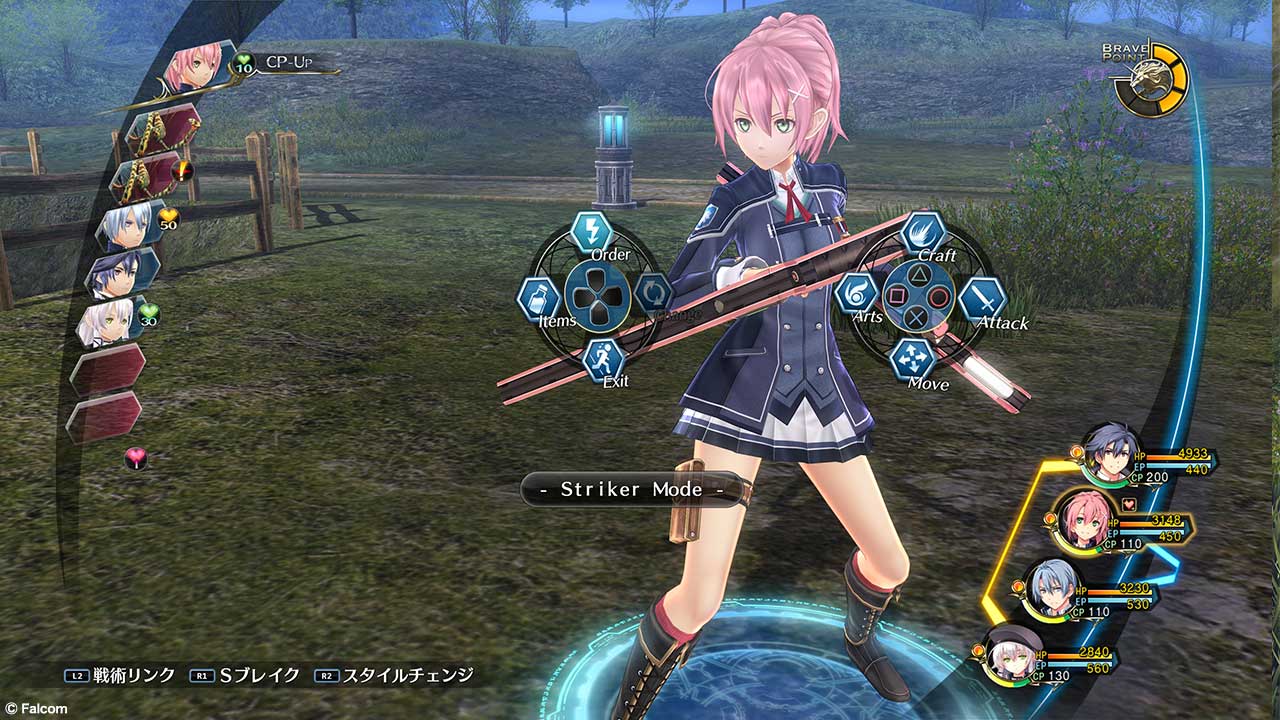 Striker Mode
 -
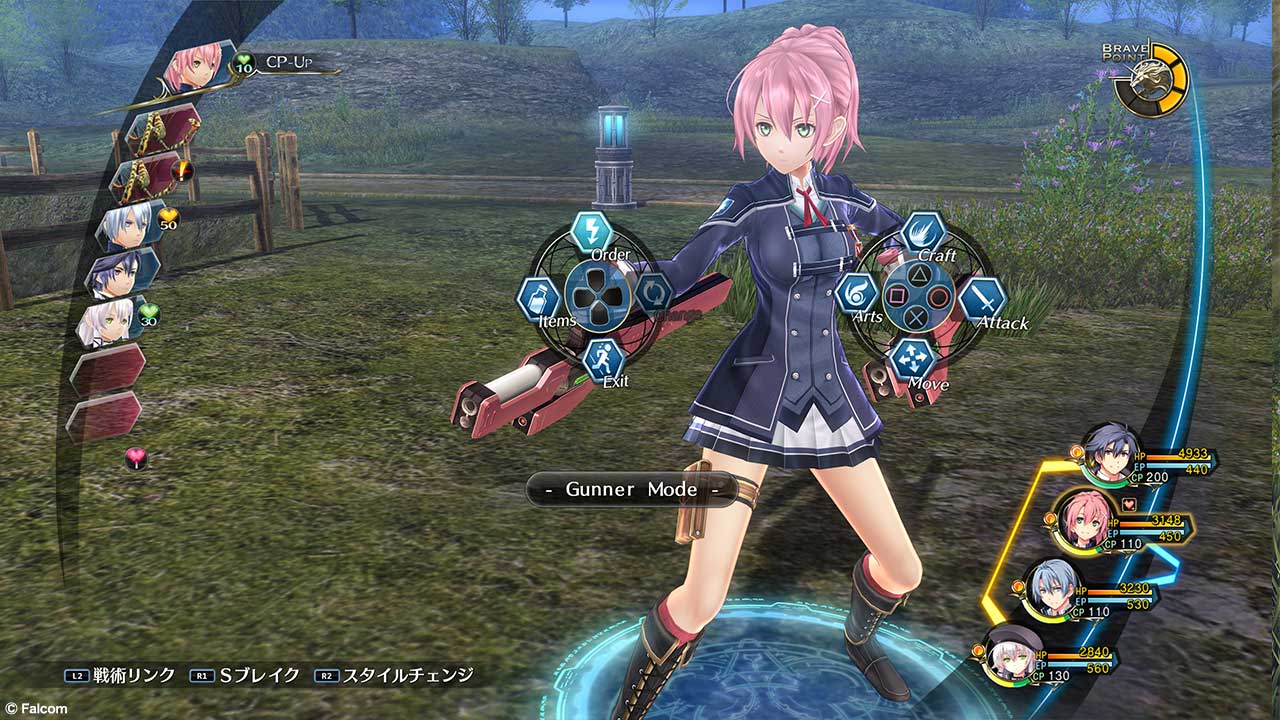 Gunner Mode
 -
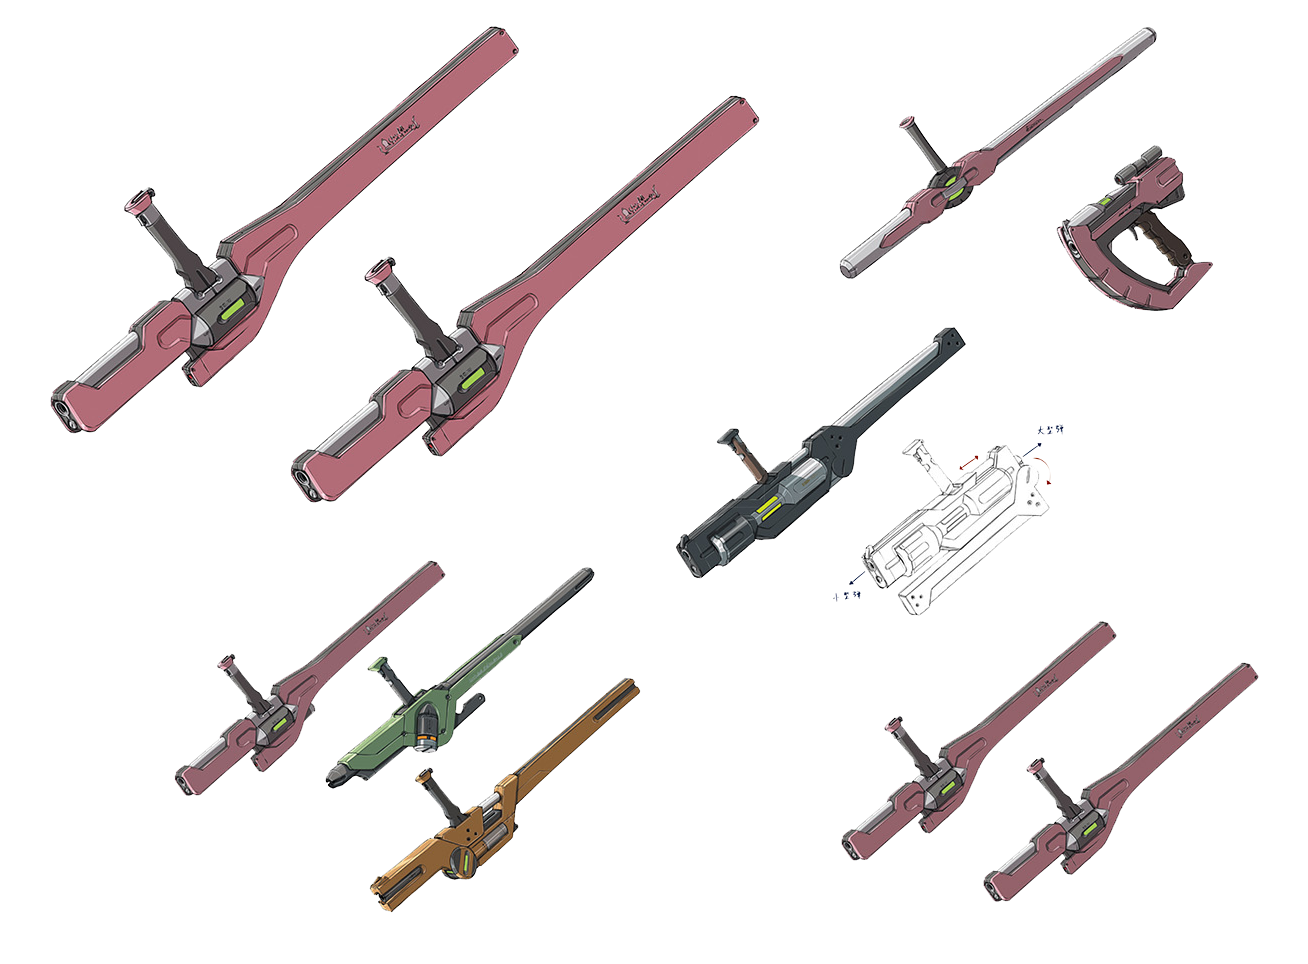 Gunbreakers
 -
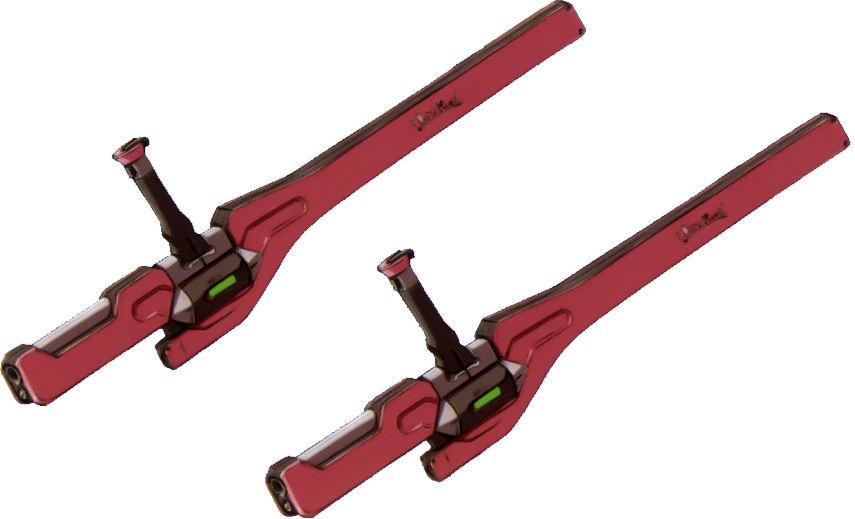 Gunbreakers
.png)
.png)
.png)
.png)
.png)
.png)
.png)
.png)
.png)
.png)
.png)
.png)
.png)
.png)
.png)
.png)
.png)
.png)
.jpg)
.png)
.png)
.png)
.png)
.png)
.png)
.png)
.png)
.png)
.png)
.png)
.jpg)
_02.jpg)
_03.jpg)
.png)
.jpg)
.jpg)
.png)
.png)
영웅전설 섬의 궤적 IV
-
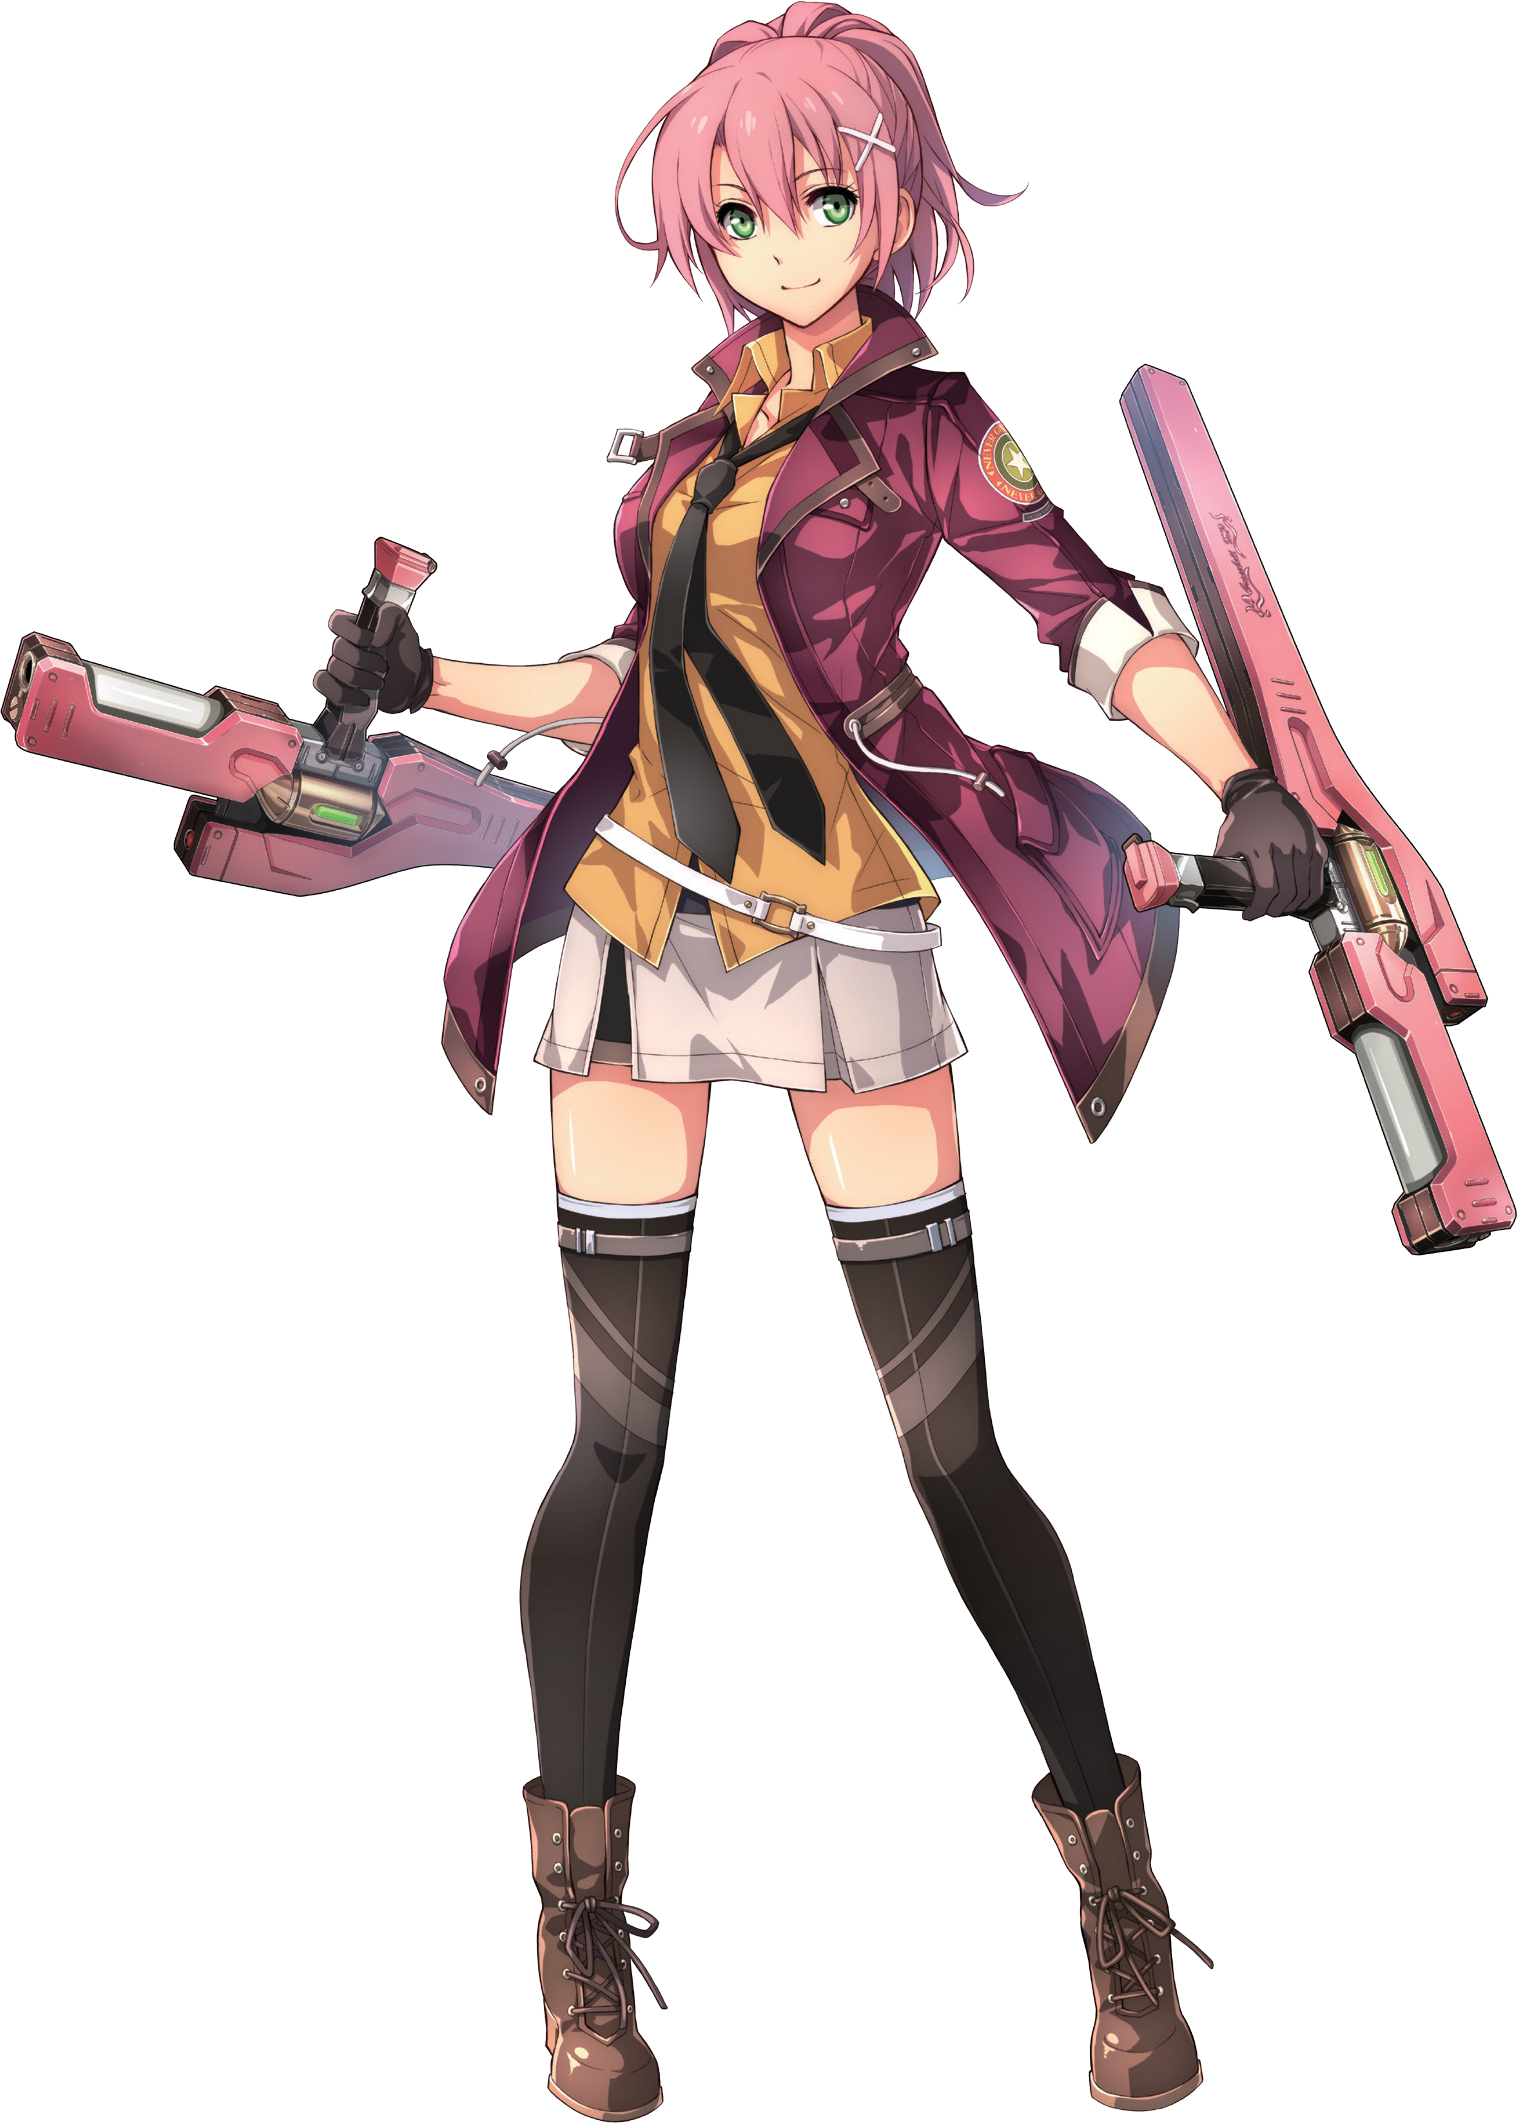 Full-length
 -
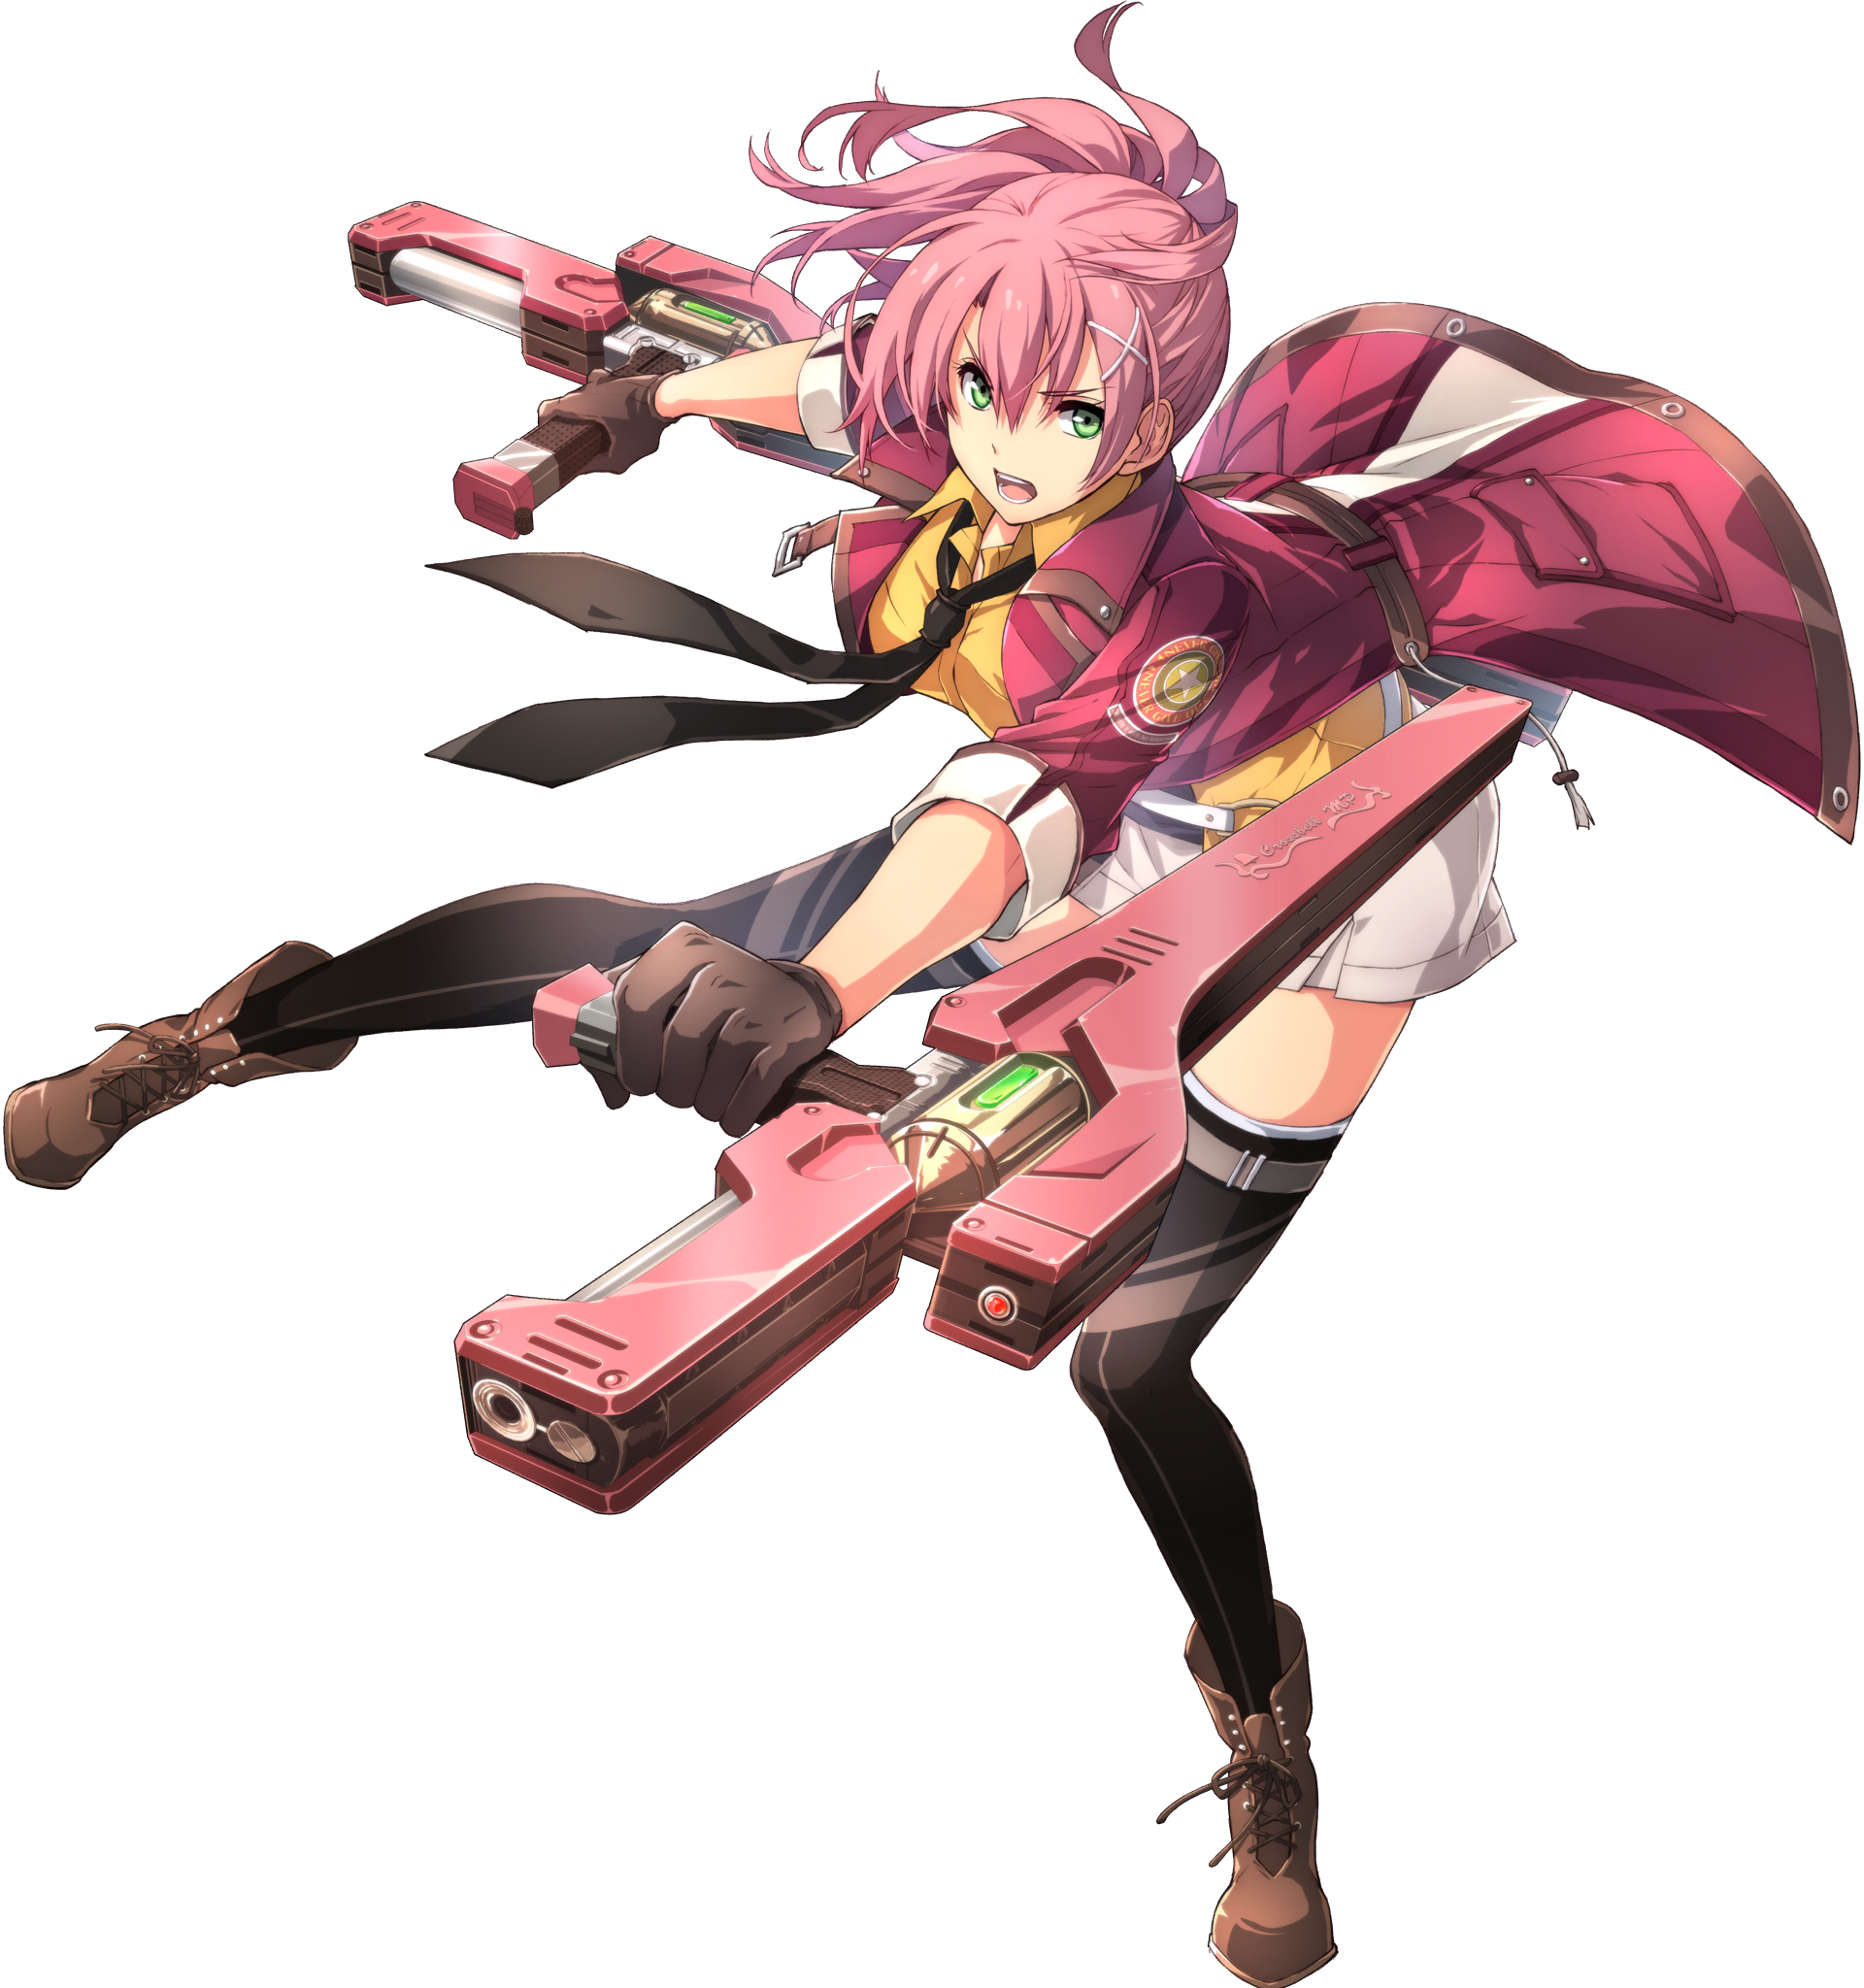 S-Craft
 -
 Magical Juna
 -
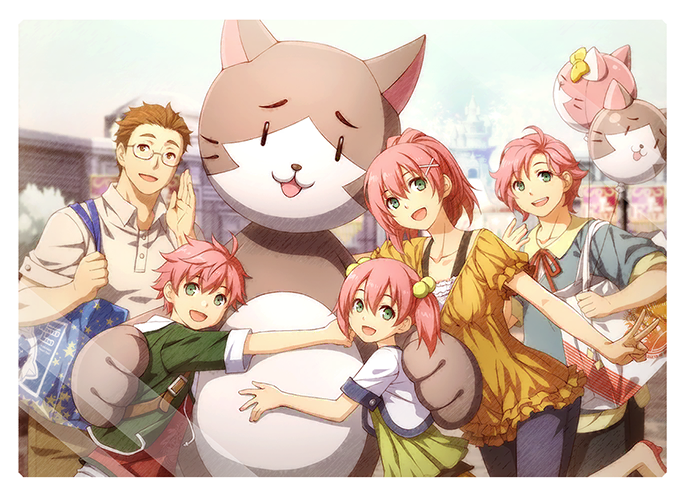 Family photo
 -
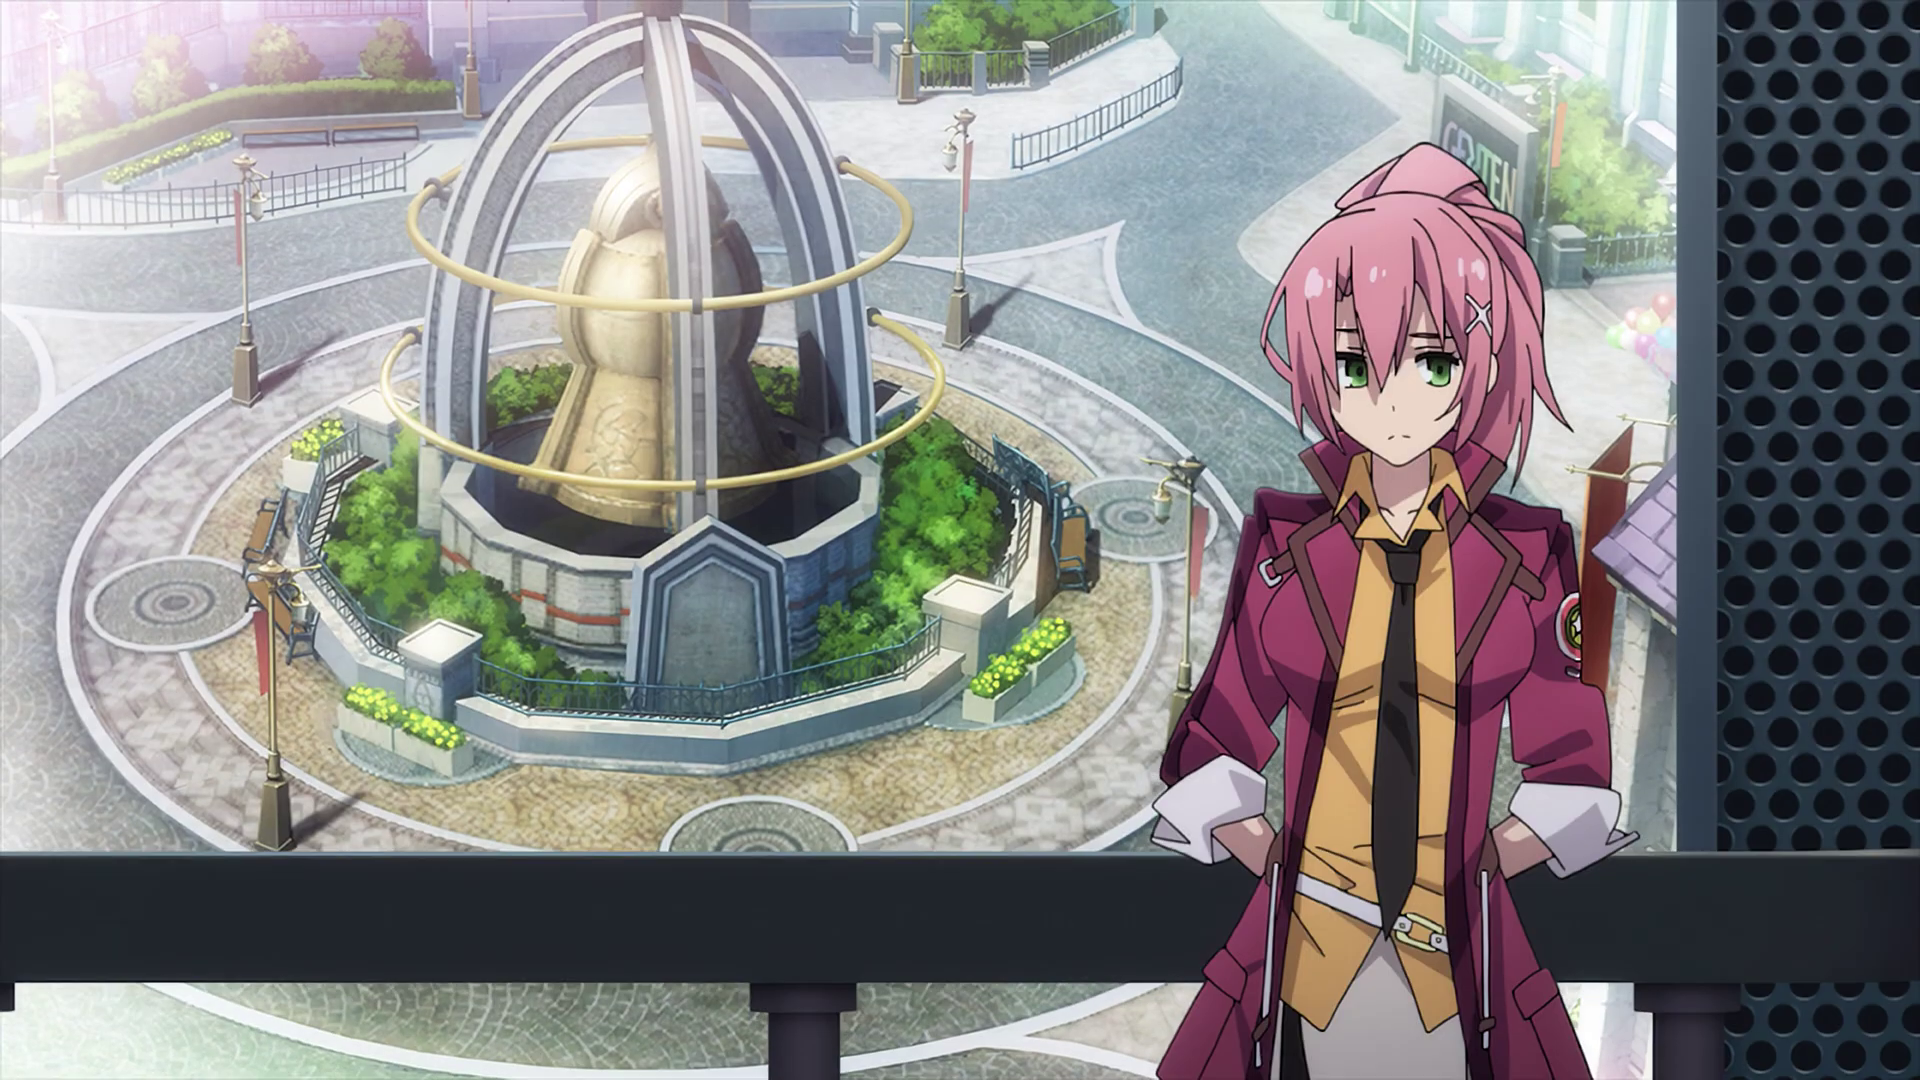 Opening
 -
 Opening
 -
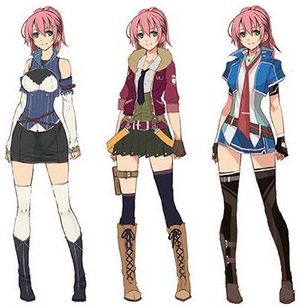 Concept art
 -
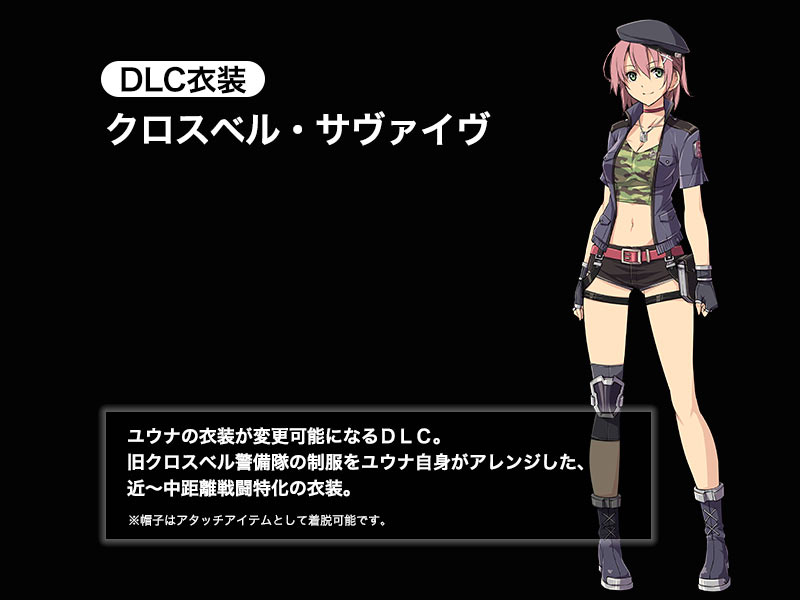 Crossbell Survive DLC
 -
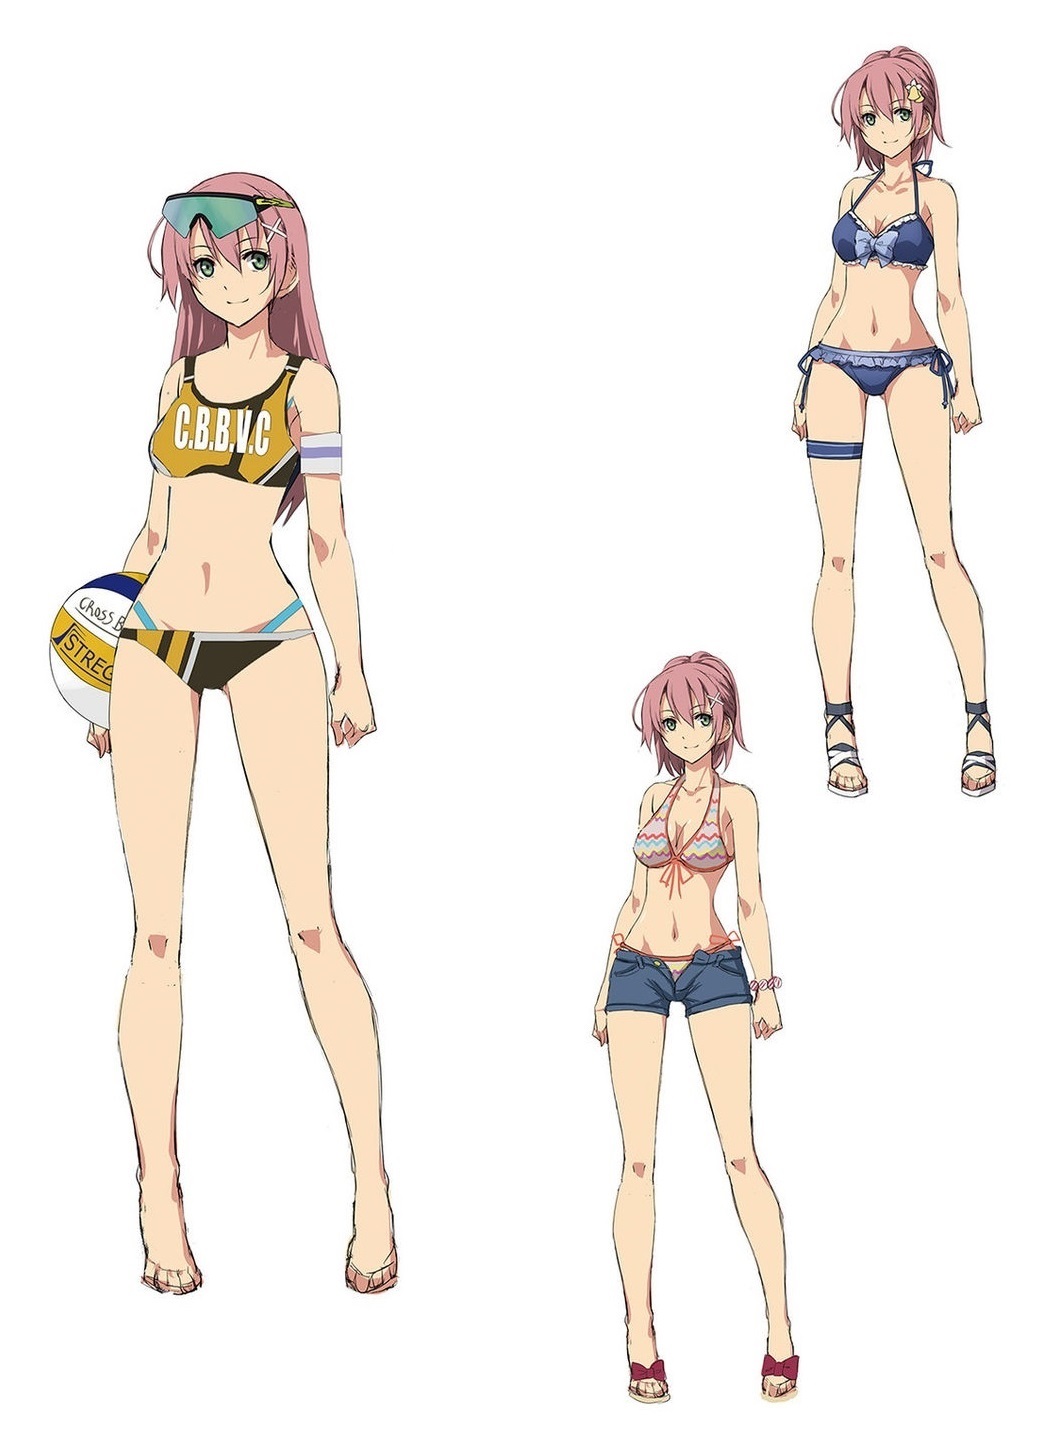 Concept art swimsuit
 -
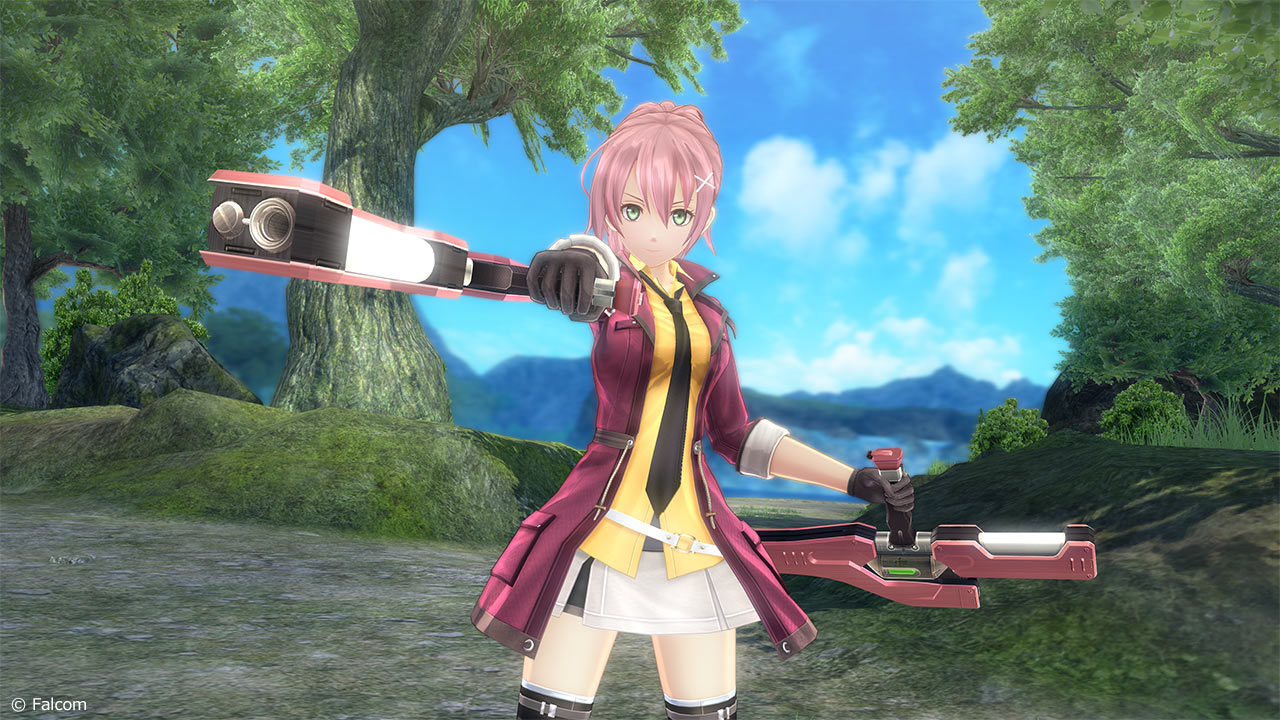 Pre-production screenshot
 -
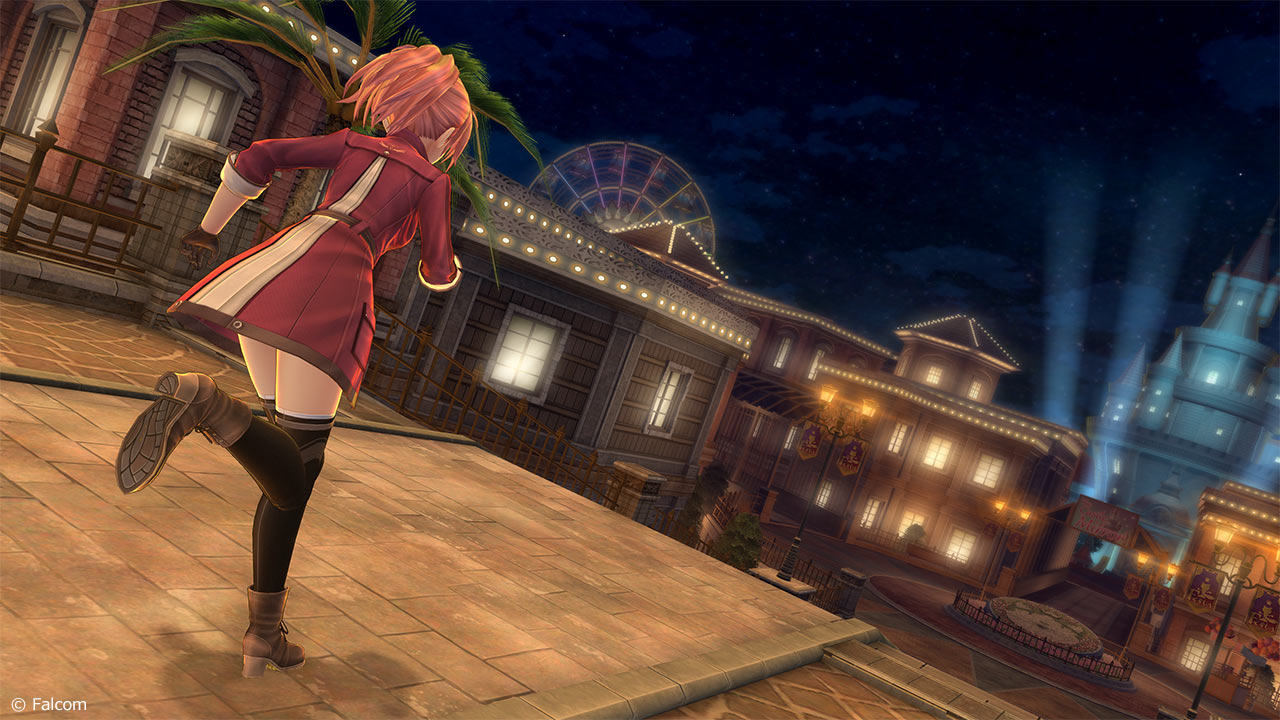 Pre-production screenshot
 -
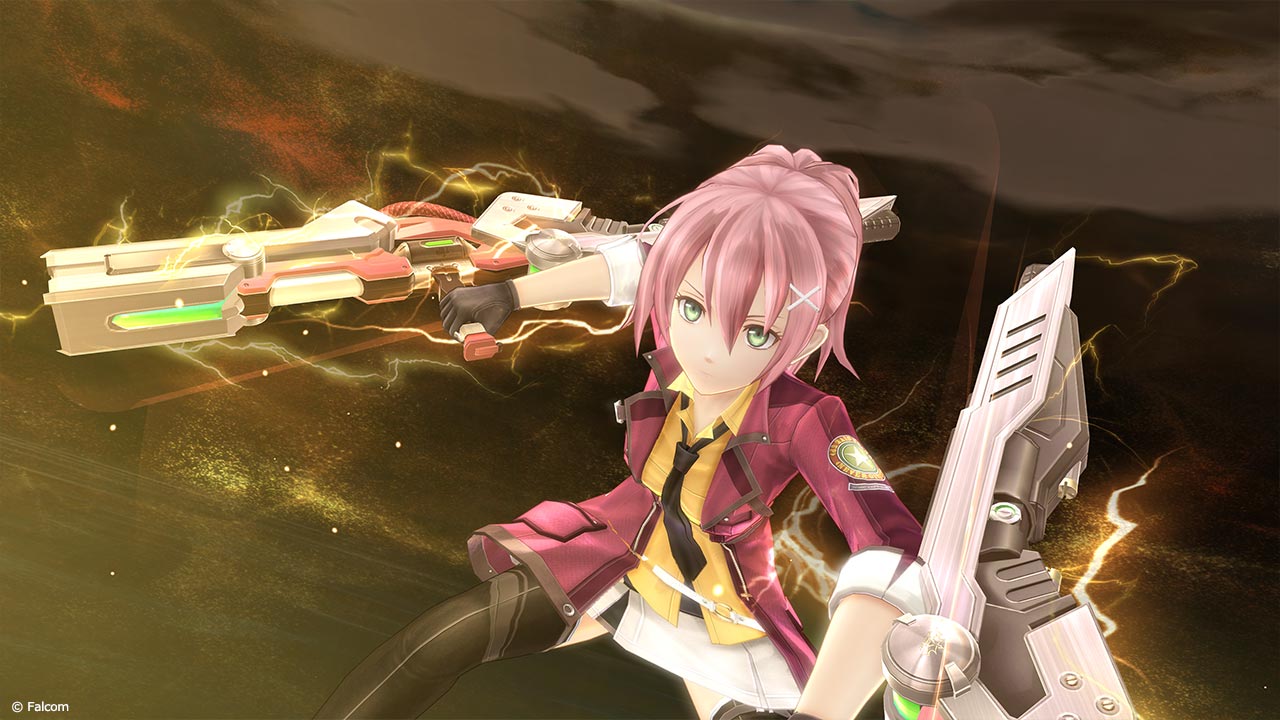 Pre-production screenshot
 -
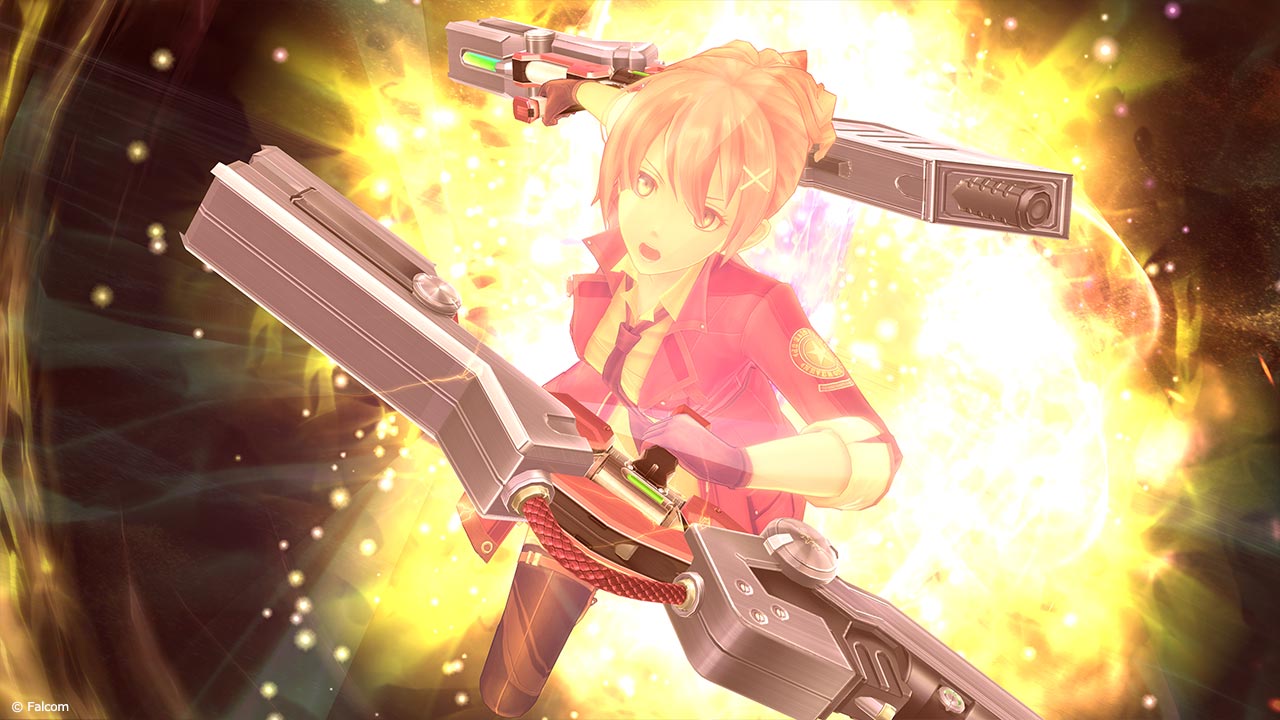 Pre-production screenshot
.png)
.png)
.png)
.png)
.png)
.png)
.png)


.jpg)
.jpg)
.jpg)
.jpg)
영웅전설 시작의 궤적
-
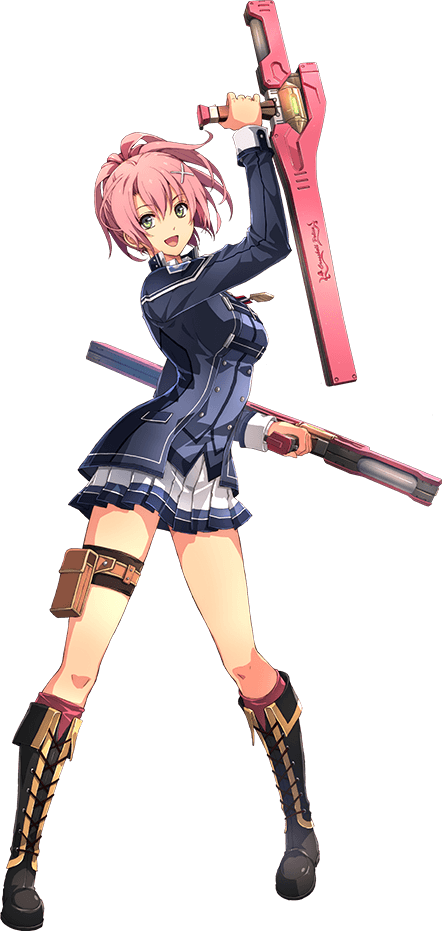 Character artwork
 -
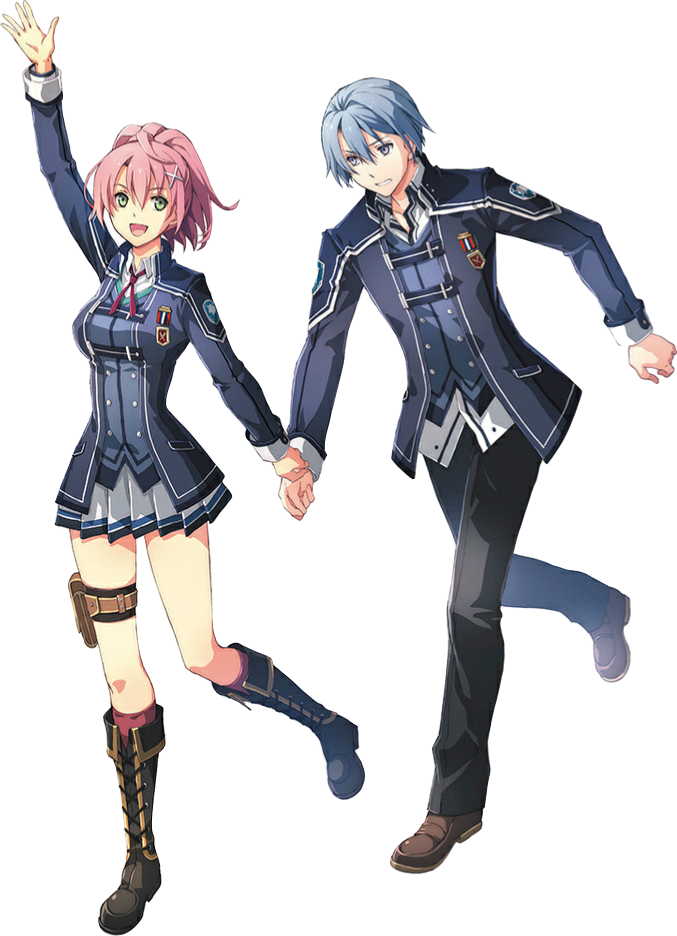 Key Visual
 -
 Hollow S-Craft
 -
 Opening
 -
 HOT-SHOT
 -
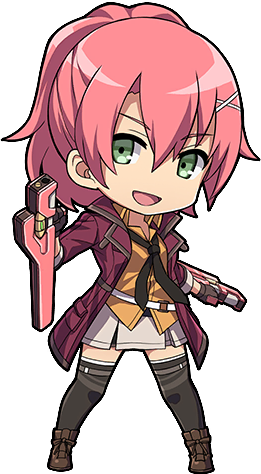 SD
SD -
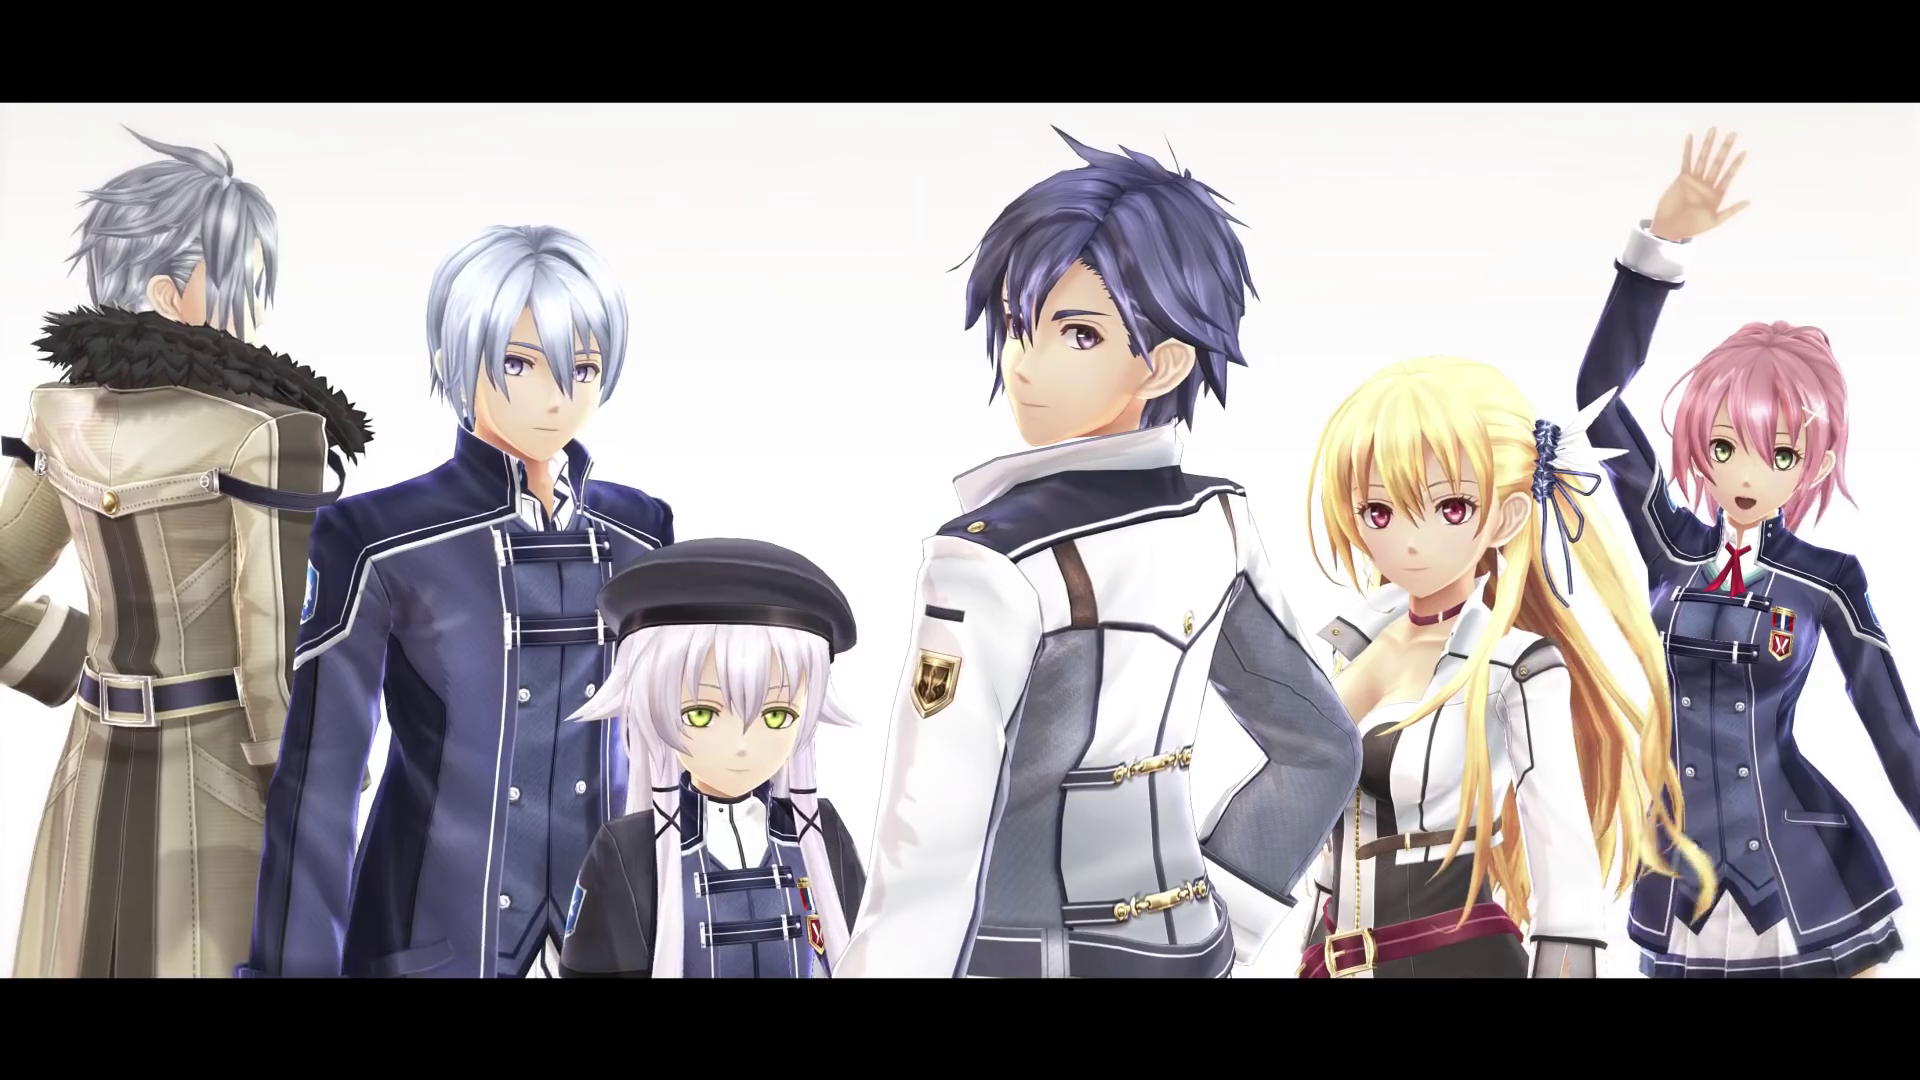
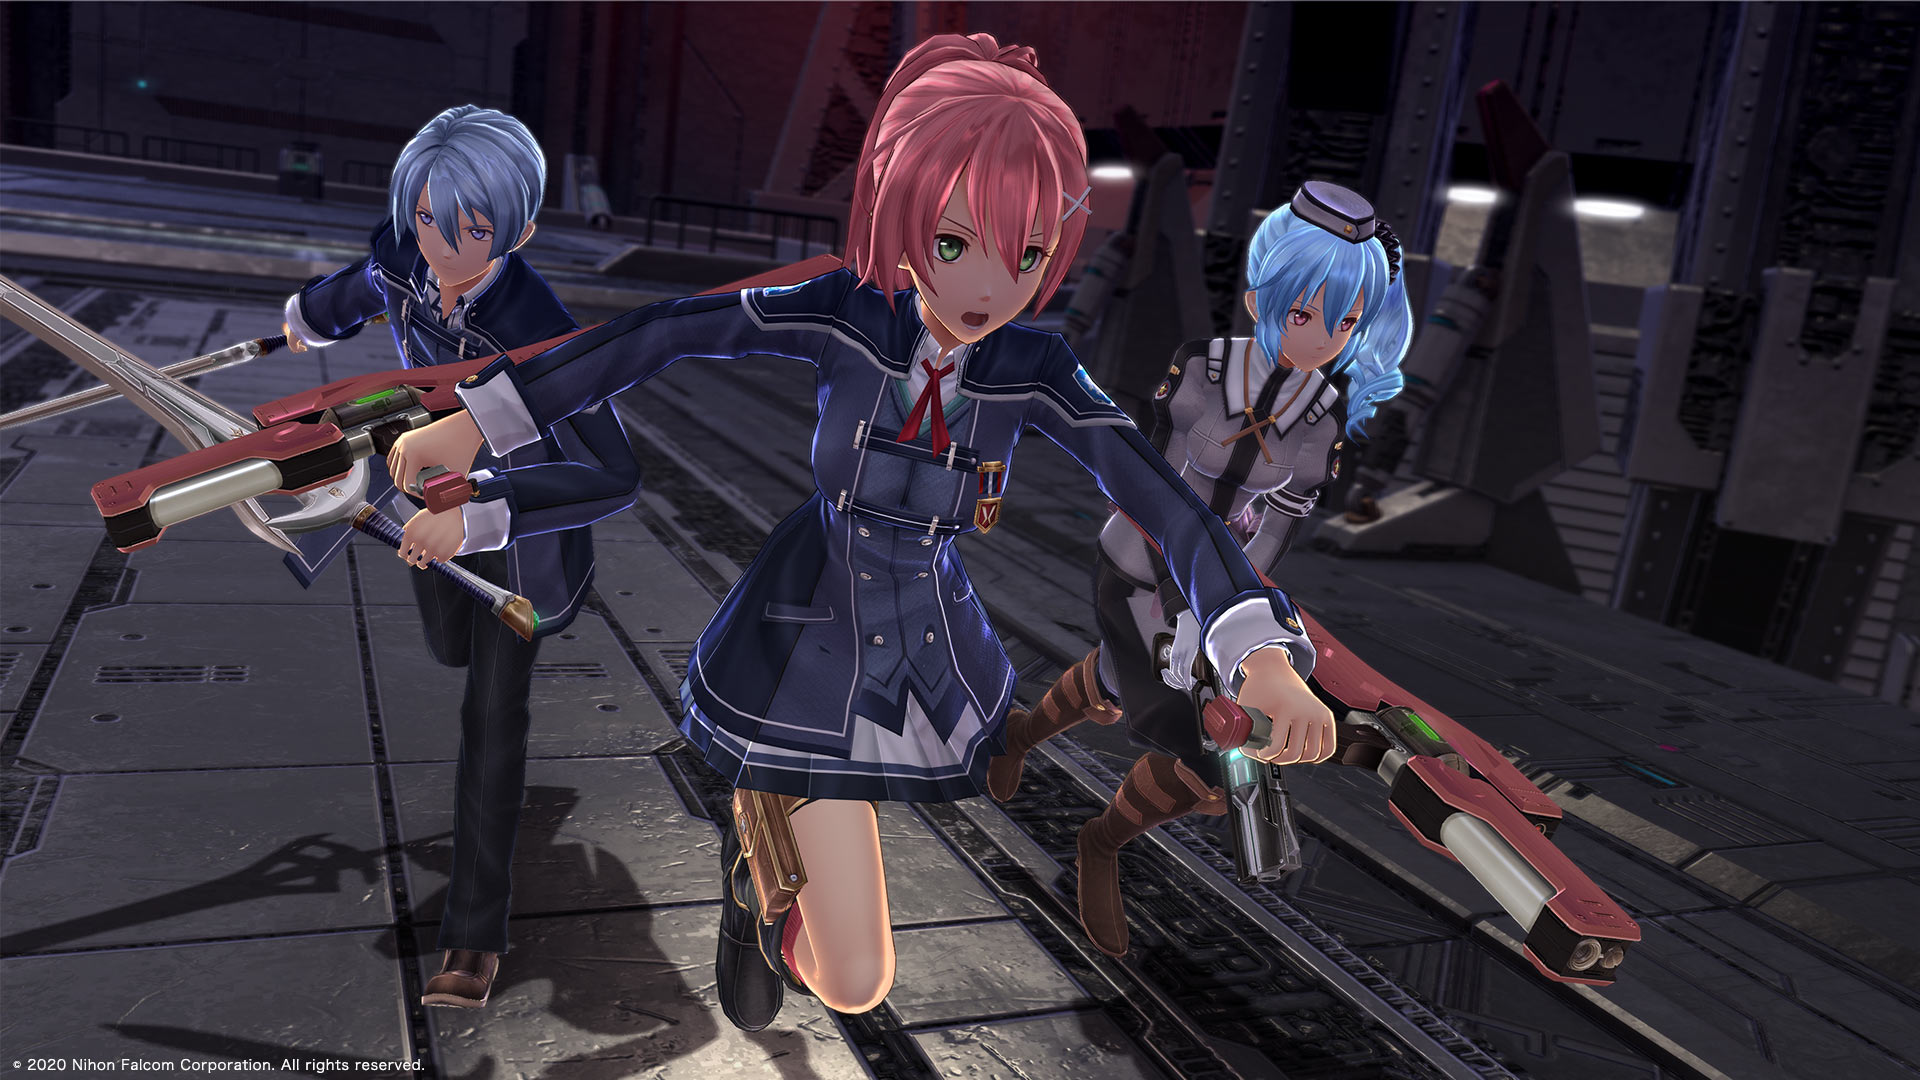 Promotional Screenshot of Juna, Kurt Vander and Claire Rieveldt.
 -
.png)
.png)
.png)
.png)
.jpg)
.png)
.jpg)
.jpg)
Akatsuki no Kiseki
-
 Spring outfit
 -
 Swimsuit outfit
.jpg)
.jpg)
The Legend of Heroes: Trails of Cold Steel: Northern War
.png)
Others
.png)
.png)
Trivia
- Juna's bonding trophy in 영웅전설 섬의 궤적 III is titled "Cross Your Heart".
- Juna's bonding trophy in 영웅전설 섬의 궤적 IV is titled "Juna-versal Feelings".
- While Juna wasn't present during the original release of the Crossbell Arc Games, a younger version of her was added as an NPC in the PS4 rerelease of 영웅전설 벽의 궤적 in the police academy.
References
- ↑ Erika Harlacher Twitter (accessed: May 9, 2019) at @ErikaHarlacher
- ↑ Erika Harlacher Twitter (accessed: October 22, 2019) at @ErikaHarlacher
- ↑ 3.0 3.1 3.2 3.3 3.4 영웅전설 섬의 궤적 III, Dengeki Character File Notebook.
- ↑ Learnt at the start of the Einhel Keep in 영웅전설 섬의 궤적 III, 제2장 "상극의 크로스벨".