| Entrance |
|---|

|
상그랄 미궁: 두 판 사이의 차이
kiseki
다른 명령
잔글 판 1개를 가져왔습니다 |
Overwrite with kiseki.fandom.com current (reset for clean re-translation) |
||
| 1번째 줄: | 1번째 줄: | ||
{{ | {{InfoRoad | ||
|title1 = Saint-Gral Labyrinth | |||
|image1 = Saint-Gral Labyrinth - Introduction (Sen IV).jpg | |image1 = Saint-Gral Labyrinth - Introduction (Sen IV).jpg | ||
|game = {{g|Sen IV}} | |||
|country = [[Erebonia]] | |country = [[Erebonia]] | ||
|region = [[Sutherland Province]] | |region = [[Sutherland Province]] | ||
| | |northloc = | ||
|westloc = [[Eerie Woods]] | |||
|eastloc = | |||
|southloc = | |||
}} | }} | ||
'''Saint-Gral Labyrinth''' (サングラール迷宮) is a [[Hexen Clan]] training facility | The '''Saint-Gral Labyrinth''' (サングラール迷宮) is a [[Hexen Clan]] training facility in the [[Eerie Woods]], near the village of [[Eryn]]. | ||
== {{g|Sen IV}} == | == {{g|Sen IV}} == | ||
=== Background === | === Background === | ||
The Saint-Gral Labyrinth was built by [[Roselia Millstein|Crimson Roselia]] as a way to train and test the witches that wanted to leave the village and become wandering witches. The inside of the labyrinth can change between several phase spaces depending on the level of training required. | |||
In August of S.1206, [[Class VII]] undergoes a rehabilitation program under Roselia's tutelage to regain their previous combat capabilities and endurance after two weeks of resting following the events at the [[Gral of Erebos]]. With the old Class VII having recovered earlier, Juna, Kurt and Altina, together with Randy, make their way through the labyrinth before setting off to find the singularities needed to locate the [[Black Workshop]]. Roselia herself is the final test of their first day in the labyrinth, unleashing her original form. | |||
As they find more singularities, higher phases become available for usage, but not required. | |||
=== Maps === | === Maps === | ||
<tabber> | |||
|-|Entrance= | |||
{| class="article-table" style="width:100%" | |||
!Entrance | |||
|- | |||
|style="text-align:center"|[[File:Saint-Gral Labyrinth Entrance.png|borderless]] | |||
|} | |||
|-|Phase 1= | |||
{| class="article-table" style="width:100%" | |||
!Phase 1 | |||
|- | |||
|style="text-align:center"|[[File:Saint-Gral Labyrinth Phase 1.png|borderless]] | |||
|} | |||
|-|Phase 2= | |||
{| class="article-table" style="width:100%" | |||
!Phase 2 | |||
|- | |||
|style="text-align:center"|[[File:Saint-Gral Labyrinth Phase 2.png|borderless]] | |||
|} | |||
|-|Phase 3= | |||
{| class="article-table" style="width:100%" | |||
!Phase 3 | |||
|- | |||
|style="text-align:center"|[[File:Saint-Gral Labyrinth Phase 3.png|borderless]] | |||
|} | |||
|-|Phase 4= | |||
{| class="article-table" style="width:100%" | |||
!Phase 4 | |||
|- | |||
|style="text-align:center"|[[File:Saint-Gral Labyrinth Phase 4.png|borderless]] | |||
|} | |||
|-|Depths= | |||
{| class="article-table" style="width:100%" | |||
!Depths | |||
|- | |||
|style="text-align:center"|[[File:Saint-Gral Labyrinth Depths.png|borderless]] | |||
|} | |||
</tabber> | |||
=== | === Phase 1 === | ||
==== [[List of enemies (Cold Steel IV)/Saint-Gral Labyrinth#Phase 1| | ==== [[List of enemies (Cold Steel IV)/Saint-Gral Labyrinth#Phase 1|Enemies]] ==== | ||
* [[List of enemies (Cold Steel IV)/Saint-Gral Labyrinth#Homing Modl|Homing Mold]] | * [[List of enemies (Cold Steel IV)/Saint-Gral Labyrinth#Homing Modl|Homing Mold]] | ||
* [[List of enemies (Cold Steel IV)/Saint-Gral Labyrinth#Mizerambler|Mizerambler]] | * [[List of enemies (Cold Steel IV)/Saint-Gral Labyrinth#Mizerambler|Mizerambler]] | ||
* [[List of enemies (Cold Steel IV)/Saint-Gral Labyrinth#Masked Magewraith|Masked Magewraith]] | * [[List of enemies (Cold Steel IV)/Saint-Gral Labyrinth#Masked Magewraith|Masked Magewraith]] | ||
* [[List of enemies (Cold Steel IV)/Saint-Gral Labyrinth#Rubbletroll|Rubbletroll]] | * [[List of enemies (Cold Steel IV)/Saint-Gral Labyrinth#Rubbletroll|Rubbletroll]] | ||
* '''[[List of enemies (Cold Steel IV)/Saint-Gral Labyrinth#Crimson Roselia|Crimson Roselia]]''' | * '''[[List of enemies (Cold Steel IV)/Saint-Gral Labyrinth#Crimson Roselia|Crimson Roselia]]''': [[List of quests (Cold Steel IV)/Act 1 - Part 1/Training in St. Gral|Story]] | ||
* '''[[List of enemies (Cold Steel IV)/EXTRA#Alice|Alice]]''' | * '''[[List of enemies (Cold Steel IV)/EXTRA#Alice|Alice]]''': [[List of quests (Cold Steel IV)/Act 2 - Part 3/Rosenberg Roundup|Quest]] | ||
* '''[[List of enemies (Cold Steel IV)/EXTRA#Char|Char]]''' | * '''[[List of enemies (Cold Steel IV)/EXTRA#Char|Char]]''': [[List of quests (Cold Steel IV)/Act 2 - Part 3/Rosenberg Roundup|Quest]] | ||
* '''[[List of enemies (Cold Steel IV)/EXTRA#Kanan|Kanan]]''' | * '''[[List of enemies (Cold Steel IV)/EXTRA#Kanan|Kanan]]''': [[List of quests (Cold Steel IV)/Act 2 - Part 3/Rosenberg Roundup|Quest]] | ||
= | ==== [[List of treasure chests (Cold Steel IV)#Eryn|Treasure Chests]] ==== | ||
{| class="article-table" style="width:100%" | |||
=== [[List of treasure chests (Cold Steel IV)|Treasure Chests]] === | |||
{| class="article-table | |||
! style="width:1%" |Key | ! style="width:1%" |Key | ||
! | !Contents | ||
|- | |- | ||
!1 | !1 | ||
|{{Item|Potion|Sen III}} Teara Balm | |{{Item|Potion|Sen III}} Teara Balm, {{Item|Potion|Sen III}} EP Charge II, {{Item|Potion|Sen III}} Celestial Balm | ||
|- | |- | ||
!2 | !2 | ||
| 58번째 줄: | 83번째 줄: | ||
|- | |- | ||
!3 | !3 | ||
|{{Sepith|Earth|Sen}}{{Sepith|Water|Sen}}{{Sepith|Fire|Sen}}{{Sepith|Wind|Sen}}{{Sepith|Time|Sen}}{{Sepith|Space|Sen}}{{Sepith|Mirage|Sen}} All | |{{Sepith|Earth|Sen III}}{{Sepith|Water|Sen III}}{{Sepith|Fire|Sen III}}{{Sepith|Wind|Sen III}}{{Sepith|Time|Sen III}}{{Sepith|Space|Sen III}}{{Sepith|Mirage|Sen III}} All Sepith ×50 | ||
|- | |- | ||
!4 | !4 | ||
|{{Quartz|Water|Sen}} HP 2 | |{{Quartz|Water|Sen III}} HP 2 | ||
|- | |- | ||
!5 | !5 | ||
| 68번째 줄: | 93번째 줄: | ||
!6 | !6 | ||
|{{Item|Accessory|Sen III}} Proxy Puppet | |{{Item|Accessory|Sen III}} Proxy Puppet | ||
|} | |||
=== Phase 2 === | |||
==== [[List of enemies (Cold Steel IV)/Saint-Gral Labyrinth#Phase 2|Enemies]] ==== | |||
* [[List of enemies (Cold Steel IV)/Saint-Gral Labyrinth#Blood Monad|Blood Monad]] | |||
* [[List of enemies (Cold Steel IV)/Saint-Gral Labyrinth#Vampire Bat|Vampire Bat]] | |||
* [[List of enemies (Cold Steel IV)/Saint-Gral Labyrinth#Grimblade|Grimblade]] | |||
* '''[[List of enemies (Cold Steel IV)/Saint-Gral Labyrinth#Gargoylorus|Gargoylorus]]''' | |||
==== [[List of treasure chests (Cold Steel IV)#Eryn|Treasure Chests]] ==== | |||
{| class="article-table" style="width:100%" | |||
! style="width:1%" |Key | |||
!Contents | |||
|- | |- | ||
! | !1 | ||
|U-Material | |{{Item|U-Material|Sen III}} U-Material ×5 | ||
|- | |- | ||
! | !2 | ||
|{{Item|Potion|Sen III}} Power Potion | |{{Item|Potion|Sen III}} Power Potion, {{Item|Potion|Sen III}} Shield Potion, {{Item|Potion|Sen III}} Mind Potion | ||
|- | |- | ||
! | !3 | ||
|{{Item|Accessory|Sen III}} Yellow Pendulum | |{{Item|Accessory|Sen III}} Yellow Pendulum | ||
|- | |- | ||
! | !4 | ||
|{{Item|Potion|Sen III}} Curia Balm | |{{Item|Potion|Sen III}} Curia Balm ×5, {{Item|Potion|Sen III}} S-Tablet ×5 | ||
|- | |- | ||
! | !5 | ||
|{{Quartz|Space R|Sen}} Fortuna R | |{{Quartz|Space R|Sen III}} Fortuna R | ||
|- | |- | ||
! | !6 | ||
|{{Sepith|Earth|Sen}}{{Sepith|Water|Sen}}{{Sepith|Fire|Sen}}{{Sepith|Wind|Sen}}{{Sepith|Time|Sen}}{{Sepith|Space|Sen}}{{Sepith|Mirage|Sen}} All | |{{Sepith|Earth|Sen III}}{{Sepith|Water|Sen III}}{{Sepith|Fire|Sen III}}{{Sepith|Wind|Sen III}}{{Sepith|Time|Sen III}}{{Sepith|Space|Sen III}}{{Sepith|Mirage|Sen III}} All Sepith ×50 | ||
|} | |||
=== Phase 3 === | |||
==== [[List of enemies (Cold Steel IV)/Saint-Gral Labyrinth#Phase 3|Enemies]] ==== | |||
* [[List of enemies (Cold Steel IV)/Saint-Gral Labyrinth#Spike Jellyfish|Spike Jellyfish]] | |||
* [[List of enemies (Cold Steel IV)/Saint-Gral Labyrinth#Kijimun|Kijimun]] | |||
* [[List of enemies (Cold Steel IV)/Saint-Gral Labyrinth#Ashen Crusher|Ashen Crusher]] | |||
* '''[[List of enemies (Cold Steel IV)/Saint-Gral Labyrinth#Mega Kraken|Mega Kraken]]''' | |||
==== [[List of treasure chests (Cold Steel IV)#Eryn|Treasure Chests]] ==== | |||
{| class="article-table" style="width:100%" | |||
! style="width:1%" |Key | |||
!Contents | |||
|- | |- | ||
! | !1 | ||
|U-Material | |{{Item|U-Material|Sen III}} U-Material ×5 | ||
|- | |- | ||
! | !2 | ||
|{{Quartz|Time R|Sen}} Chrono Burst R | |{{Quartz|Time R|Sen III}} Chrono Burst R | ||
|- | |- | ||
! | !3 | ||
|{{Item|Potion|Sen III}} Teara Balm | |{{Item|Potion|Sen III}} Teara Balm, {{Item|Potion|Sen III}} EP Charge II, {{Item|Potion|Sen III}} Celestial Balm | ||
|- | |- | ||
! | !4 | ||
|{{Item|Accessory|Sen III}} Dark Pendulum | |{{Item|Accessory|Sen III}} Dark Pendulum | ||
|- | |- | ||
! | !5 | ||
|{{Sepith|Earth|Sen}}{{Sepith|Water|Sen}}{{Sepith|Fire|Sen}}{{Sepith|Wind|Sen}}{{Sepith|Time|Sen}}{{Sepith|Space|Sen}}{{Sepith|Mirage|Sen}} All | |{{Sepith|Earth|Sen III}}{{Sepith|Water|Sen III}}{{Sepith|Fire|Sen III}}{{Sepith|Wind|Sen III}}{{Sepith|Time|Sen III}}{{Sepith|Space|Sen III}}{{Sepith|Mirage|Sen III}} All Sepith ×50 | ||
|- | |||
!Trial | |||
|style="padding:0px"| | |||
{| class="article-table" style="width:100%;margin:0px" | |||
! style="width:12ch" |Characters | |||
! style="width:14ch" |Order Upgraded | |||
!Contents | |||
|- | |||
|[[File:Musse Small (Sen III).png|48px|link=|Musse]] [[File:Ash Small (Sen III).png|48px|link=|Ash]] | |||
|Arts Celebration | |||
|[[List_of_enemies_(Cold_Steel_IV)/Trial_Chests#Ashen Scratcher|Ashen Scratcher]] | |||
|} | |||
|} | |||
=== Phase 4 === | |||
==== [[List of enemies (Cold Steel IV)/Saint-Gral Labyrinth#Phase 4|Enemies]] ==== | |||
* [[List of enemies (Cold Steel IV)/Saint-Gral Labyrinth#Octofiend|Octofiend]] | |||
* [[List of enemies (Cold Steel IV)/Saint-Gral Labyrinth#Blurred Shadow|Blurred Shadow]] | |||
* [[List of enemies (Cold Steel IV)/Saint-Gral Labyrinth#Ultimate Being|Ultimate Being]] | |||
* '''[[List of enemies (Cold Steel IV)/Saint-Gral Labyrinth#Arachne Graia|Arachne Graia]]''' | |||
==== [[List of treasure chests (Cold Steel IV)#Eryn|Treasure Chests]] ==== | |||
{| class="article-table" style="width:100%" | |||
! style="width:1%" |Key | |||
!Contents | |||
|- | |- | ||
! | !1 | ||
|{{Quartz|Mirage|Sen}} EP 3 | |{{Quartz|Mirage|Sen III}} EP 3 | ||
|- | |- | ||
! | !2 | ||
|{{Quartz|Time|Sen}} Cast 3 | |{{Quartz|Time|Sen III}} Cast 3 | ||
|- | |- | ||
! | !3 | ||
|U-Material | |{{Item|U-Material|Sen III}} U-Material ×5 | ||
|- | |- | ||
! | !4 | ||
|{{Quartz|Fire R|Sen}} Flare Butterfly R | |{{Quartz|Fire R|Sen III}} Flare Butterfly R | ||
|- | |- | ||
! | !5 | ||
|{{Sepith|Earth|Sen}}{{Sepith|Water|Sen}}{{Sepith|Fire|Sen}}{{Sepith|Wind|Sen}}{{Sepith|Time|Sen}}{{Sepith|Space|Sen}}{{Sepith|Mirage|Sen}} All | |{{Sepith|Earth|Sen III}}{{Sepith|Water|Sen III}}{{Sepith|Fire|Sen III}}{{Sepith|Wind|Sen III}}{{Sepith|Time|Sen III}}{{Sepith|Space|Sen III}}{{Sepith|Mirage|Sen III}} All Sepith ×50 | ||
|- | |- | ||
! | !6 | ||
|{{Item|Potion|Sen III}} Brave Seed | |{{Item|Potion|Sen III}} Brave Seed | ||
|} | |} | ||
=== [[List of quests (Cold Steel IV)|Quests]] === | === [[List of quests (Cold Steel IV)|Quests]] === | ||
* [[List of quests (Cold Steel IV)/Act 2/ | * [[List of quests (Cold Steel IV)/Act 1 - Part 1/Training in St. Gral|Training in St. Gral]]: New Class VII and Randy enter the labyrinth to train before leaving. | ||
* [[List of quests (Cold Steel IV)/Act 2 - Part 3/Rosenberg Roundup|Rosenberg Roundup]]: The final trunk can be found in the depths of Phase 1. | |||
== Gallery == | == Gallery == | ||
2026년 7월 29일 (수) 22:59 판
The Saint-Gral Labyrinth (サングラール迷宮) is a Hexen Clan training facility in the Eerie Woods, near the village of Eryn.
영웅전설 섬의 궤적 IV
Background
The Saint-Gral Labyrinth was built by Crimson Roselia as a way to train and test the witches that wanted to leave the village and become wandering witches. The inside of the labyrinth can change between several phase spaces depending on the level of training required.
In August of S.1206, Class VII undergoes a rehabilitation program under Roselia's tutelage to regain their previous combat capabilities and endurance after two weeks of resting following the events at the Gral of Erebos. With the old Class VII having recovered earlier, Juna, Kurt and Altina, together with Randy, make their way through the labyrinth before setting off to find the singularities needed to locate the Black Workshop. Roselia herself is the final test of their first day in the labyrinth, unleashing her original form.
As they find more singularities, higher phases become available for usage, but not required.
Maps
| Phase 1 |
|---|

|
| Phase 2 |
|---|

|
| Phase 3 |
|---|

|
| Phase 4 |
|---|

|
| Depths |
|---|

|
Phase 1
Enemies
- Homing Mold
- Mizerambler
- Masked Magewraith
- Rubbletroll
- Crimson Roselia: Story
- Alice: Quest
- Char: Quest
- Kanan: Quest
Treasure Chests
| Key | Contents |
|---|---|
| 1 |  Teara Balm, EP Charge II, Celestial Balm Teara Balm, EP Charge II, Celestial Balm
|
| 2 |  Silver Chain Silver Chain
|
| 3 |        All Sepith ×50 All Sepith ×50
|
| 4 |  HP 2 HP 2
|
| 5 | Spirit Incense
|
| 6 | Proxy Puppet
|
Phase 2
Enemies
Treasure Chests
| Key | Contents |
|---|---|
| 1 |  U-Material ×5 U-Material ×5
|
| 2 | Power Potion, Shield Potion, Mind Potion
|
| 3 | Yellow Pendulum
|
| 4 | Curia Balm ×5, S-Tablet ×5
|
| 5 |  Fortuna R Fortuna R
|
| 6 | All Sepith ×50
|
Phase 3
Enemies
Treasure Chests
| Key | Contents | ||||||
|---|---|---|---|---|---|---|---|
| 1 | U-Material ×5
| ||||||
| 2 |  Chrono Burst R Chrono Burst R
| ||||||
| 3 | Teara Balm, EP Charge II, Celestial Balm
| ||||||
| 4 | Dark Pendulum
| ||||||
| 5 | All Sepith ×50
| ||||||
| Trial |
|


Phase 4
Enemies
Treasure Chests
| Key | Contents |
|---|---|
| 1 |  EP 3 EP 3
|
| 2 |  Cast 3 Cast 3
|
| 3 | U-Material ×5
|
| 4 |  Flare Butterfly R Flare Butterfly R
|
| 5 | All Sepith ×50
|
| 6 | Brave Seed
|
Quests
- Training in St. Gral: New Class VII and Randy enter the labyrinth to train before leaving.
- Rosenberg Roundup: The final trunk can be found in the depths of Phase 1.
Gallery
-
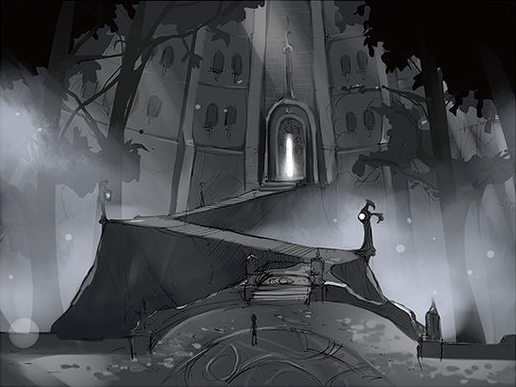 Concept art
 -
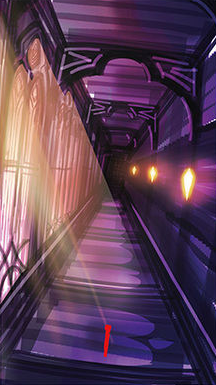 Concept art
 -
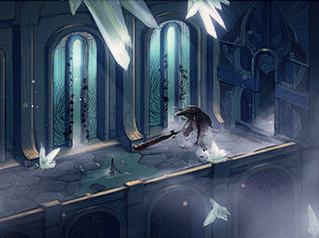 Concept art
 -
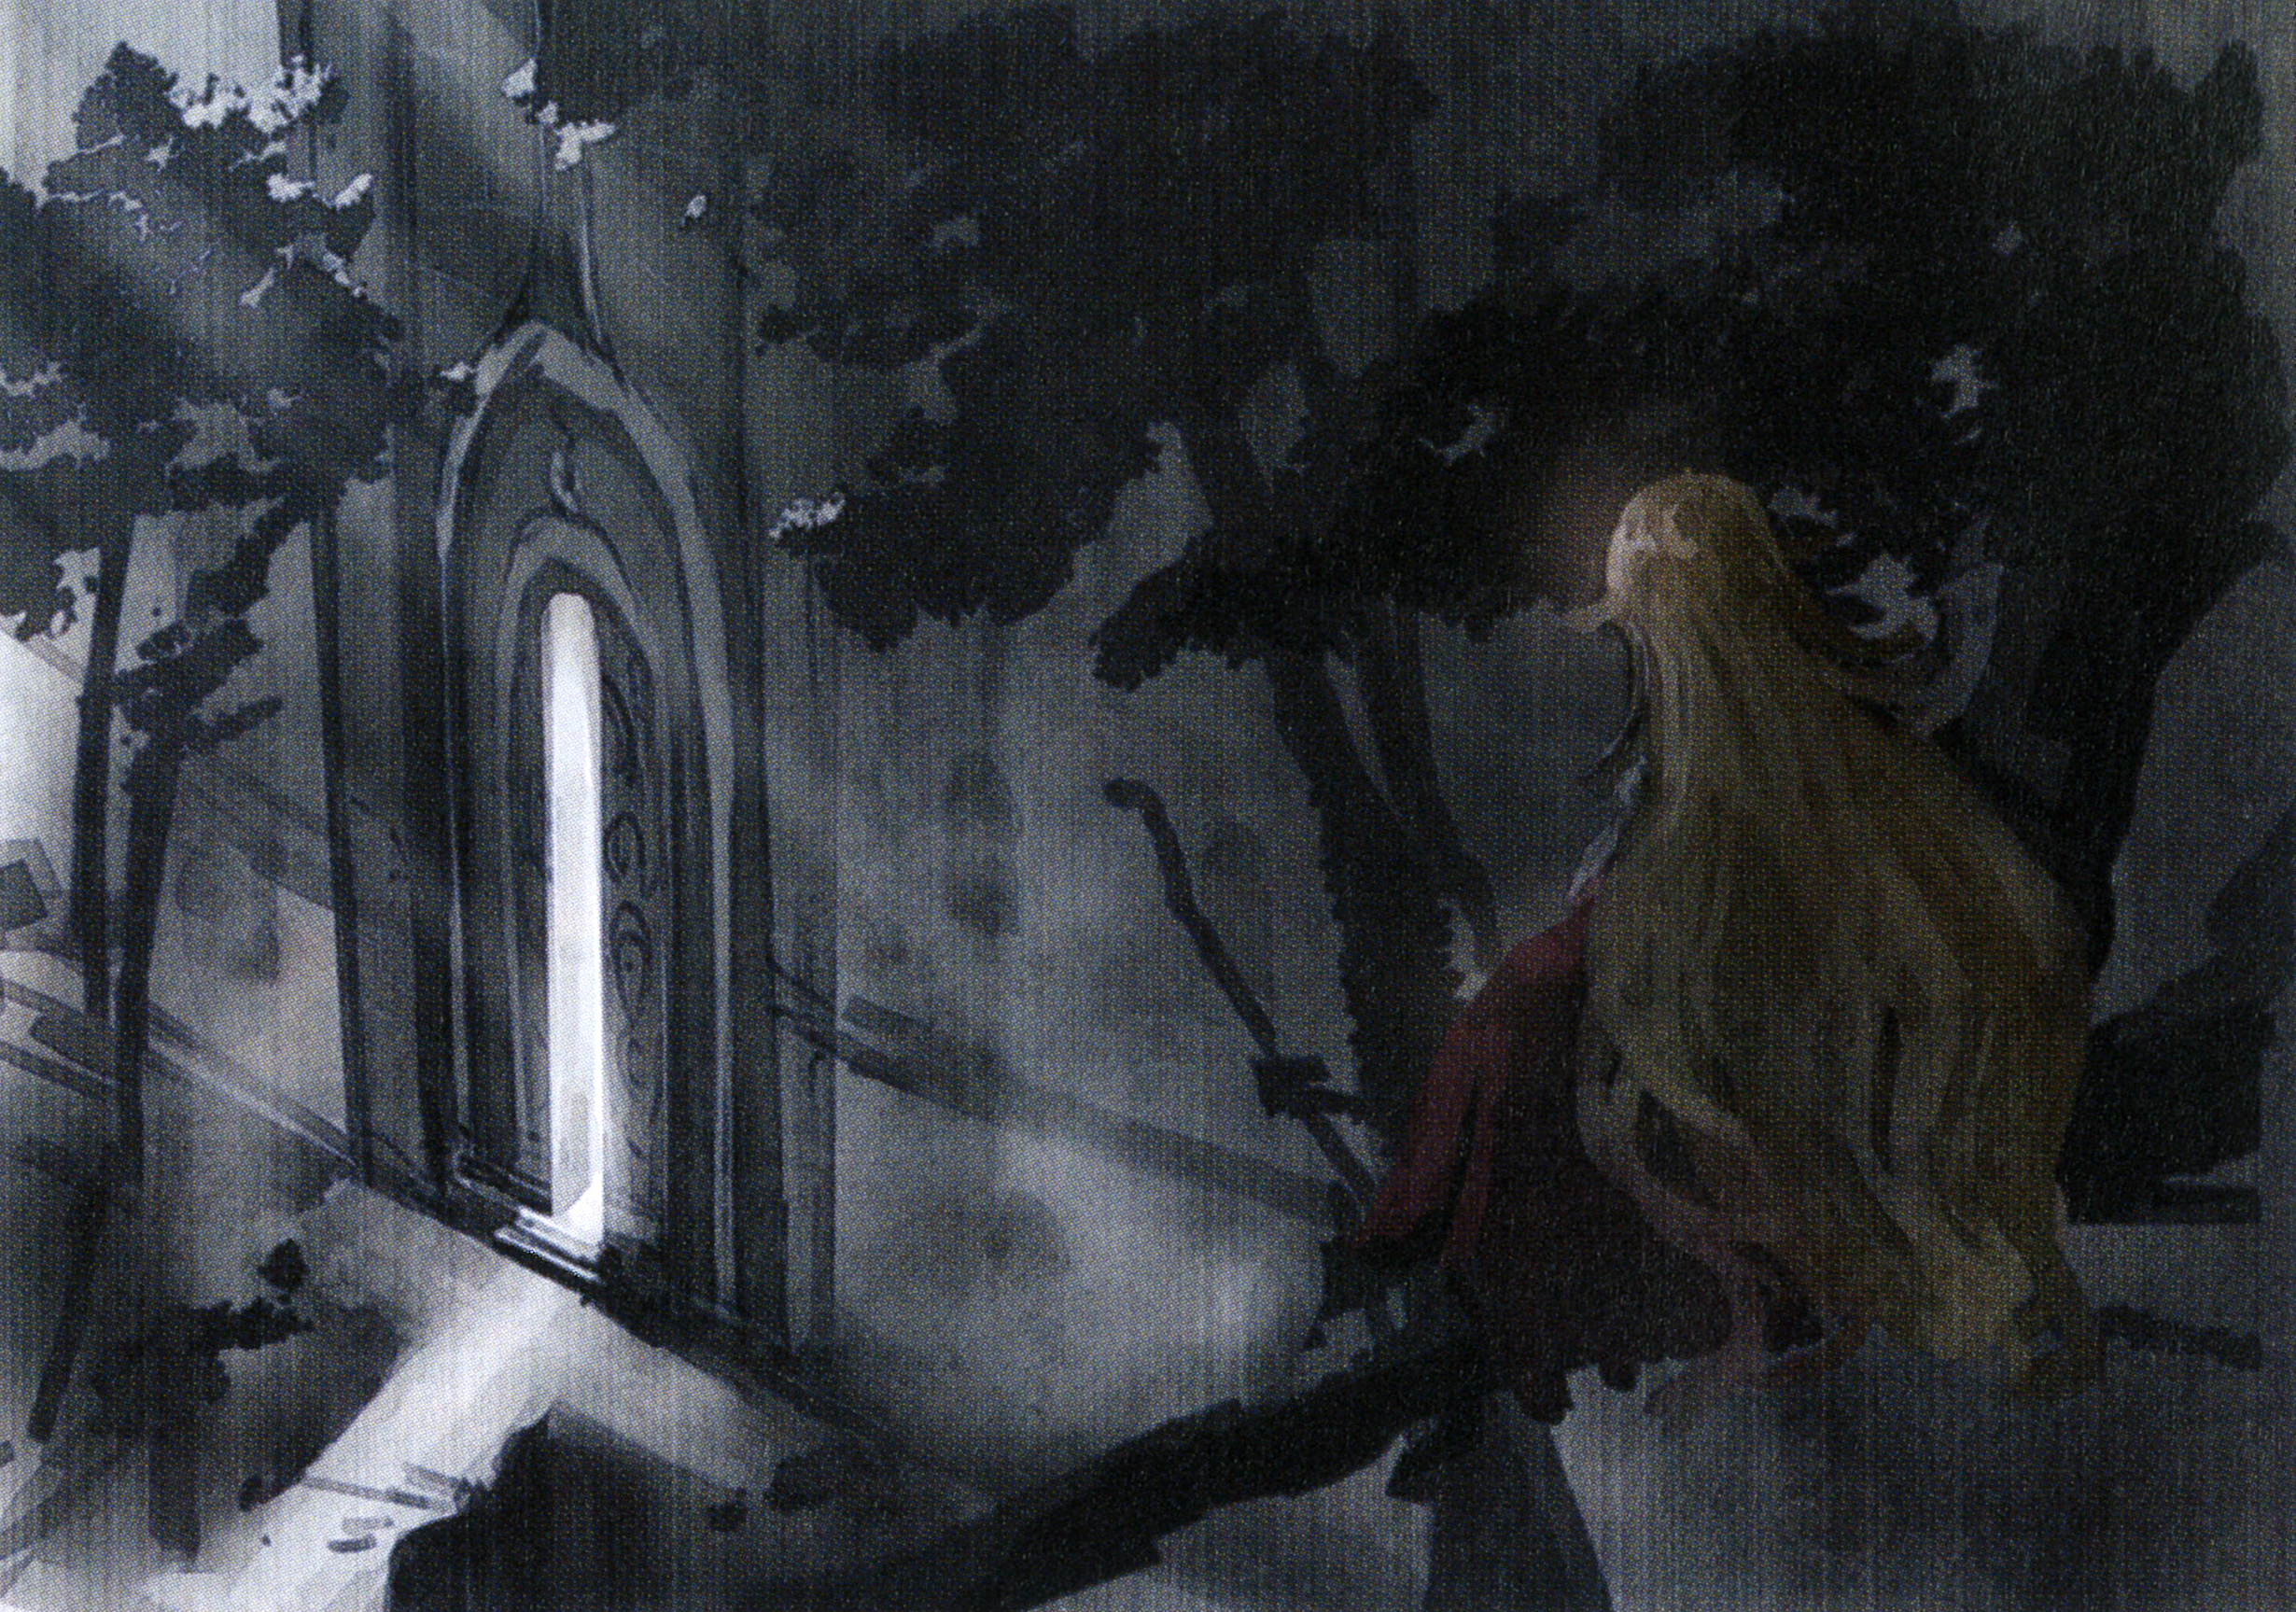 Concept art
.png)
.png)
.png)
.jpg)