
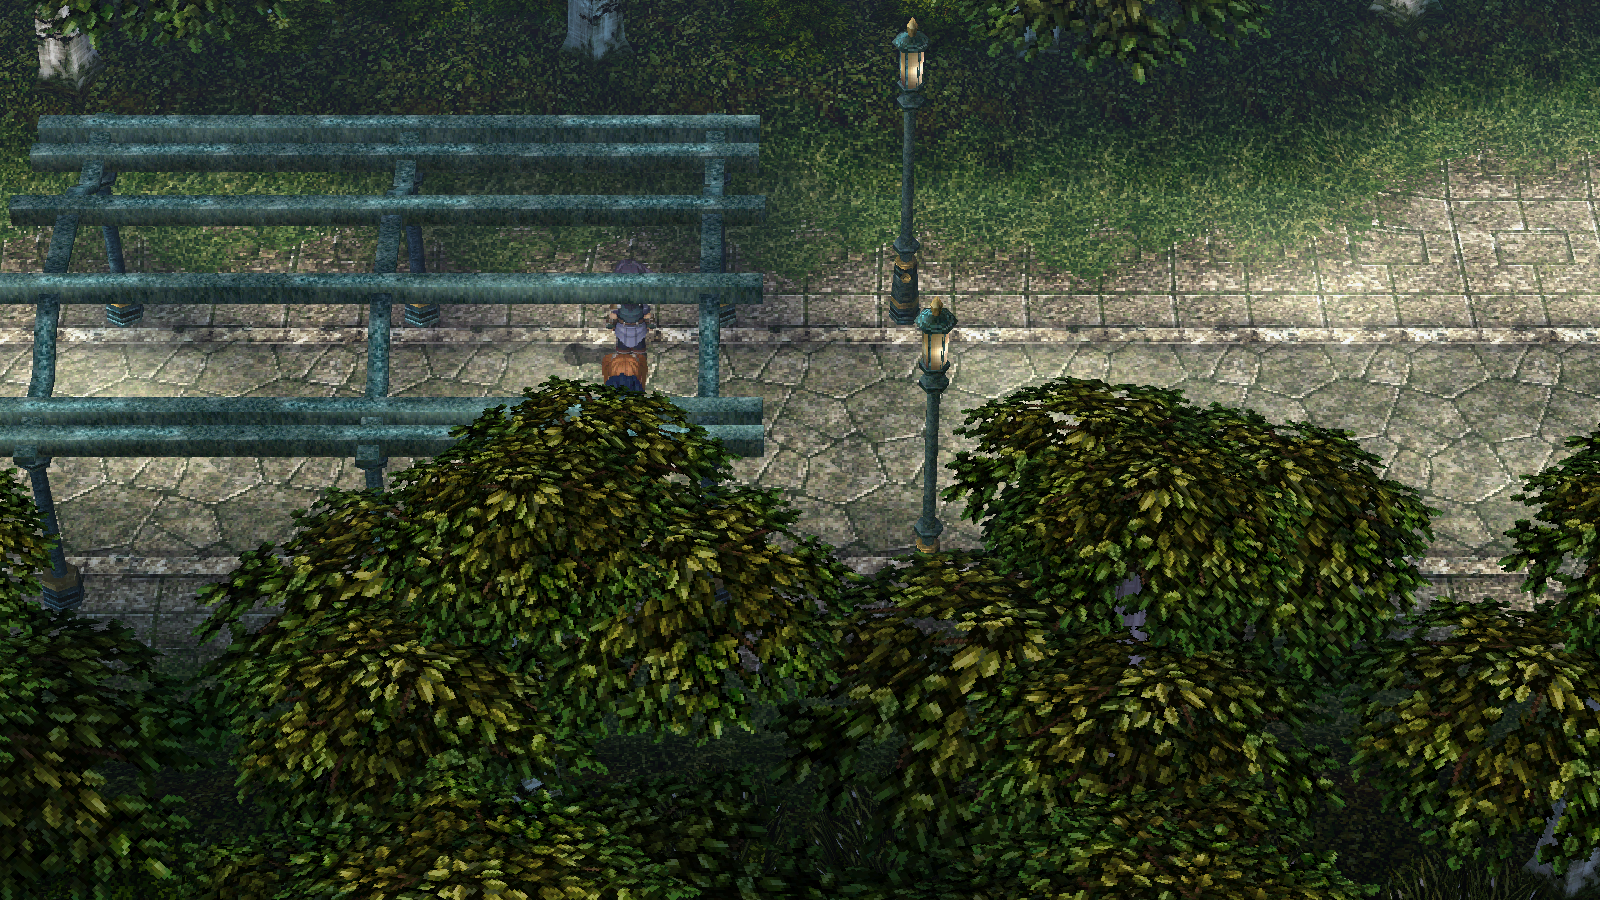
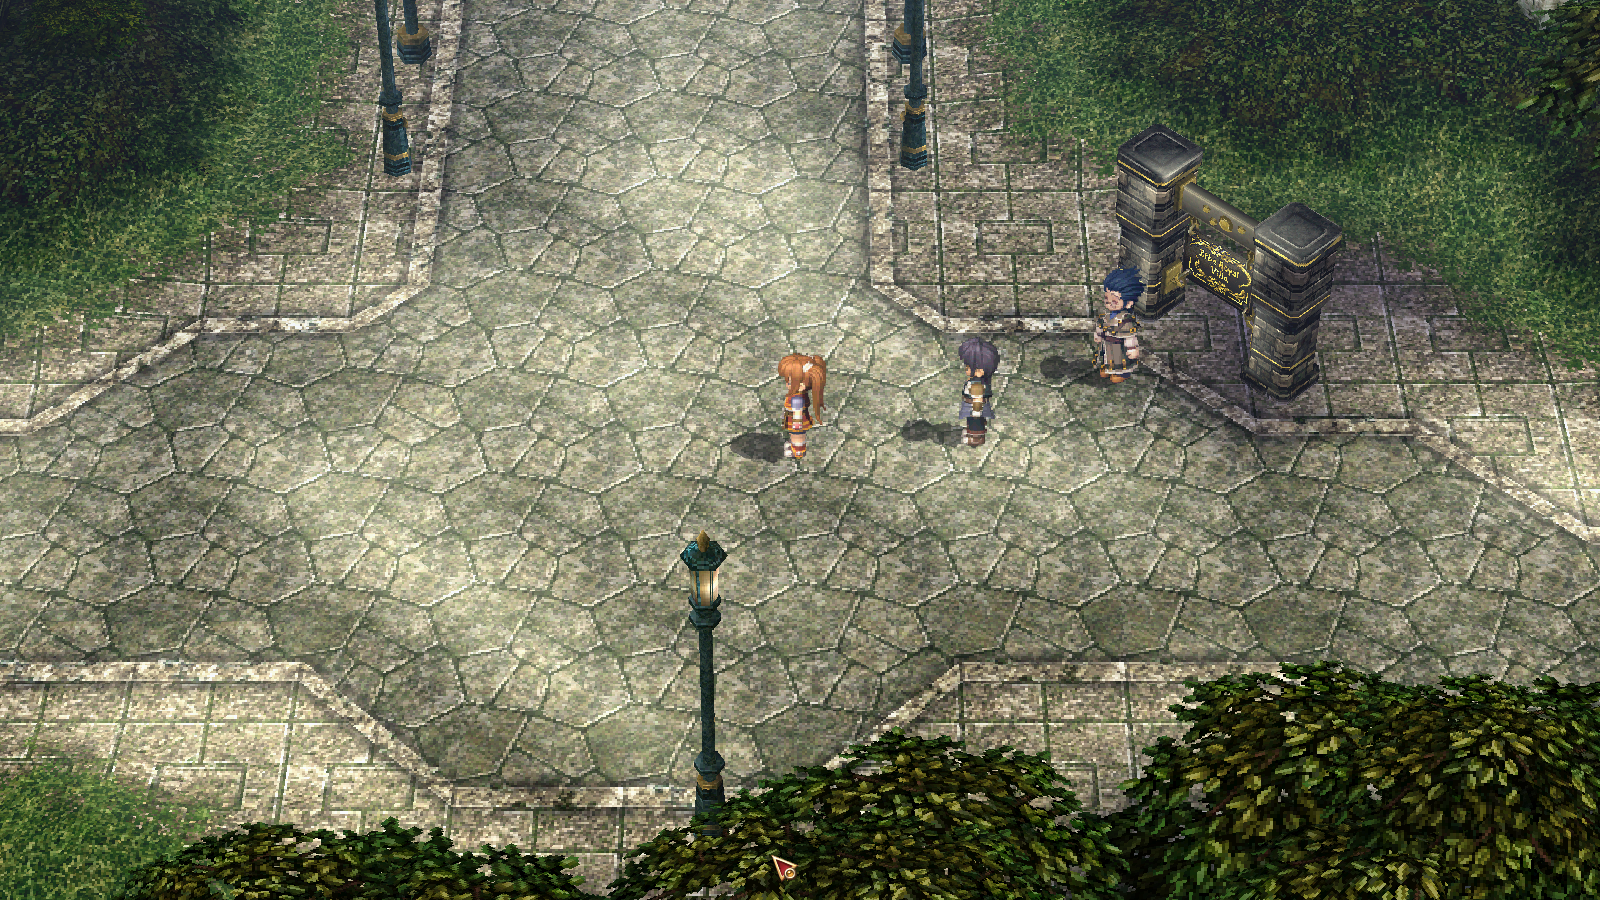
| Map 1 |
|---|

|
에르베 관광로: 두 판 사이의 차이
kiseki
다른 명령
knergy>Solymr |
Localize no-pipe links to Korean (step 1, code-only) |
||
| (같은 사용자의 중간 판 15개는 보이지 않습니다) | |||
| 3번째 줄: | 3번째 줄: | ||
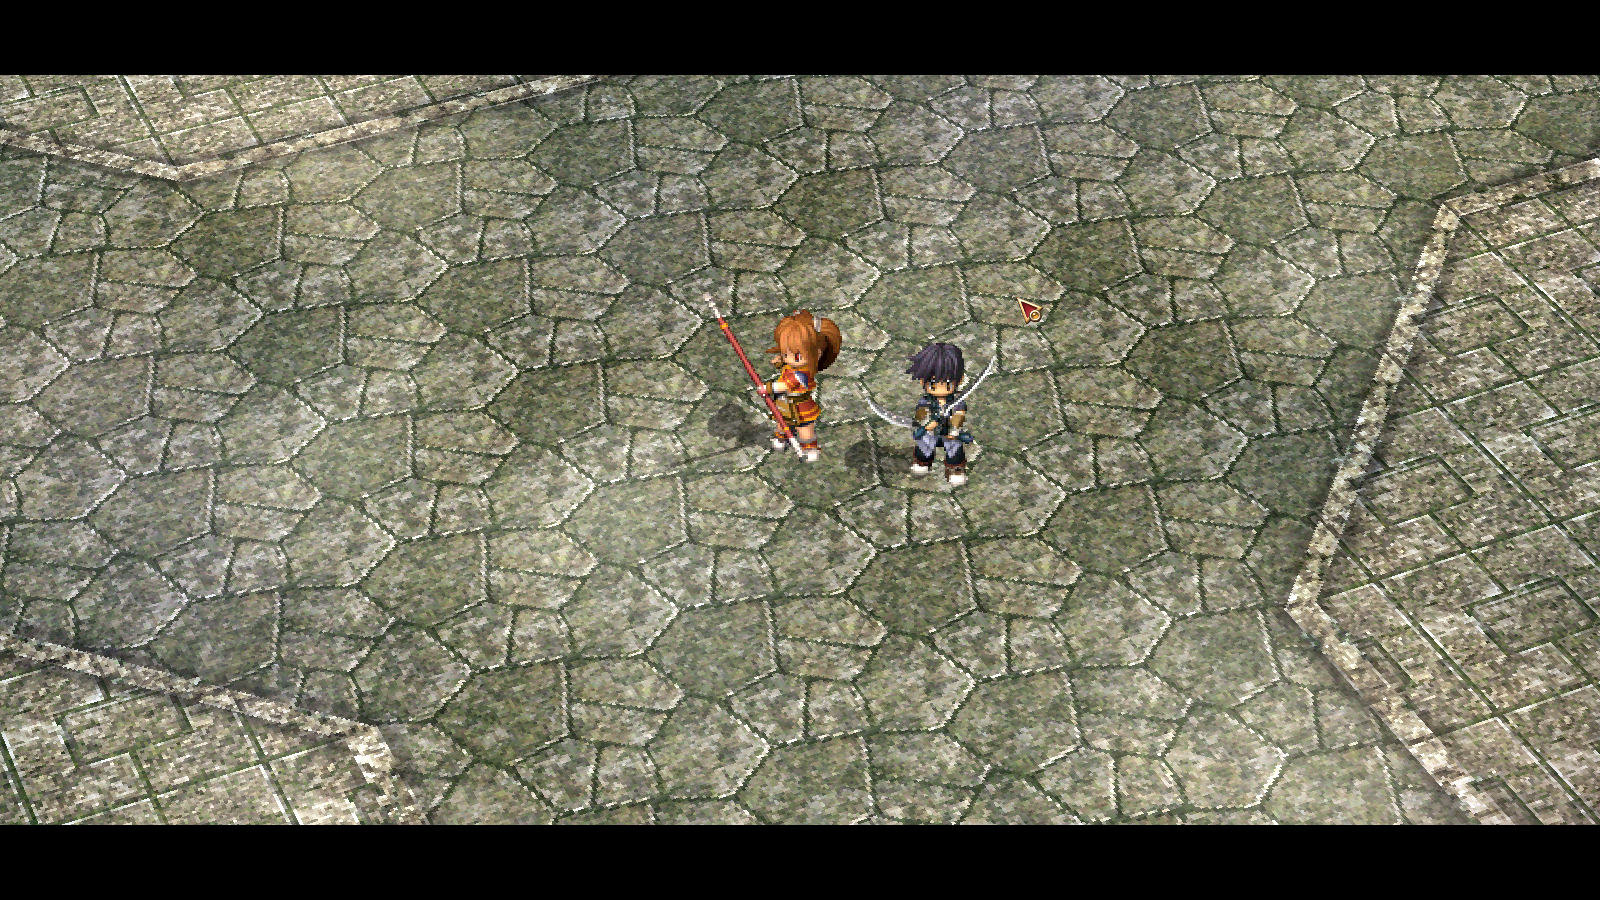
|image1 = Grancel_-_Erbe_Scenic_Route_2_(FC).png | |image1 = Grancel_-_Erbe_Scenic_Route_2_(FC).png | ||
|caption1 = Erbe Scenic Route | |caption1 = Erbe Scenic Route | ||
|country = [[ | |country = [[리벨]] | ||
|region = [[ | |region = [[그란셀 지방]] | ||
|northloc = [[ | |northloc = [[에르베 별궁]] | ||
|westloc = [[ | |westloc = [[키르셰 도로]] | ||
|eastloc = | |eastloc = | ||
|southloc = | |southloc = | ||
}} | }} | ||
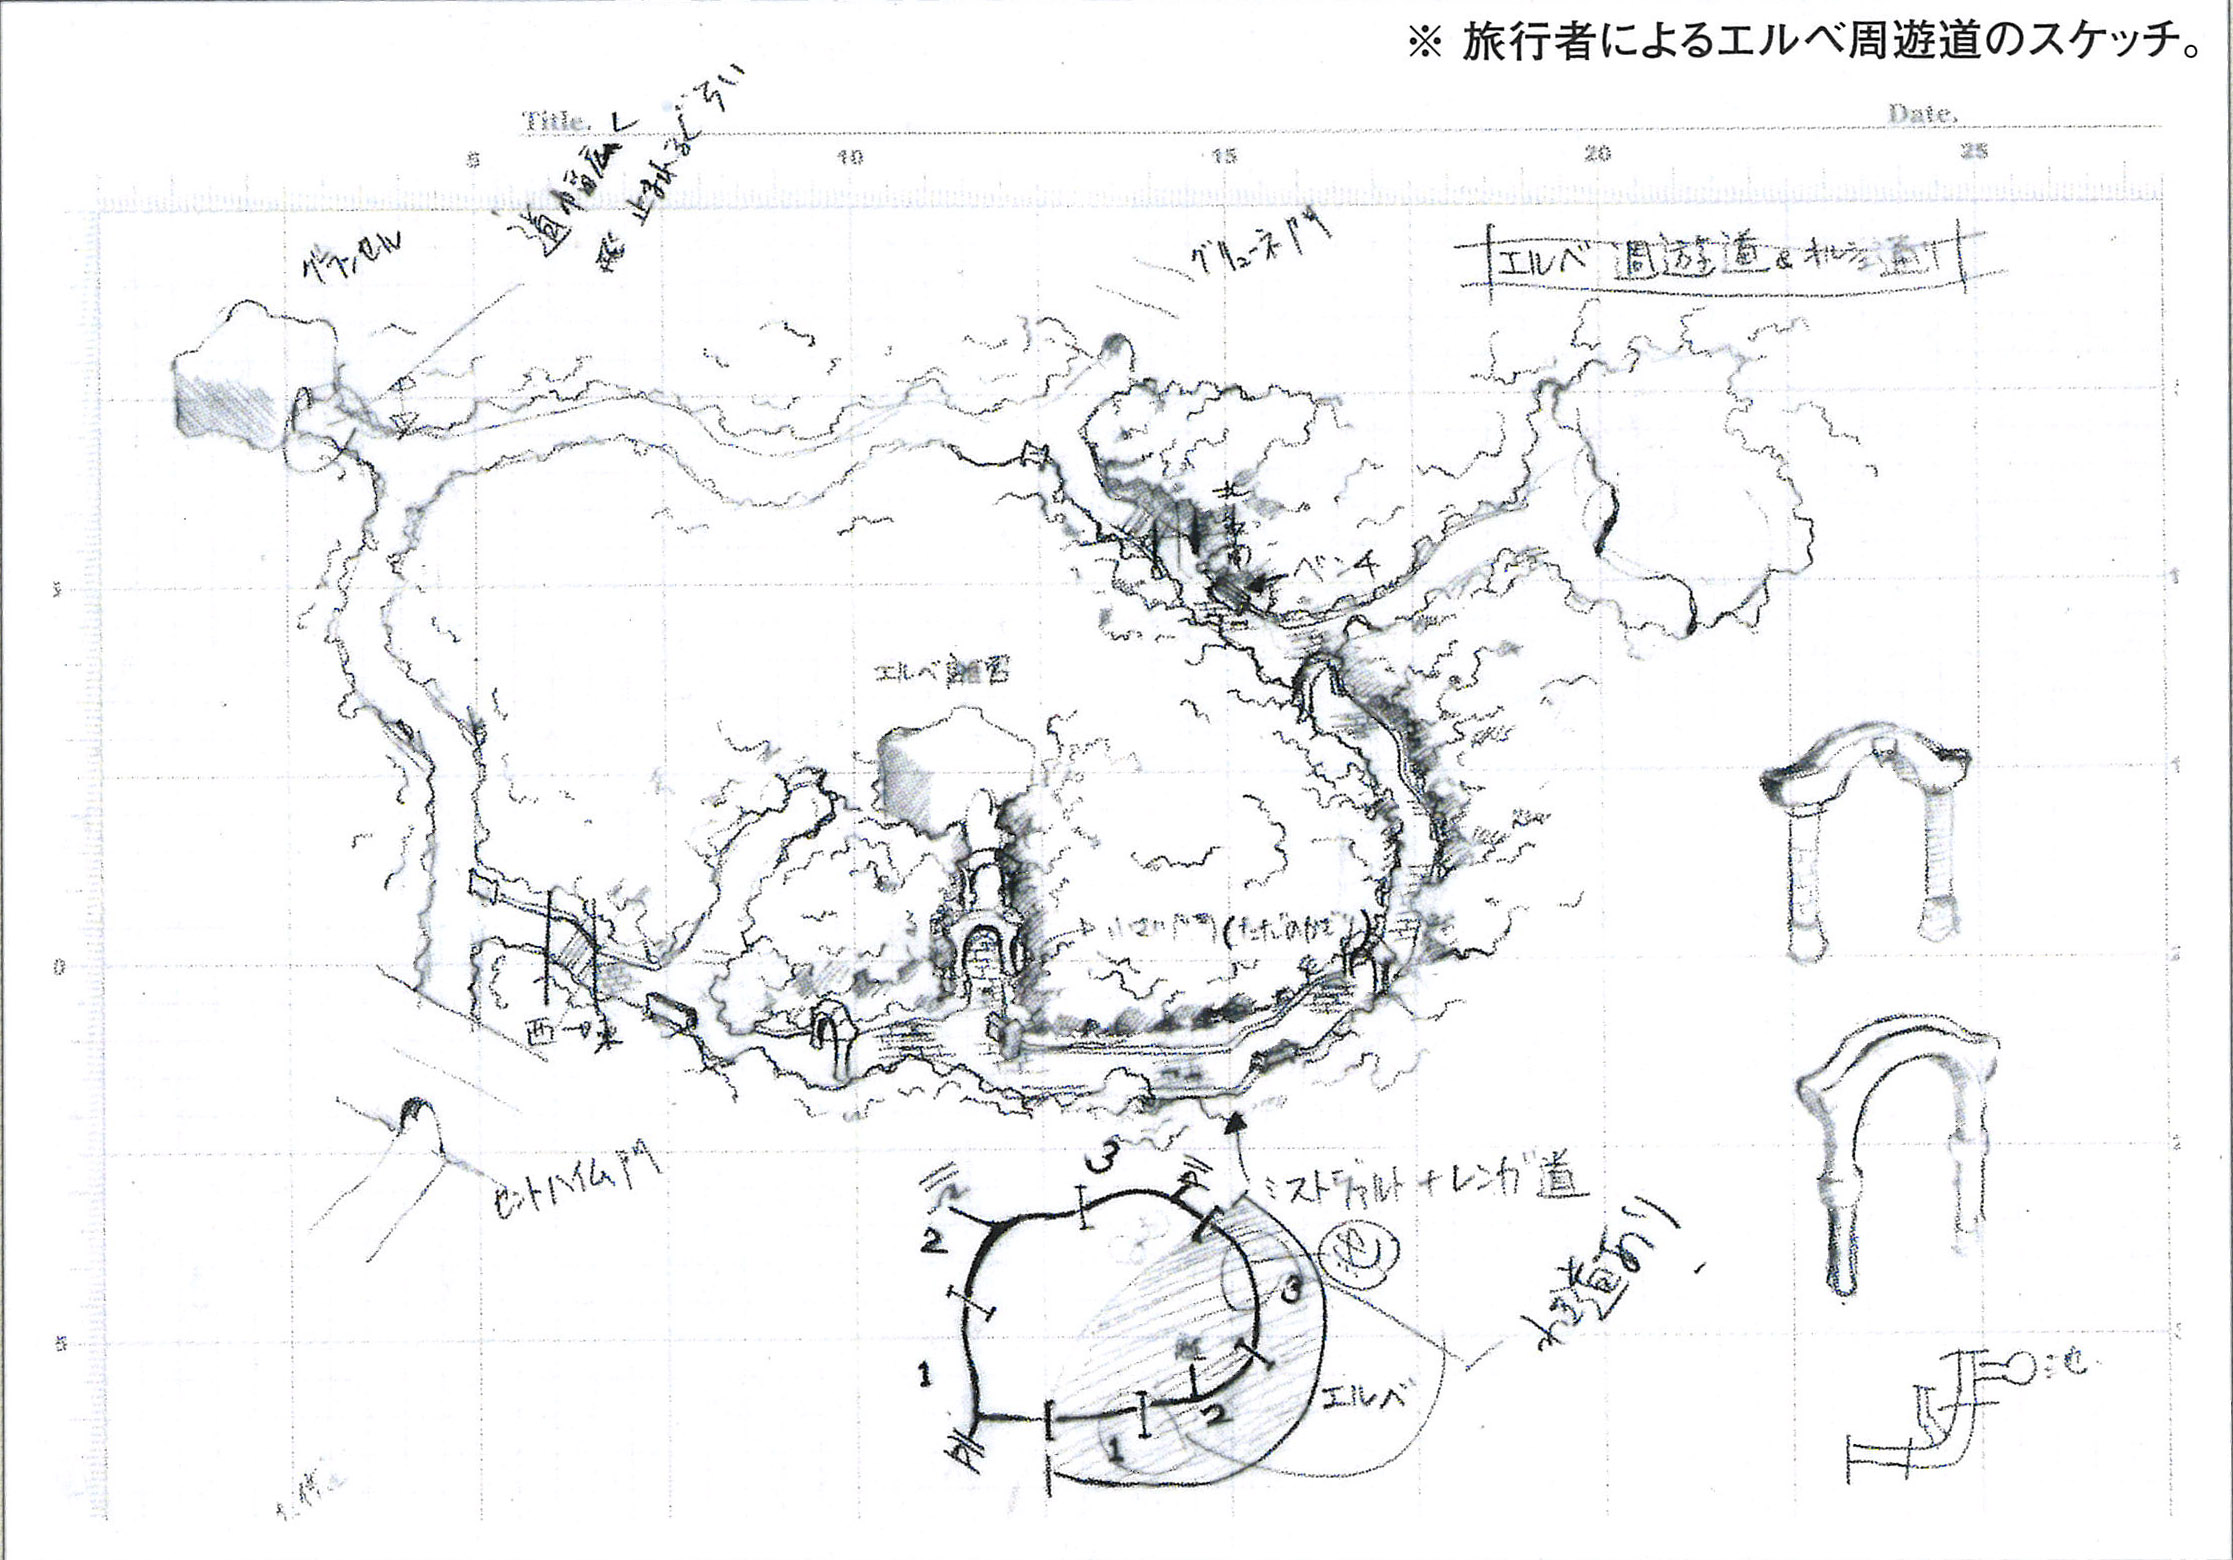
The '''Erbe Scenic Route''' (エルベ周遊道) is a nature strip pathway connecting the [[ | The '''Erbe Scenic Route''' (エルベ周遊道) is a nature strip pathway connecting the [[왕도 그란셀]] to both the [[에르베 별궁]] and [[그뤼네 게이트]]. | ||
__TOC__ | __TOC__ | ||
== {{g|Sora FC}} == | == {{g|Sora FC}} == | ||
=== Background === | === Background === | ||
The Erbe Scenic Route is a path extending through a forest area covering half the region, circling around the inside of the [[ | The Erbe Scenic Route is a path extending through a forest area covering half the region, circling around the inside of the [[아넨베르크]] and connecting to the Erbe Royal Villa. Its most prominent feature is the four monuments located in the north, south, east and west points of the forest. | ||
[[Estelle Bright|Estelle]] and [[Joshua Bright|Joshua]] head here to find [[Zin Vathek|Zin]] and talk about teaming up for the Martial Arts Tournament taking place in Grancel. They end up rescuing [[Julia Schwarz|Sister Ellen]], but the [[Intelligence Division (Royal Army)|Intelligence Division]] Special Ops soldiers guarding the Royal Villa get suspicious and escort her to the city while warning the bracers. | [[Estelle Bright|Estelle]] and [[Joshua Bright|Joshua]] head here to find [[Zin Vathek|Zin]] and talk about teaming up for the Martial Arts Tournament taking place in Grancel. They end up rescuing [[Julia Schwarz|Sister Ellen]], but the [[Intelligence Division (Royal Army)|Intelligence Division]] Special Ops soldiers guarding the Royal Villa get suspicious and escort her to the city while warning the bracers. | ||
{{SpoilerSection|Sora FC}} | {{SpoilerSection|Sora FC}} | ||
Later, the bracers meet up here with 1st Lt. Schwarz and her squad of Royal Guardsmen to carry out the assault on the Royal Villa and rescue Princess [[ | Later, the bracers meet up here with 1st Lt. Schwarz and her squad of Royal Guardsmen to carry out the assault on the Royal Villa and rescue Princess [[클로디아 폰 아우슬레제]] and other hostages from the Intelligence Division. While the guardsmen and [[Kurt Nardin|Kurt's]] team assault the front and hold the reinforcements, Estelle, Joshua and Zin infiltrate the villa and rescue the hostages. | ||
{{SpoilerEnd}} | {{SpoilerEnd}} | ||
| 133번째 줄: | 133번째 줄: | ||
== {{g|Sora SC}} == | == {{g|Sora SC}} == | ||
=== Background === | === Background === | ||
After speaking with Nial during [[List_of_quests_(Sky_SC)/Chapter_3/Threat_Letter_Case|Threat Letter Case]], the Royal Avenue and [[ | After speaking with Nial during [[List_of_quests_(Sky_SC)/Chapter_3/Threat_Letter_Case|Threat Letter Case]], the Royal Avenue and [[에르베 관광로]] are completely cleared of enemies for the rest of the chapter in preparation of the Non-Aggression Pact signing. | ||
The route is closed after Estelle is ambushed during [[List_of_quests_(Sky_SC)/Chapter_3/The_Calling_Letter|The Calling Letter]] due to remnants of the Intelligence Division being present in the area, but after she and the bracers solve the case of the threat letters it reopens again. | The route is closed after Estelle is ambushed during [[List_of_quests_(Sky_SC)/Chapter_3/The_Calling_Letter|The Calling Letter]] due to remnants of the Intelligence Division being present in the area, but after she and the bracers solve the case of the threat letters it reopens again. | ||
| 295번째 줄: | 295번째 줄: | ||
== {{g|Sora 3rd}} == | == {{g|Sora 3rd}} == | ||
{{InfoRoad | {{InfoRoad | ||
|region = [[ | |region = [[환영의 나라]] | ||
|northloc = [[Jenis Royal Academy#Trails_in_the_Sky_the_3rd|The Monochrome Schoolhouse]]/[[ | |northloc = [[Jenis Royal Academy#Trails_in_the_Sky_the_3rd|The Monochrome Schoolhouse]]/[[시온의 집]] | ||
|westloc = [[Leiston Fortress#Trails_in_the_Sky_the_3rd|The Impregnable Fortress]] | |westloc = [[Leiston Fortress#Trails_in_the_Sky_the_3rd|The Impregnable Fortress]] | ||
|eastloc = [[Glorious#Trails_in_the_Sky_the_3rd|The Black Ark]]/[[ | |eastloc = [[Glorious#Trails_in_the_Sky_the_3rd|The Black Ark]]/[[빛과 그림자의 미궁]] | ||
|southloc = [[Lakeside Laboratory#Trails_in_the_Sky_the_3rd|The Looking Glass]] | |southloc = [[Lakeside Laboratory#Trails_in_the_Sky_the_3rd|The Looking Glass]] | ||
}} | }} | ||
=== Background === | === Background === | ||
Once [[Kevin Graham|Kevin]] recuperates and [[ | Once [[Kevin Graham|Kevin]] recuperates and [[셀레스트 D. 아우슬레제]]'s power returns to the Garden, the group goes through the warp at the end of the Fifth Plane to end up at Romal Pond. | ||
Around the copy of the Erbe Scenic Route, there are four monuments which need a specific member and make up the four trials they must complete in order before they can pass through the mist: | Around the copy of the Erbe Scenic Route, there are four monuments which need a specific member and make up the four trials they must complete in order before they can pass through the mist: | ||
| 310번째 줄: | 310번째 줄: | ||
*The nohval monument, needing [[Joshua Bright|Joshua]] and leading to the [[Glorious#Trails_in_the_Sky_the_3rd|Black Ark]] | *The nohval monument, needing [[Joshua Bright|Joshua]] and leading to the [[Glorious#Trails_in_the_Sky_the_3rd|Black Ark]] | ||
After all four trials have been completed, Kevin and [[Ries Argent|Ries]] can traverse the mist that leads to [[ | After all four trials have been completed, Kevin and [[Ries Argent|Ries]] can traverse the mist that leads to [[시온의 집]]. | ||
=== Maps === | === Maps === | ||
| 432번째 줄: | 432번째 줄: | ||
<div class="mw-collapsible mw-collapsed" data-expandtext="Show Shops" data-collapsetext="Hide Shops"> | <div class="mw-collapsible mw-collapsed" data-expandtext="Show Shops" data-collapsetext="Hide Shops"> | ||
==== Erbe Scenic Route ==== | ==== Erbe Scenic Route ==== | ||
{{#lsth:List_of_shops_(Sky_3rd)/Sixth_Plane|Sixth Plane}} | |||
</div> | </div> | ||
2026년 7월 30일 (목) 18:17 기준 최신판
The Erbe Scenic Route (エルベ周遊道) is a nature strip pathway connecting the 왕도 그란셀 to both the 에르베 별궁 and 그뤼네 게이트.
영웅전설 하늘의 궤적 FC
Background
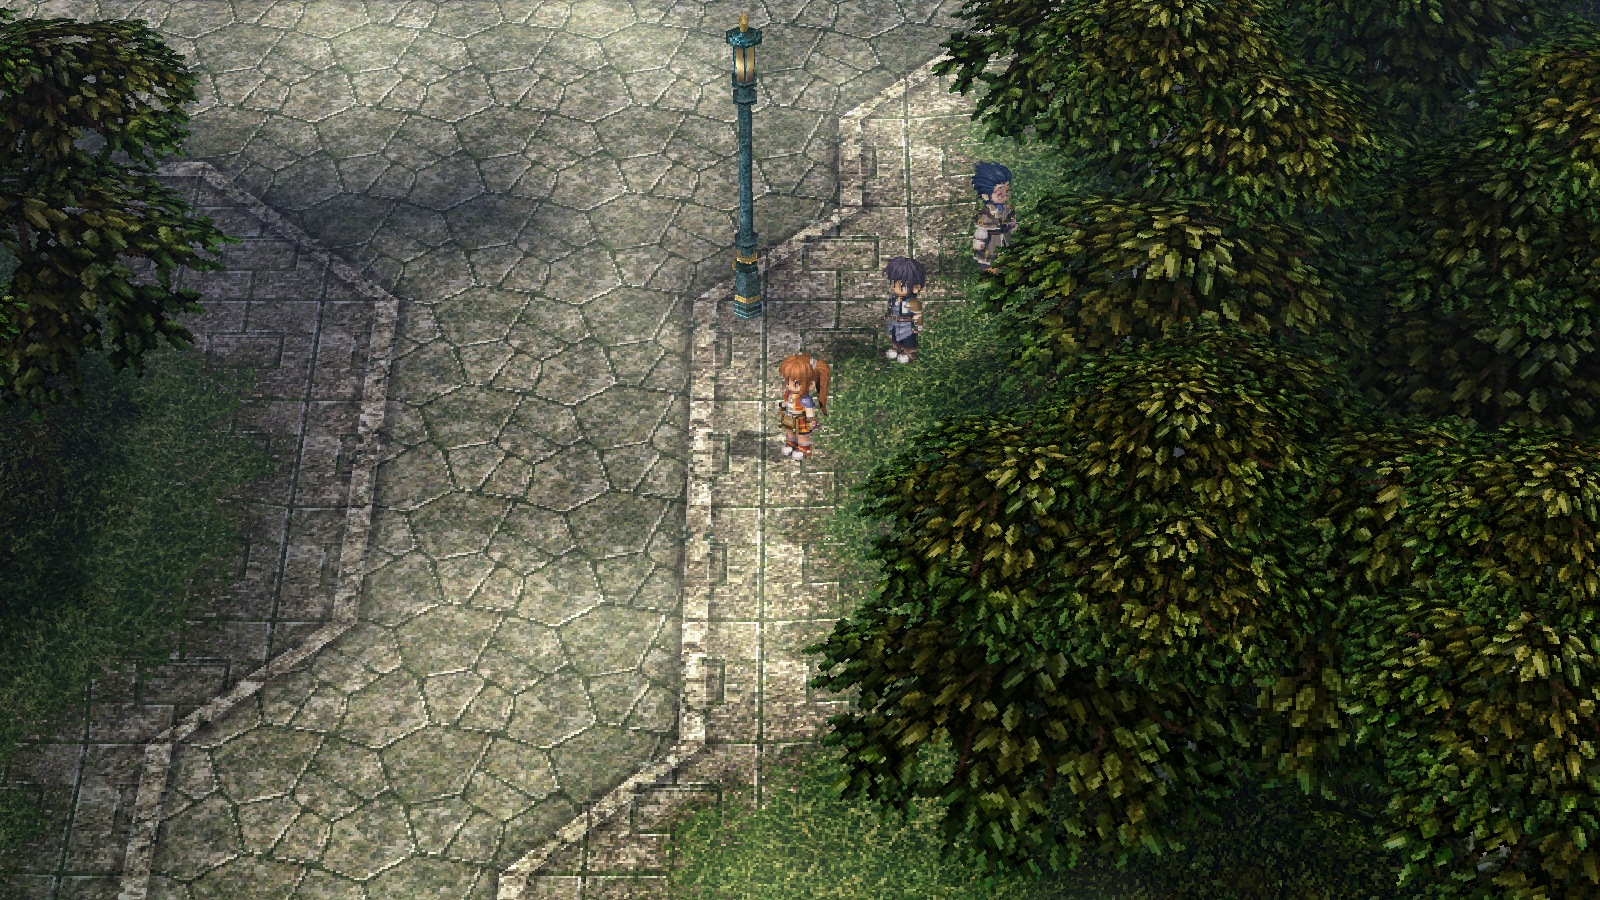
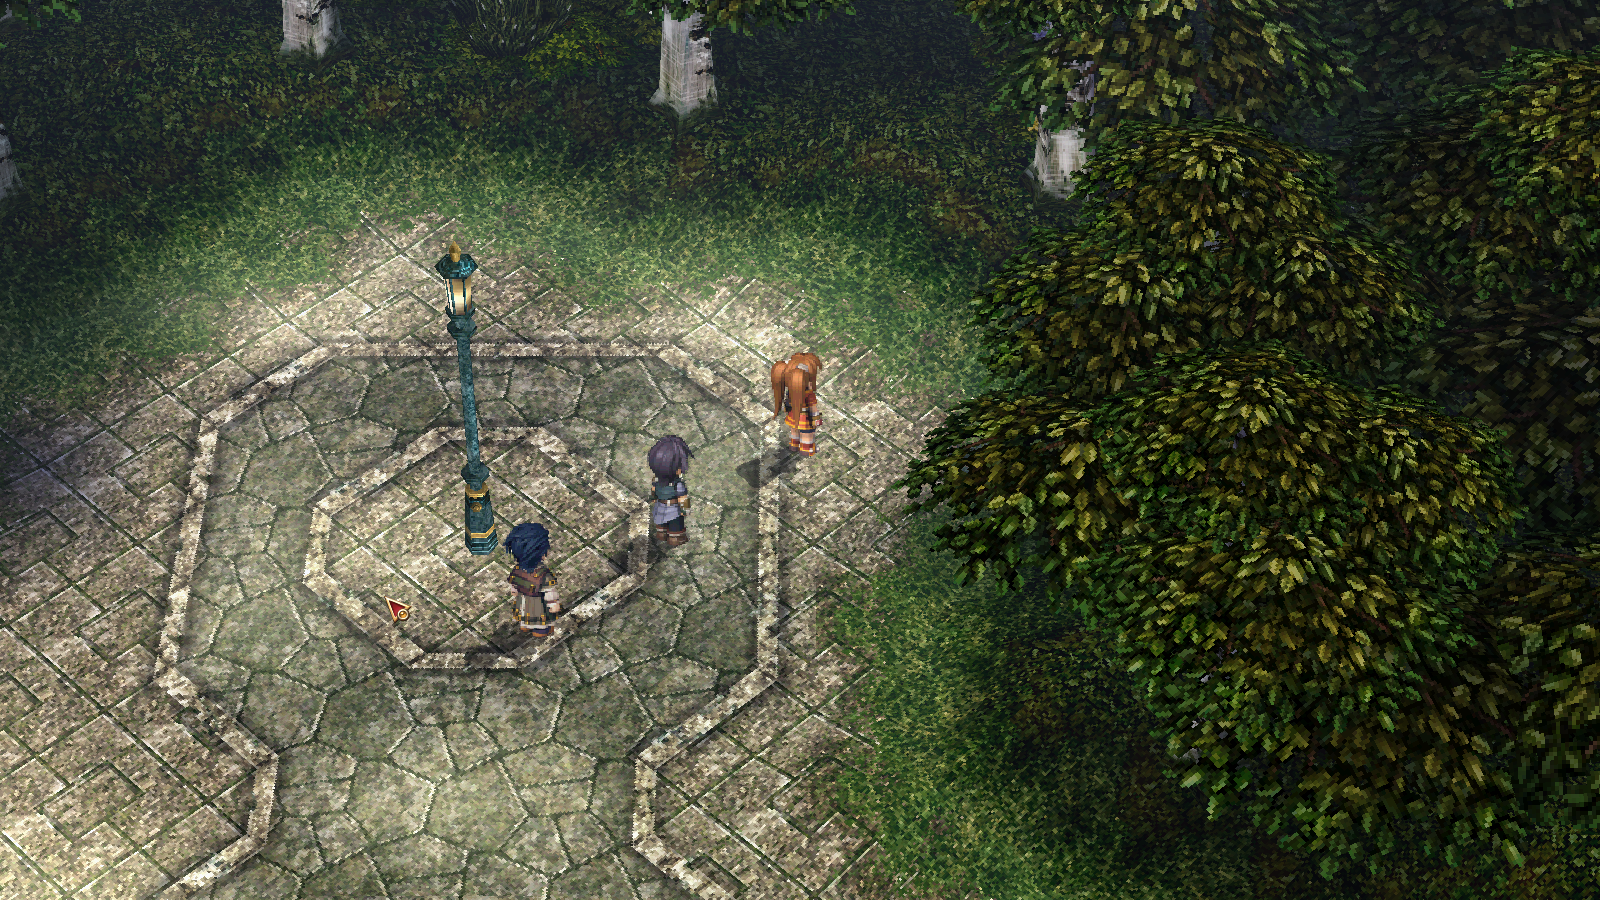
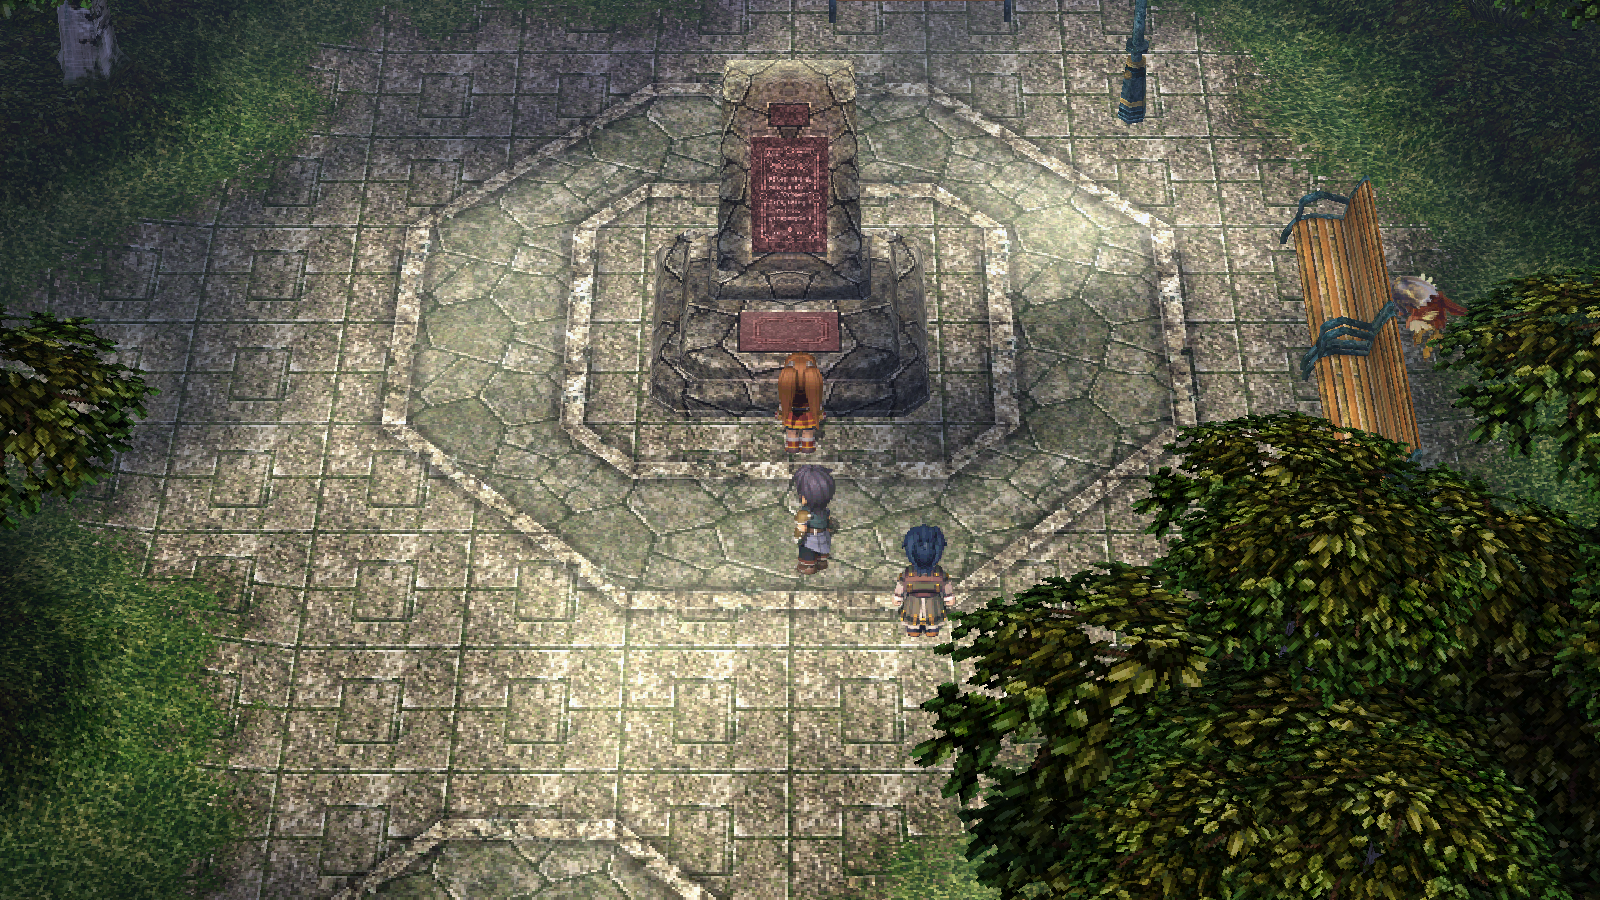
The Erbe Scenic Route is a path extending through a forest area covering half the region, circling around the inside of the 아넨베르크 and connecting to the Erbe Royal Villa. Its most prominent feature is the four monuments located in the north, south, east and west points of the forest.
Estelle and Joshua head here to find Zin and talk about teaming up for the Martial Arts Tournament taking place in Grancel. They end up rescuing Sister Ellen, but the Intelligence Division Special Ops soldiers guarding the Royal Villa get suspicious and escort her to the city while warning the bracers.

Hello there, beautiful. May I have a moment of your time?
Please be aware spoilers for 영웅전설 하늘의 궤적 FC may be present in the following section. Hit [Show] on the right if the show must go on. Adios, amigos!
Later, the bracers meet up here with 1st Lt. Schwarz and her squad of Royal Guardsmen to carry out the assault on the Royal Villa and rescue Princess 클로디아 폰 아우슬레제 and other hostages from the Intelligence Division. While the guardsmen and Kurt's team assault the front and hold the reinforcements, Estelle, Joshua and Zin infiltrate the villa and rescue the hostages.
There we go, the end of spoilers. Thank you for your time!
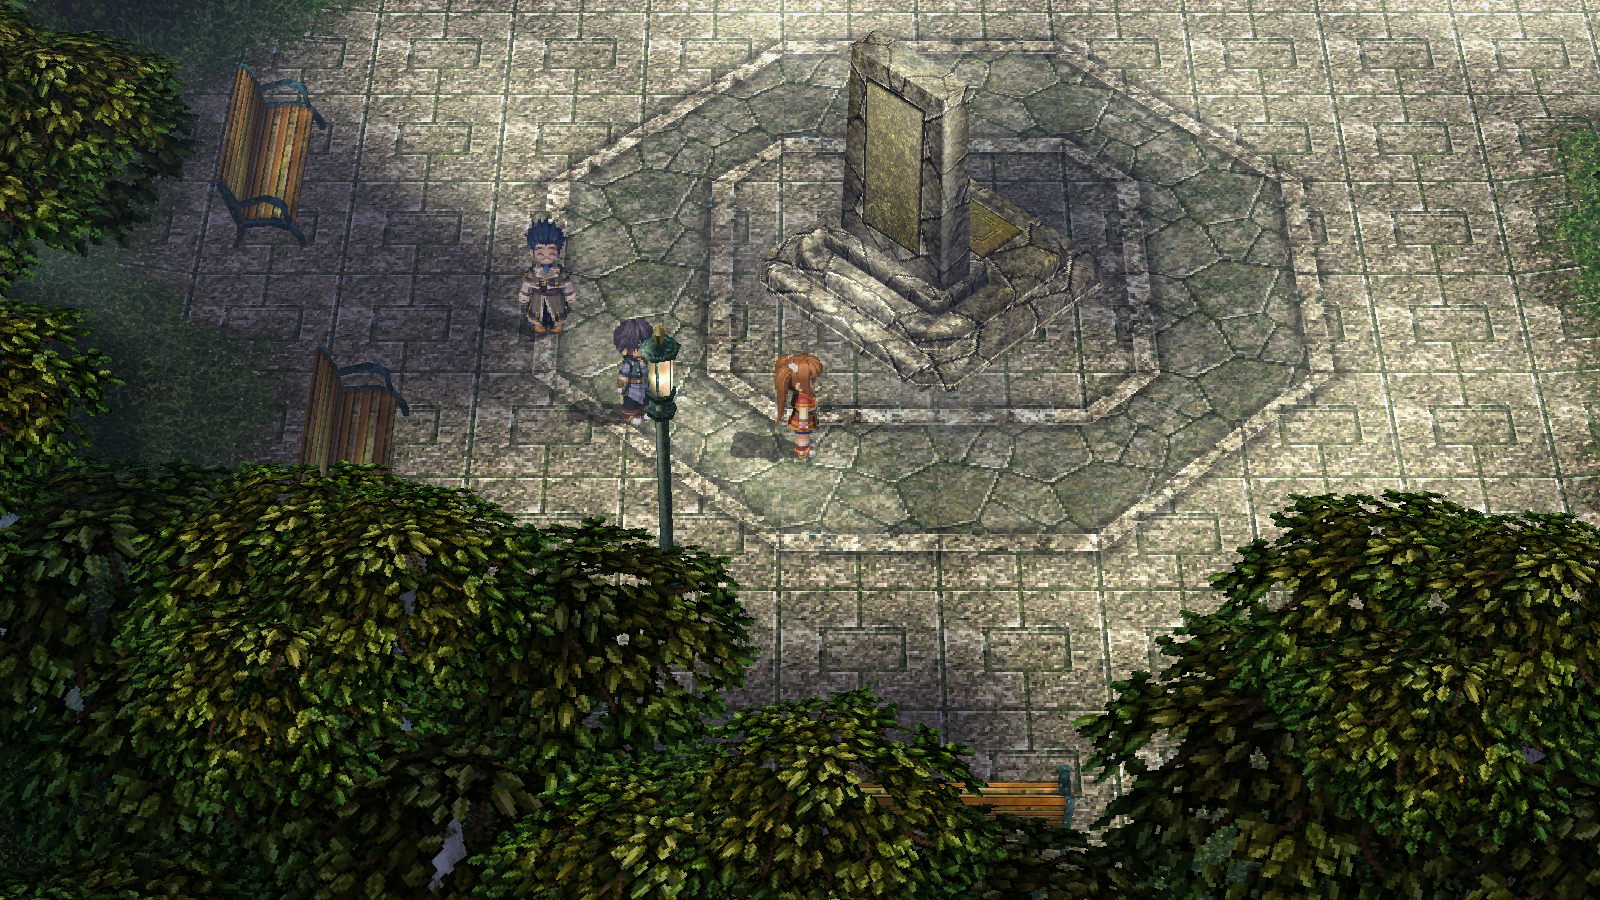
Maps
| Map 2 |
|---|

|
| Map 3 |
|---|

|
Enemies
| Enemy | Map 1 | Map 2 | Map 3 |
|---|---|---|---|
| Dinedile | ✓ | ✓ | |
| Flame Plant | Chest 1/3 | ✓ | |
| Hell Mars | ✓ | ✓ | ✓ |
| Hillside Bee | ✓ | Story | |
| Marsh Chupacabra | ✓ | ||
| Primera | ✓ | ✓ | ✓ |
| Sharkodile | ✓ | ✓ | ✓ |
| Shining Pom | ✓ | ||
| War Bat | Chest 1/3 | ✓ |
Treasure Chests
| Key | Contents | Chest Quote |
|---|---|---|
| 1 |  Shield 3 Shield 3
|
Monsters: Flame Plant ×2, Hell Mars, Primera, Sharkodile, War Bat |
| There is a note inside. It reads, 'Sucker.' | ||
| 2 |  Teara Balm Teara Balm
|
The chest is empty. I blame you. |
| 3 |  Defense 3 Defense 3
|
Monsters: Flame Plant ×2, Hell Mars, Primera, Sharkodile, War Bat |
| You have gone over your limit for this chest. -Dev Team | ||
| 4 | Teara Balm
|
<Silent Disapproval> |
| 5 |  Deathblow 2 Deathblow 2
|
What more do you want from me...BLOOD?! |
Quests
- To Queen Alicia: Zin can be found in the south area of Map 2.
영웅전설 하늘의 궤적 SC
Background
After speaking with Nial during Threat Letter Case, the Royal Avenue and 에르베 관광로 are completely cleared of enemies for the rest of the chapter in preparation of the Non-Aggression Pact signing.
The route is closed after Estelle is ambushed during The Calling Letter due to remnants of the Intelligence Division being present in the area, but after she and the bracers solve the case of the threat letters it reopens again.
Maps
| Map 1 |
|---|

|
| Map 2 |
|---|
|
|
| Map 3 |
|---|

|
| Romal Pond |
|---|

|
Enemies
| Enemy | Map 1 | Map 2 | Map 3 |
|---|---|---|---|
| Dinedile | ✓ | ✓ | ✓ |
| Flame Plant | ✓ | ||
| Hell Mars | ✓ | ✓ | ✓ |
| Hillside Bee | ✓ | ✓ | W/ Dinedile |
| Marsh Chupacabra | ✓ | ✓ | |
| Primera | ✓ | ✓ | ✓ |
| Sharkodile | ✓ | ✓ | ✓ |
| Shining Pom | W/ Dinedile | W/ Dinedile | W/ Dinedile |
| War Bat | ✓ | W/ Dinedile | ✓ |
| Cronocider | Quest | ||
| Big Cactus | Quest | ||
| Lark Cactus | Quest |
Treasure Chests
| Key | Contents | Chest Quote |
|---|---|---|
| 1 | Deathblow 2
|
The chest unleashes a poison gas trap! ...At least it would if it could. Because you looted it already, and it hates you now. |
| 2 | Teara Balm
|
You don't find anything this time, but maybe if you kept on opening and closing this one chest over and over again... (Don't actually do this.) |
| 3 | Defense 3
|
Wear good shoes and you'll never see de feet. |
| 4 | Teara Balm
|
I waited four years for this game and all I got was this stupid chest message. |
| 5 |        All sepith ×20 All sepith ×20
|
As payment for taking my stuff, you must cut down the tallest tree in the forest...with...A HERRING! |
Quests
- Erbe Scenic Route Monster (Chapter 3): Cronocider can be found blocking the way to the Erbe Royal Villa in Map 2 regardless of the direction taken.
- Erbe Scenic Route Monster (Chapter 8): Big Cactus can be found in Map 2, in front of the entrance to Erbe Royal Villa.
Fishing
| Location | Fish | Bait |
|---|---|---|
.webp) Scenic Route - Romal Pond |
Carp | Earthworm (22.6%), Dumplings (36.4%), River Snail (57.1%), Crab (50%) |
| Crab | Earthworm (19.4%), Polychaete (100%), Shrimplet (100%) | |
| Dace | River Bug (16.7%), Roe (21.4%), Red Flies (69.2%) | |
| Eel | Earthworm (25.8%) | |
| Liberl Carp | River Bug (22.2%), Dumplings (63.6%), Red Flies (30.8%) | |
| Rainbow Trout | Earthworm (19.4%), River Bug (33.3%), Roe (50%) | |
| Rockeater | Earthworm (12.9%), River Bug (27.8%), Roe (28.6%), River Snail (42.9%), Frog (100%), Yamany (100%), Dace (100%), Crab (50%) |
영웅전설 하늘의 궤적 the 3rd
Background
Once Kevin recuperates and 셀레스트 D. 아우슬레제's power returns to the Garden, the group goes through the warp at the end of the Fifth Plane to end up at Romal Pond.
Around the copy of the Erbe Scenic Route, there are four monuments which need a specific member and make up the four trials they must complete in order before they can pass through the mist:
- The sapphirl monument, needing Kloe and leading to the Monochrome Schoolhouse
- The amberl monument, needing Anelace and leading to the Looking Glass
- The carnelia monument, needing Richard and leading to the Impregnable Fortress
- The nohval monument, needing Joshua and leading to the Black Ark
After all four trials have been completed, Kevin and Ries can traverse the mist that leads to 시온의 집.
Maps
| Romal Pond |
|---|

|
| Map 3 |
|---|

|
| Map 2 |
|---|

|
| Map 1 |
|---|

|
Enemies
| Enemy | Map 1 | Map 2 | Map 3 |
|---|---|---|---|
| Bazooka Dwarf | ✓ | ✓ | ✓ |
| Doppel Anelace | Transform from Grimoire | Transform from Grimoire | |
| Doppel Joshua | Transform from Grimoire | Transform from Grimoire | |
| Doppel Kloe | Transform from Grimoire | Transform from Grimoire | |
| Doppel Richard | Transform from Grimoire | Transform from Grimoire | |
| Hammer Dwarf | W/ Bazooka Dwarf, Sudorudo Talos | ✓ | W/ Bazooka Dwarf, Sudorudo Talos |
| Grimoire | ✓ | ✓ | |
| Rat Fighter | ✓ | ✓ | ✓ |
| Shining Pom | W/ Shield Dwarf | W/ Hammer Dwarf ×3 | W/ Shield Dwarf |
| Shield Dwarf | ✓ | W/ Bazooka Dwarf, Sudorudo Talos | ✓ |
| Sudorudo Talos | ✓ | ✓ | ✓ |
Treasure Chests
| Map | Key | Contents | Chest Quote |
|---|---|---|---|
| 3 | 1 |  Silver Gem Silver Gem
|
Don't you have better things to do? |
| 2 | 2 |  Ruby Gem Ruby Gem
|
Isn't this the part where you give me something in exchange? Y'know... like a decent human being? |
| 1 | 3 |  Sapphire Gem Sapphire Gem
|
I don't see your name on that item, so why are you taking it? |
Quests and Doors
- The Sixth Plane: Erbe Scenic Route acts as the connector between all trials.
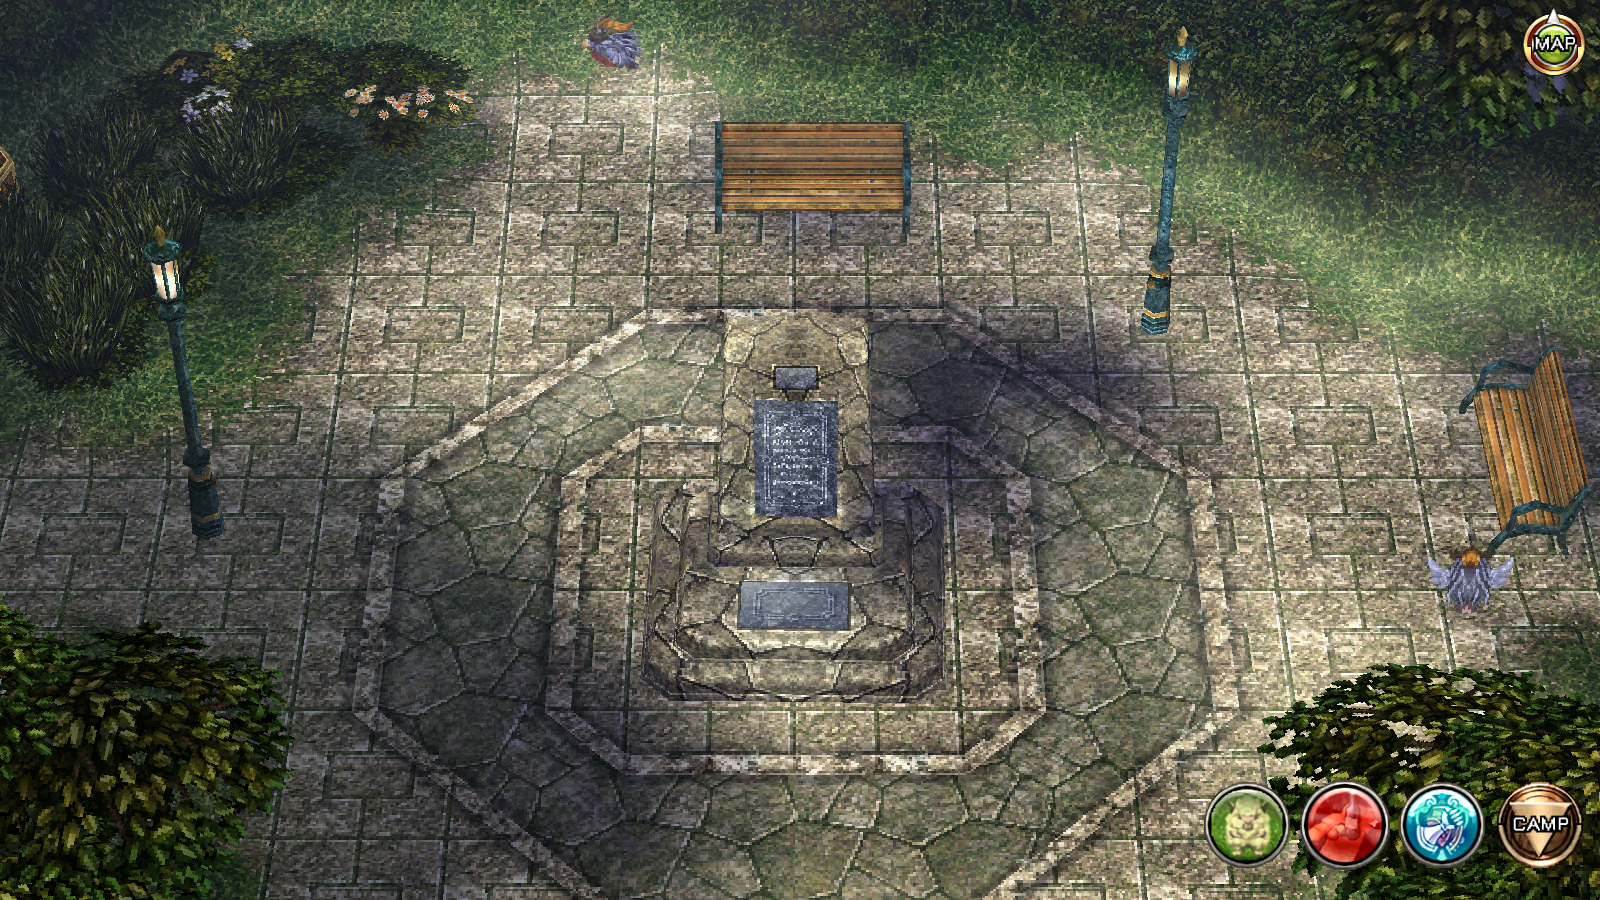
Monuments
Erbe Scenic Route
| Monument 石碑 |
|||
|---|---|---|---|
| Items Sold | |||
 이클립스 기어 이클립스 기어 |
8000 미라 | ||
 트립틱 로어 트립틱 로어 |
8000 미라 | ||
 코크스웨인 코크스웨인 |
8000 미라 | ||
 쿠사나기도(파·정) 쿠사나기도(파·정) |
8250 미라 | ||
 미르라 텐타클 미르라 텐타클 |
3800 미라 | ||
 피스 브레이커 피스 브레이커 |
8550 미라 | ||
 에일세이버 에일세이버 |
8000 미라 | ||
 갈라틴 갈라틴 |
7250 미라 | ||
 센티넬 센티넬 |
8800 미라 | ||
 월륜조 월륜조 |
4800 미라 | ||
 야에가키 야에가키 |
8500 미라 | ||
 카멜리아 사이스 카멜리아 사이스 |
7800 미라 | ||
 아말감 가드 아말감 가드 |
12000 미라 | ||
 싱크로 트론 싱크로 트론 |
4000 미라 | ||
 T-앵클릿 T-앵클릿 |
3000 미라 | ||
| 마스터 빈즈 |
3000 미라 | ||
| 토네이도 팬 |
3000 미라 | ||
| 레벤스 보른 |
4000 미라 | ||
| 티아의 약 |
200 미라 | ||
| 티아라의 약 |
800 미라 | ||
| 티아랄의 약 |
2000 미라 | ||
| 팜의 약 |
200 미라 | ||
| 솔의 약 |
200 미라 | ||
| 리베의 약 |
200 미라 | ||
| 세라스의 약 |
1000 미라 | ||
| S-태블릿 |
800 미라 | ||
| 절연 테이프 |
100 미라 | ||
| EP차지 |
500 미라 | ||
| EP차지Ⅱ |
1000 미라 | ||
| Sepith Trade | |||
| = 10 mira |
= 10 mira |
= 10 mira |
= 10 mira |
| = 10 mira |
= 30 mira |
= 20 mira |
|
| Monument 石碑 |
|||
|---|---|---|---|
| Quartz Synthesis | |||
  방어 4 방어 4 |
×300 |
||
| 호요주 |
×1000 |
||
| 독의 칼날 |
×100 |
||
| 석화의 칼날 |
×200 |
||
| 봉마의 칼날 |
×50 |
||
| HP 4 |
×300 |
||
| 수요주 |
×1000 |
||
| 정신 4 |
×300 |
||
| 창요주 |
×1000 |
||
| 동결의 칼날 |
×150 |
||
| 공격 4 |
×300 |
||
| 홍요주 |
×1000 |
||
| 봉기의 칼날 |
×50 |
||
| 마방 4 |
×300 |
||
| 취요주 |
×1000 |
||
| 회피 4 |
×300 ×100 |
||
| 풍요주 |
×1000 ×100 |
||
| 수면의 칼날 |
×50 |
||
| 방해 4 |
×800 ×600 |
||
| 목요주 |
×1200 ×850 |
||
| 행동력 4 |
×600 |
||
| 흑요주 |
×1000 |
||
| 어둠의 칼날 |
×50 |
||
| 죽음의 칼날 |
×200 |
||
| 죽음의 칼날 2 |
×50 |
||
| 구동 2 |
×200 |
||
 이동 3 이동 3 |
×400 |
||
| 필살의 칼날 |
×120 |
||
| 절약 EP 4 |
×600 ×400 |
||
| 금요주 |
×1000 ×600 |
||
| 응목 |
×50 |
||
| EP 4 |
×300 ×200 |
||
| 은요주 |
×1000 ×400 |
||
| 명중 4 |
×300 |
||
| 환요주 |
×1000 |
||
| 혼란의 칼날 |
×200 |
||
| 정보 |
×50 |
||
| Sepith Trade | |||
| = 10 mira |
= 10 mira |
= 10 mira |
= 10 mira |
| = 10 mira |
= 30 mira |
= 20 mira |
|
Gallery
-
 Concept art
 -
-
-
-
-
-
-
-
.jpg)
.png)
.png)
.png)
.png)
.png)
.png)
.png)
.png)
Map of Liberl
 | |
|---|---|
| <imagemap>
Image:Liberl_(Map).jpg|upright 4.5|frameless|center desc none poly 1328 507 1359 509 1374 475 1422 471 1512 412 1516 366 1530 366 1530 421 1451 475 1501 468 1509 480 1445 497 1433 486 1385 494 1370 522 1327 519 Elize Highway poly 1507 345 1365 323 1359 333 1384 353 1405 352 1359 418 1369 425 1428 357 1507 360 Milch Main Road poly 1530 337 1505 210 1485 210 1499 283 1438 292 1436 306 1500 301 1514 338 Malga Trail poly 1345 312 1043 205 992 220 997 232 1038 224 1199 281 1341 323 East Bose Highway poly 1250 278 1268 247 1384 245 1408 214 1411 175 1399 176 1394 209 1376 232 1273 229 1232 156 1220 157 1253 233 1238 274 Nebel Valley poly 1044 205 1042 56 1066 52 1093 73 1057 132 1062 212 Eisen Road poly 993 242 1027 259 1051 310 1049 339 1038 338 1035 313 984 329 983 318 995 305 1028 299 1010 267 978 247 New Ansel Path poly 964 228 798 207 591 240 595 254 715 245 814 225 967 241 West Bose Highway poly 811 209 801 173 810 165 824 181 821 210 Ravennue Trail poly 788 156 777 141 791 141 799 151 Ravennue Trail poly 591 240 495 286 498 300 588 287 595 254 Krone Trail poly 475 297 433 353 378 379 384 390 464 358 486 307 Krone Trail poly 378 379 357 400 351 445 430 597 439 599 446 592 425 533 452 525 449 514 401 506 368 443 384 390 Manoria Byroad poly 468 510 513 463 493 437 506 432 526 457 572 450 642 485 661 516 669 581 658 584 646 561 647 512 566 464 513 482 471 521 Gull Seaside Way poly 651 499 745 458 836 460 837 473 749 471 657 510 Vista Forest Road poly 670 609 742 655 709 670 684 654 673 655 703 686 744 669 764 696 772 688 758 651 720 614 682 604 Aurian Causeway poly 779 706 803 721 973 743 974 731 898 718 913 695 898 694 876 709 787 699 Kaldia Tunnel poly 983 754 987 781 1034 845 1068 856 1072 846 1044 834 1012 776 1142 787 1195 775 1207 757 1196 755 1126 774 1128 731 1116 731 1106 771 999 759 996 753 Tratt Plains Road poly 1005 733 1042 720 1050 681 1085 646 1114 636 1132 579 1150 575 1152 586 1125 648 1065 689 1058 730 1005 745 Ritter Roadway poly 1064 667 1007 571 993 572 998 606 1055 676 Soldat Army Road poly 1165 569 1146 513 1154 500 1237 493 1304 508 1306 518 1282 538 1232 506 1163 512 1176 551 1207 577 1197 587 1173 580 Royal Avenue poly 1207 577 1245 596 1255 574 1266 579 1263 605 1309 618 1342 612 1338 589 1282 538 1295 527 1352 584 1356 623 1305 631 1268 623 1197 587 Erbe Scenic Route rect 1425 272 1438 297 Esmelas Tower rect 969 309 982 334 Amberl Tower rect 671 630 684 655 Sapphirl Tower rect 1116 706 1129 731 Carnelia Tower circle 1138 500 15 City of Grancel circle 1524 351 15 City of Rolent circle 981 232 15 City of Bose circle 672 594 15 City of Ruan circle 990 740 15 City of Zeiss circle 1502 390 15 Bright Family House circle 1514 467 15 Mistwald Forest circle 1358 430 15 Perzel Farm circle 1494 200 15 Malga Mine circle 1044 348 15 Valleria Lakeshore circle 798 163 15 Ravennue Village circle 782 134 15 Ravennue Mine circle 1406 168 15 Sky Bandit's Stronghold circle 1226 148 15 Ancient Dragon's Dwelling circle 450 603 15 Varenne Lighthouse circle 460 518 15 Manoria Village circle 496 427 15 Mercia Orphanage circle 847 466 15 Jenis Royal Academy circle 869 453 15 Old Schoolhouse (Jenis) circle 907 688 15 Limestone Cave circle 1080 856 15 Elmo Village circle 1122 837 15 Hot Springs Fountainhead circle 1265 568 15 Erbe Royal Villa circle 1110 488 15 Grancel Castle circle 1317 512 15 Gurune Gate circle 1354 322 15 Verte Bridge circle 487 295 15 Krone Pass circle 1050 46 15 Haken Gate circle 776 697 15 Air-Letten circle 1000 560 15 Leiston Fortress circle 1204 748 15 Wolf Fort circle 1162 579 15 Sanktheim Gate circle 916 380 15 Lakeside Laboratory </imagemap> | |
Map of Phantasma
| |
|---|---|
| <imagemap>
Image:Phantasma_(Map).png|upright 4.5|frameless|center desc none circle 617 870 55 Gehenna circle 695 716 93 Erbe Scenic Route circle 603 624 77 Luminous and Umbral Labyrinths circle 530 468 92 Le Locle circle 688 380 82 Golden and Silver Roads circle 553 281 93 City of Grancel circle 632 143 78 Jade Corridor circle 499 66 60 Hermit's Garden circle 892 191 92 Castle Phantasmagoria </imagemap> | |