| Top Level Upper |
|---|

|
검은 성배: 두 판 사이의 차이
kiseki
다른 명령
knergy>Solymr 편집 요약 없음 |
잔글 Knergy님이 Gral of Erebos 문서를 검은 성배 문서로 이동했습니다: Localize title to glossary Korean |
||
| (같은 사용자의 중간 판 20개는 보이지 않습니다) | |||
| 1번째 줄: | 1번째 줄: | ||
{{InfoRoad | {{Spoiler}}{{InfoRoad | ||
|title1 = Gral of Erebos | |title1 = Gral of Erebos | ||
|image1 = Gral of Erebos - Introduction (CS III).png | |image1 = Gral of Erebos - Introduction (CS III).png | ||
|game = {{g|Sen III}} | |game = {{g|Sen III}} | ||
|country = [[Erebonia]] | |country = [[Erebonia]] | ||
|region = [[Heimdallr]] | |||
|northloc = | |northloc = | ||
|westloc = | |westloc = | ||
| 9번째 줄: | 10번째 줄: | ||
|southloc = [[Karel Imperial Villa]] | |southloc = [[Karel Imperial Villa]] | ||
}} | }} | ||
The '''Gral of Erebos''' is | The '''Gral of Erebos''' is the sanctuary of the corrupted Holy Beast, the [[Argres|Nameless One]]. | ||
== Background == | |||
Around S.281, the Holy Beast of the [[Gnomes]] took the majority of the [[Erebonian Curse]] into itself and sealed itself in the [[Primal Ground]] under [[Heimdallr Cathedral]], spawning [[Zoro-Agruga]] soon after. However, after Heimdallr was retaken, the site of the Primal Ground was replaced with stone. Unbeknownst to the [[Septian Church]] and the [[House of Arnor]], the Primal Ground was transported 800 arge under [[Karel Imperial Villa]], becoming the Gral of Erebos. | |||
== {{g|Sen III}} == | == {{g|Sen III}} == | ||
=== Background === | === Background === | ||
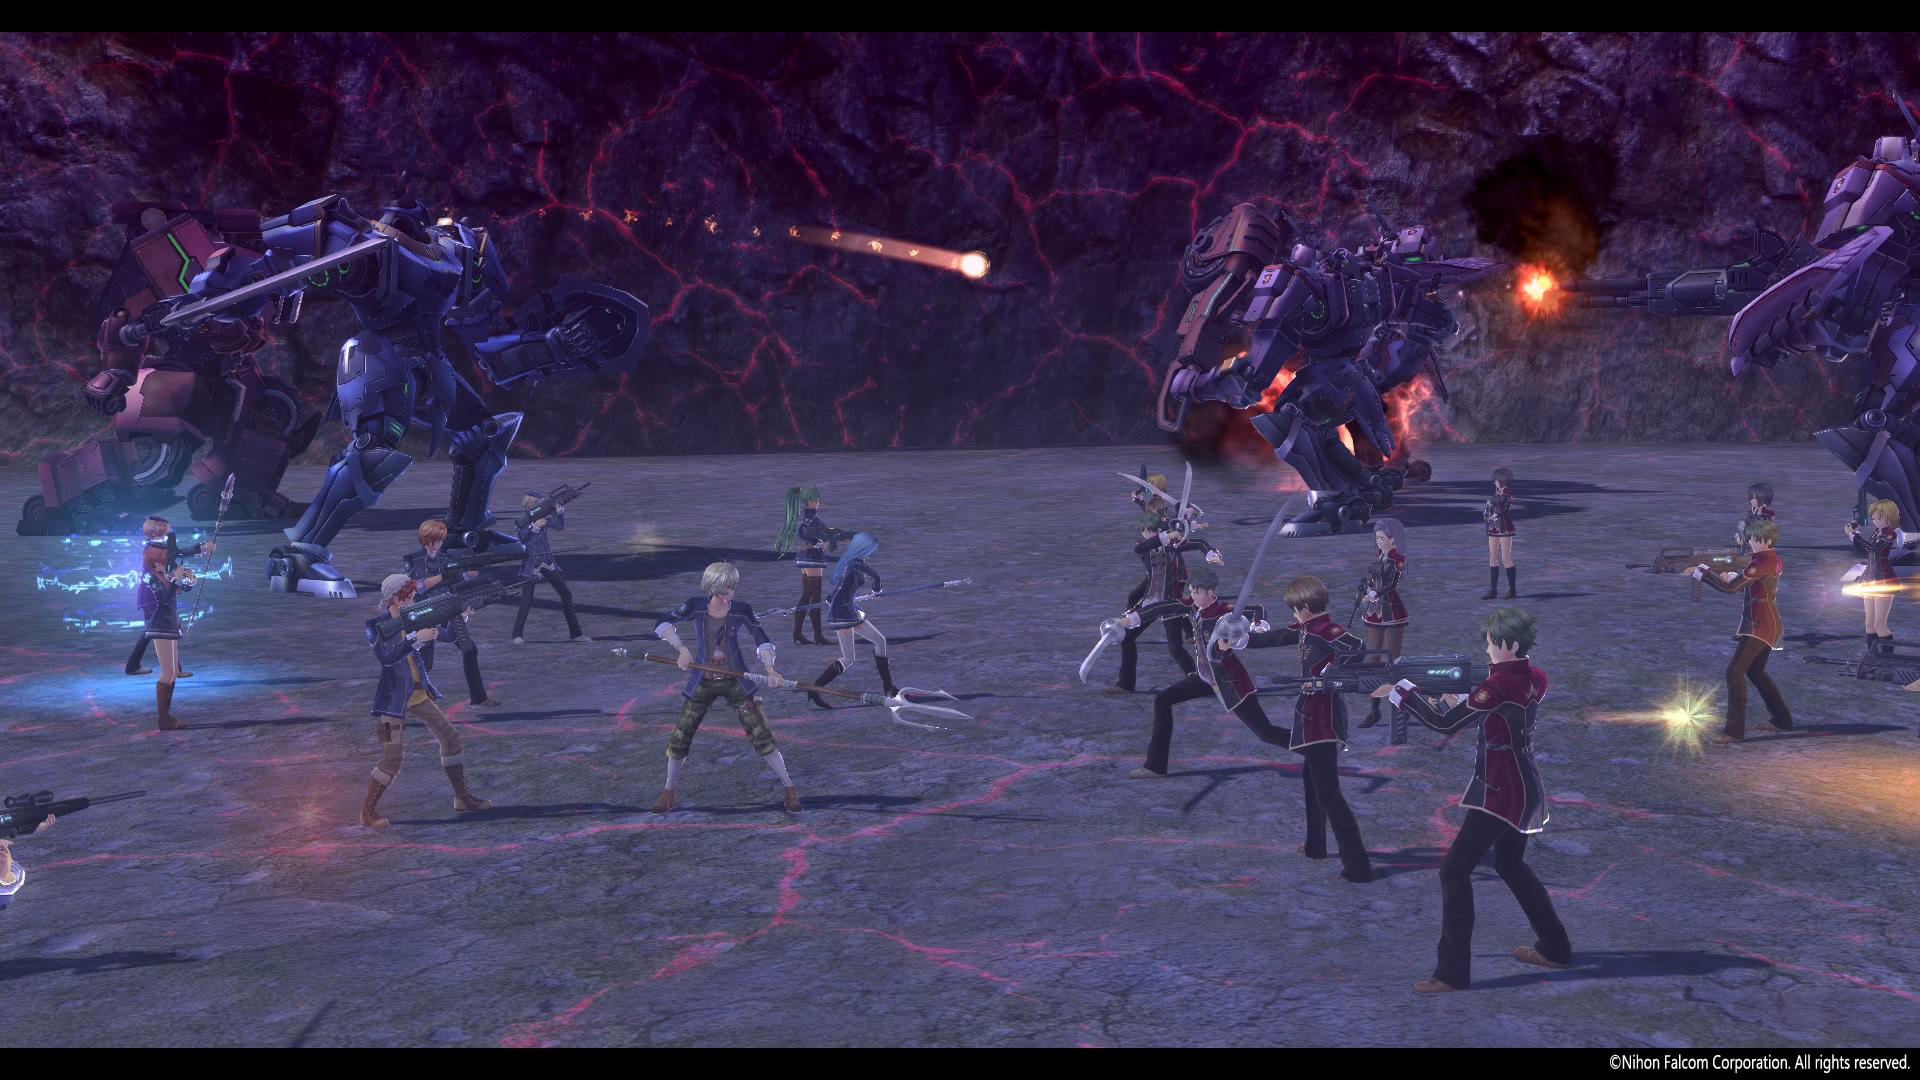
The Gral of Erebos resurfaces on top of Karel Imperial Villa, as part of the prophecy for the [[Great Twilight]], after [[Ash Carbide]] shoots [[Eugent Reise Arnor III|Emperor Eugent]] during the Summer Festival of S.1206. [[Giliath Osborne]], [[Black Alberich]], the [[Ironblood]]s and [[Ouroboros]]' [[Enforcer]]s take [[Altina Orion]] inside, while the main [[Thors Military Academy]] students, the rest of [[Ouroboros]], the [[Red Constellation]] and [[Zephyr]] defend the outside from [[Thors Branch Campus]] students and their allies. | |||
* [[Arianrhod]] and [[McBurn]] are fought on the top level: [[Laura S. Arseid|Laura]], [[Emma Millstein|Emma]], and [[Gaius Worzel|Gaius]] | |||
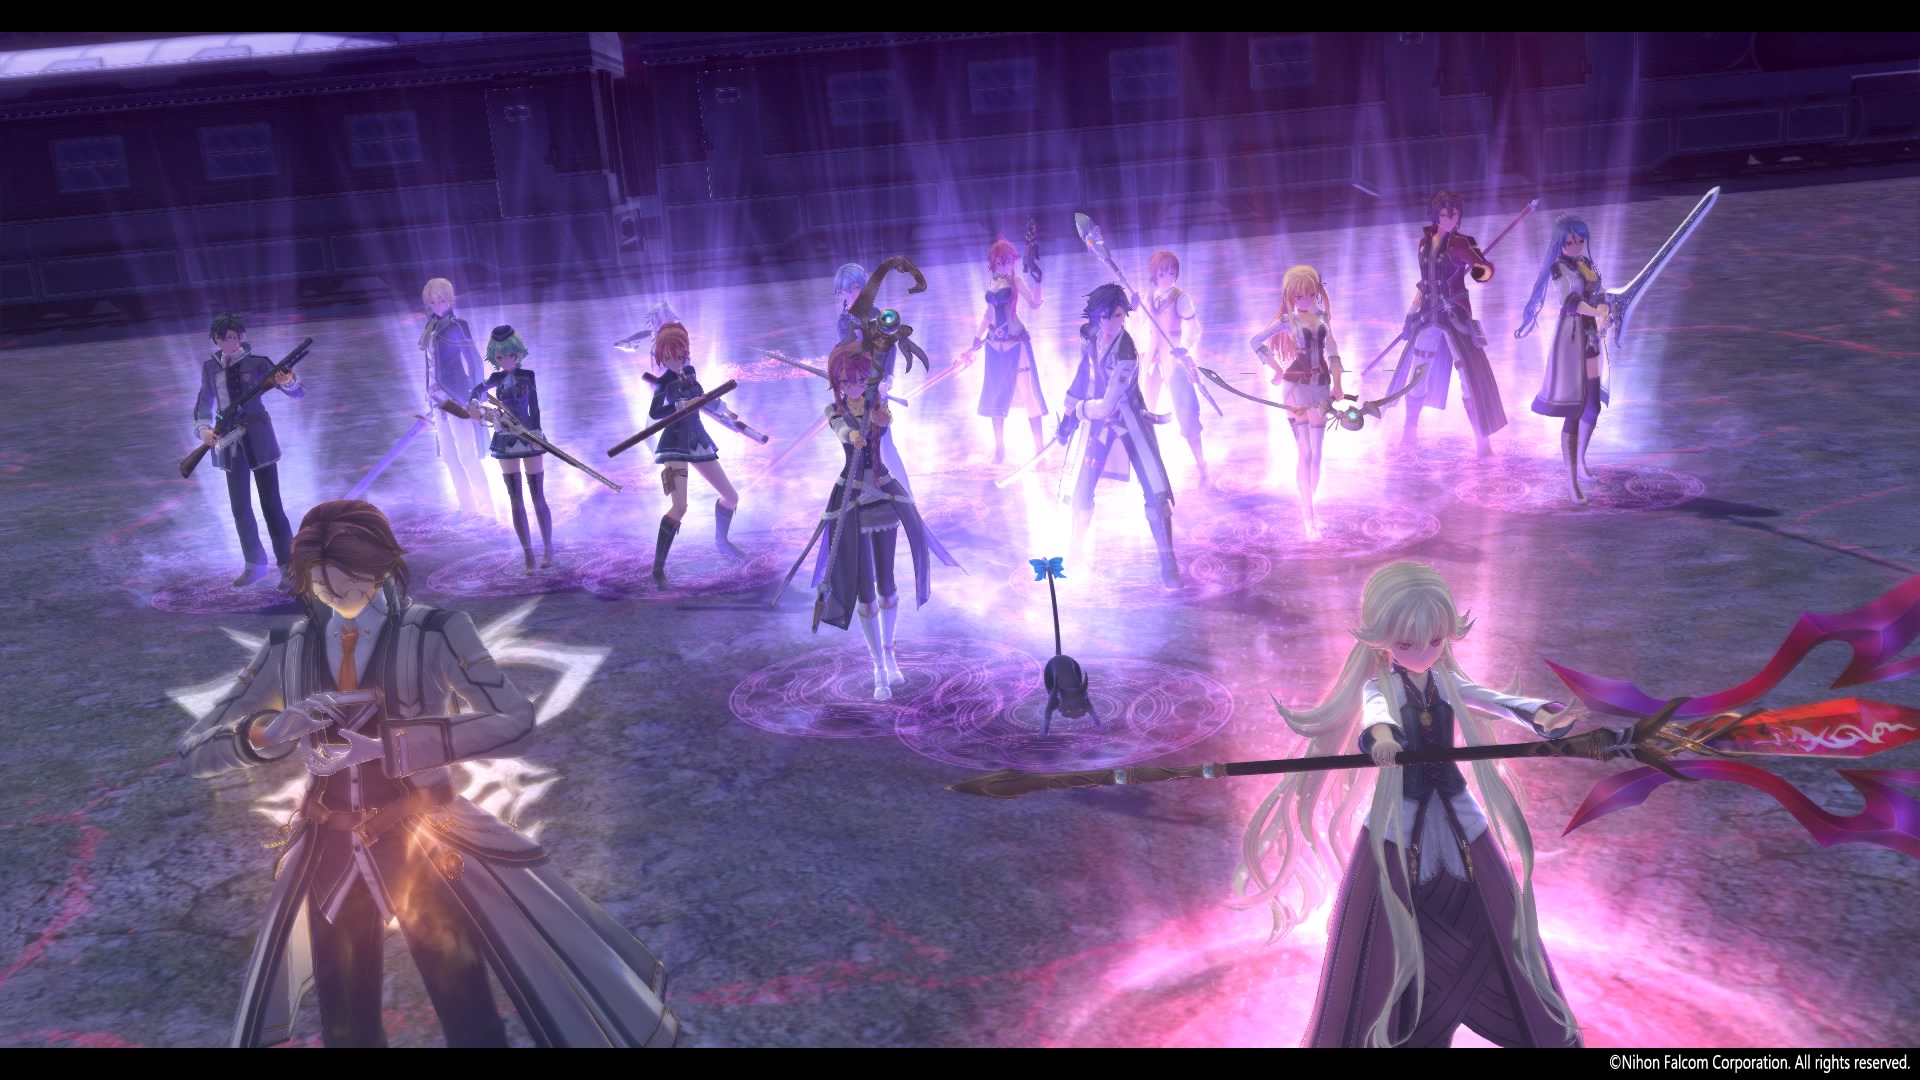
* [[Azure Siegfried]], [[Sharon Kreuger|Kreuger]], [[Rutger Claussell|Rutger]], and [[Shirley Orlando|Shirley]] are fought on the middle level: [[Alisa Reinford|Alisa]], [[Fie Claussell|Fie]], and [[Sara Valestein|Sara]] | Thanks to [[Roselia Millstein]]'s power and [[Thomas Lysander]]'s partitions, [[Class VII]] is able to infiltrate the Gral from the top. They descend stratum by stratum, where Old Class VII members stay behind to fight their adversaries: | ||
* [[Claire Rieveldt|Claire]], [[Lechter Arundel|Lechter]], [[Millium Orion|Millium]], and [[Rufus Albarea|Rufus]] are fought on the lower level: [[Elliot Craig|Elliot]], [[Jusis Albarea|Jusis]], and [[Machias Regnitz|Machias]] are | * [[Arianrhod]] and [[McBurn]] are fought on the top level: [[Laura S. Arseid|Laura]], [[Emma Millstein|Emma]], and [[Gaius Worzel|Gaius]] stay behind | ||
* [[Azure Siegfried]], [[Sharon Kreuger|Kreuger]], [[Rutger Claussell|Rutger]], and [[Shirley Orlando|Shirley]] are fought on the middle level: [[Alisa Reinford|Alisa]], [[Fie Claussell|Fie]], and [[Sara Valestein|Sara]] stay behind. | |||
* [[Claire Rieveldt|Claire]], [[Lechter Arundel|Lechter]], [[Millium Orion|Millium]], and [[Rufus Albarea|Rufus]] are fought on the lower level: [[Elliot Craig|Elliot]], [[Jusis Albarea|Jusis]], and [[Machias Regnitz|Machias]] stay behind. | |||
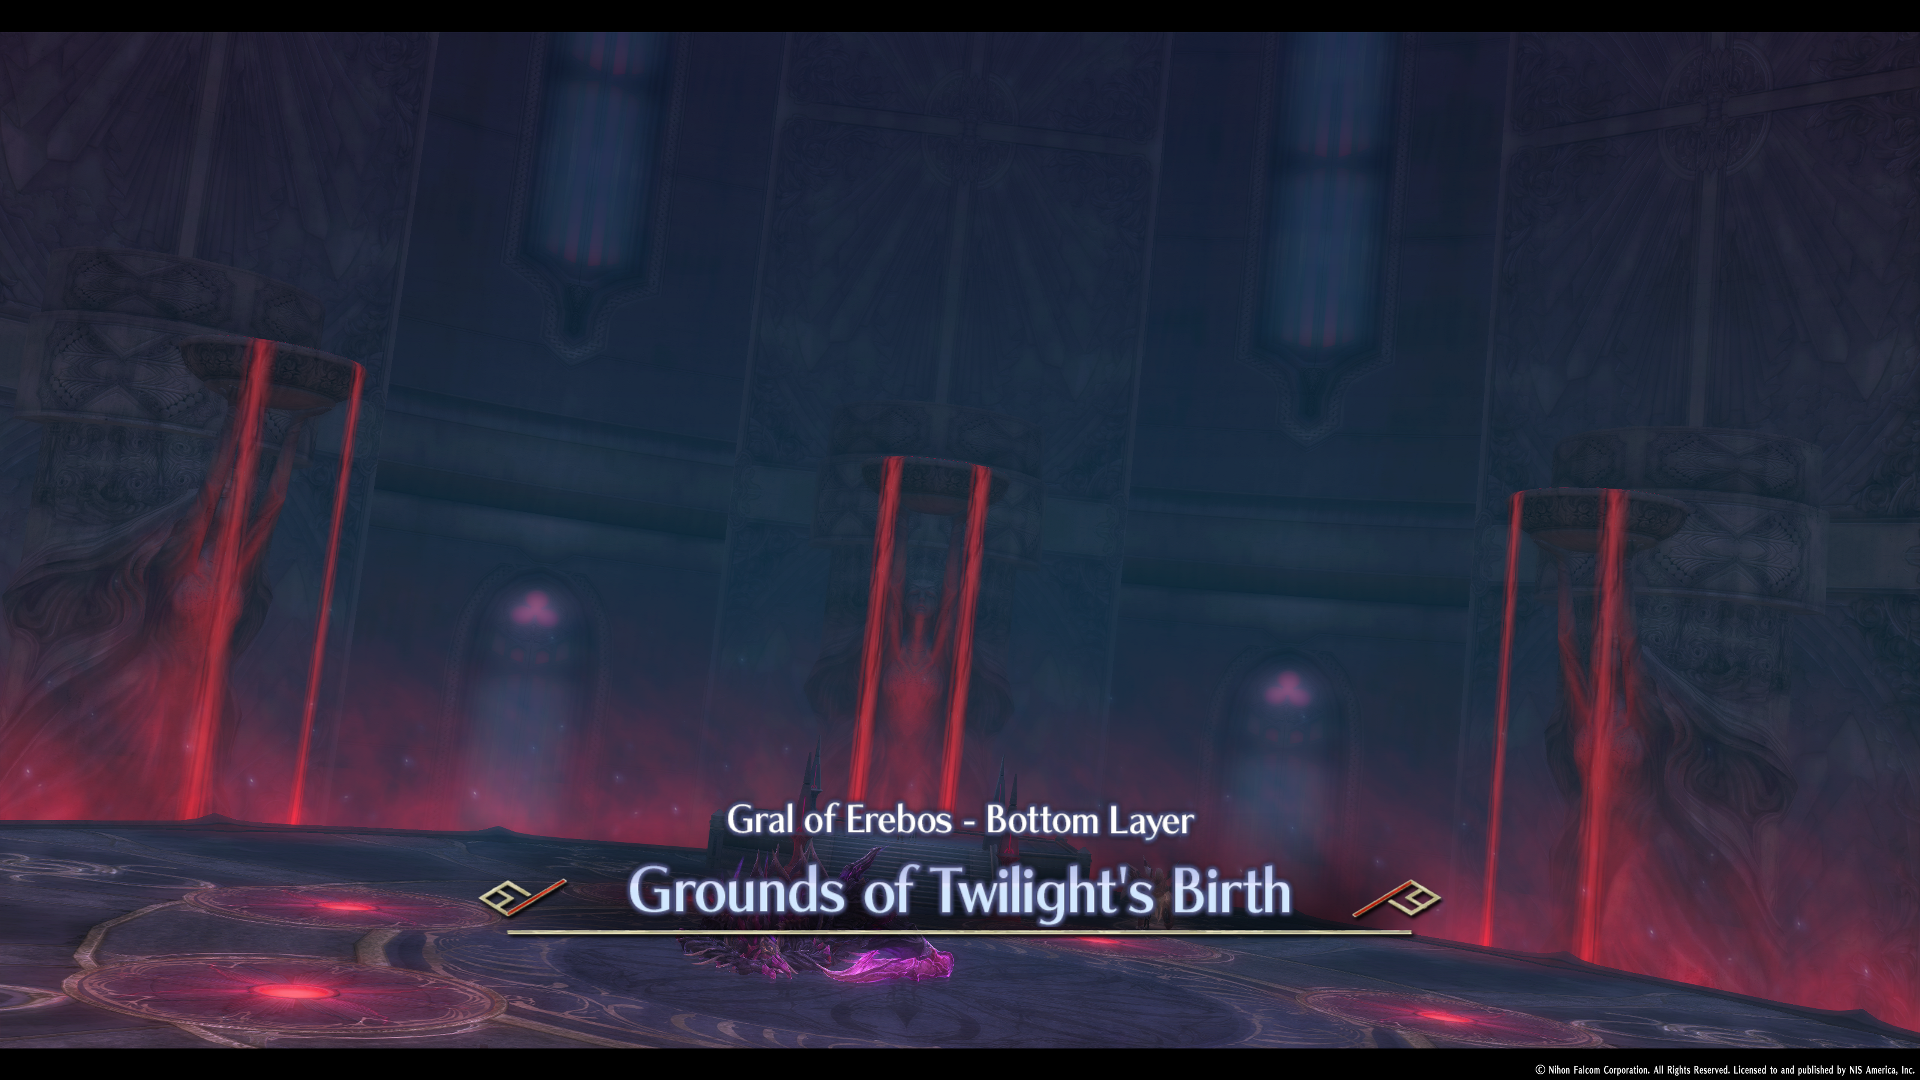
At the bottom, they find [[Testa-Rossa]] almost restored after its defeat at the [[Infernal Castle]], with [[Cedric Reise Arnor|Crown Prince Cedric]] about to kill Altina in order to create the [[Originator Zero]] sword. Outside, the [[Courageous]] arrives with [[Olivert Reise Arnor]], [[Victor S. Arseid]] and [[Toval Randonneur]] as reinforcements for the Branch Campus. As Rean and the remainder of Class VII intend to stop them, Alberich awakens the Holy Beast and traps them with it. | |||
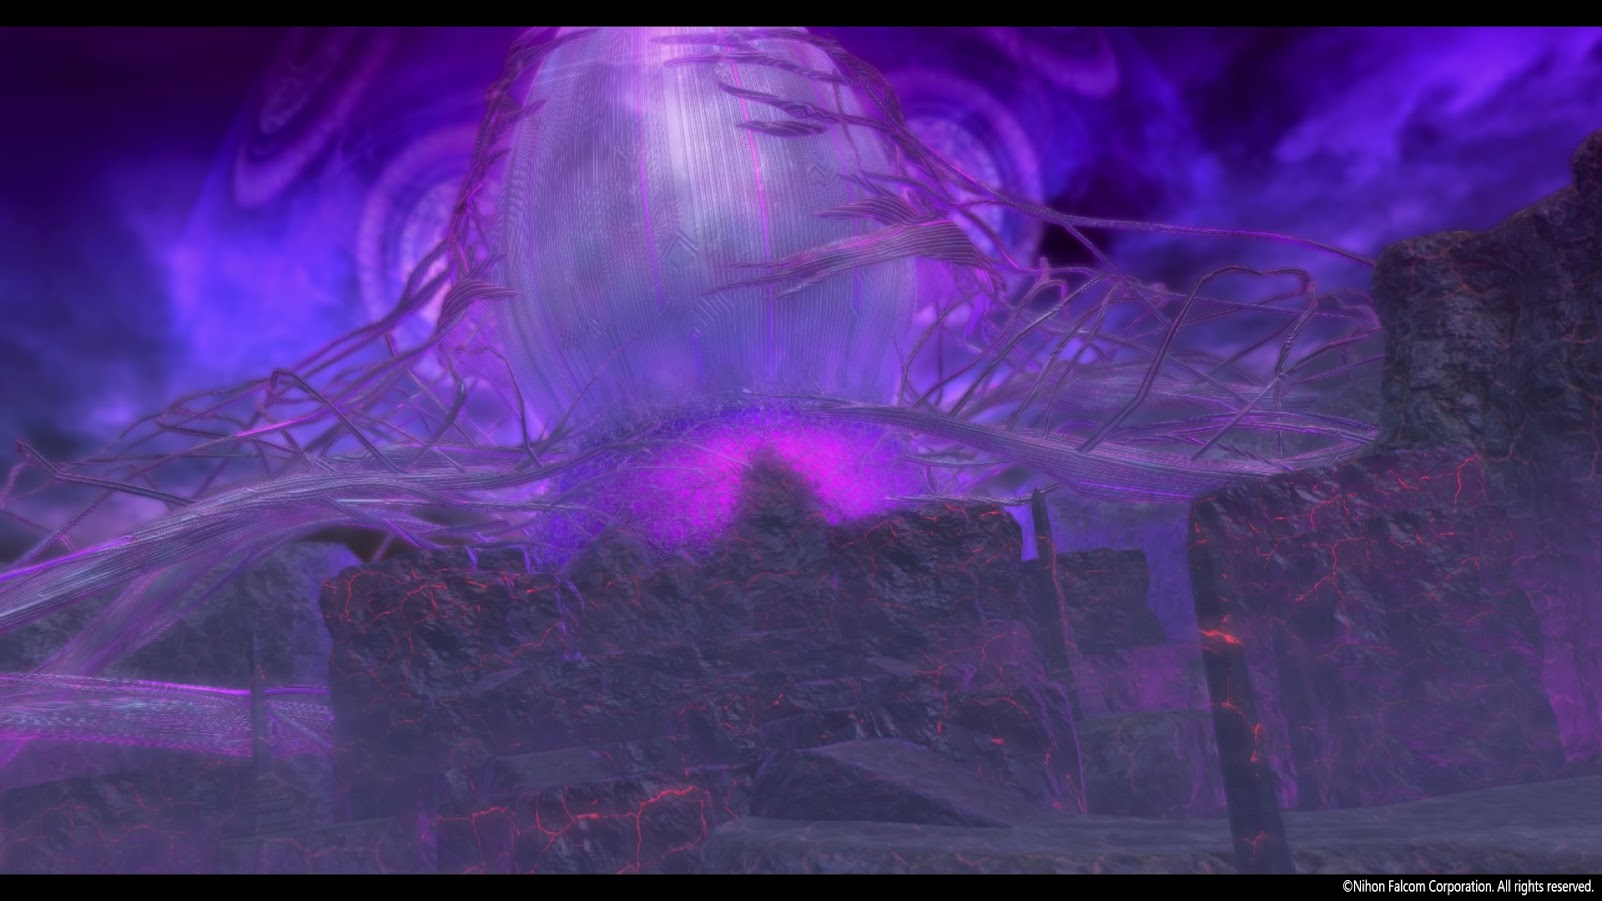
<span class="spoiler>They are unable to suppress the Holy Beast, and [[Valimar]] ends up trapped under its claws. Outside, [[George Nome|Copper Georg]] detonates explosive charges he'd previously set in the [[Courageous]], completely destroying the ship in midair. Altina struggles out of Cedric's grasp and attempts to defend Valimar with Claimh Solais, but Millium shoves her out of the way and takes the Nameless One's attack for her, dying from the wounds and becoming the Sword of the End.</span> | |||
<span class="spoiler>Rean goes berserk, transforming Valimar into his second form, as he brutally kills the Holy Beast with the Sword of the End, fulfilling the prophecy as the final [[Sacrifice]]. As the Great Twilight spreads across Erebonia, [[Zector]], [[Ordine]], [[Testa-Rossa]] and [[Argreion]] hold the berserk Valimar back as Osborne summons [[Ishmelga]], who suppresses Valimar as they take him and Rean away.</span> | |||
=== Maps === | === Top Level === | ||
==== Maps ==== | |||
<tabber> | |||
|-|Top Level Upper= | |||
{| class="article-table" style="width:100%" | |||
!Top Level Upper | |||
|- | |||
|style="text-align:center"|[[File:Gral of Erebos Top Level Upper.png|borderless]] | |||
|} | |||
|-|Top Level Middle= | |||
{| class="article-table" style="width:100%" | |||
!Top Level Middle | |||
|- | |||
|style="text-align:center"|[[File:Gral of Erebos Top Level Middle.png|borderless]] | |||
|} | |||
|-|Top Corridor Upper= | |||
{| class="article-table" style="width:100%" | |||
!Top Corridor Upper | |||
|- | |||
|style="text-align:center"|[[File:Gral of Erebos Top Corridor Upper.png|borderless]] | |||
|} | |||
|-|Top Corridor Lower= | |||
{| class="article-table" style="width:100%" | |||
!Top Corridor Lower | |||
|- | |||
|style="text-align:center"|[[File:Gral of Erebos Top Corridor Lower.png|borderless]] | |||
|} | |||
|-|Top Level Lower= | |||
{| class="article-table" style="width:100%" | |||
!Top Level Lower | |||
|- | |||
|style="text-align:center"|[[File:Gral of Erebos Top Level Lower.png|borderless]] | |||
|} | |||
</tabber> | |||
==== [[List of enemies (Cold Steel III)/Gral of Erebos - Top Level|Enemies]] ==== | |||
==== [[List of enemies (Cold Steel III)/Gral of Erebos - Top Level| | |||
* [[List of enemies (Cold Steel III)/Gral of Erebos - Top Level#Calvary Lancer|Calvary Lancer]] | * [[List of enemies (Cold Steel III)/Gral of Erebos - Top Level#Calvary Lancer|Calvary Lancer]] | ||
* [[List of enemies (Cold Steel III)/Gral of Erebos - Top Level#Teropes|Teropes]] | * [[List of enemies (Cold Steel III)/Gral of Erebos - Top Level#Teropes|Teropes]] | ||
| 28번째 줄: | 72번째 줄: | ||
* '''[[List of enemies (Cold Steel III)/Gral of Erebos - Top Level#McBurn the Blazing Demon|McBurn the Blazing Demon]]''' | * '''[[List of enemies (Cold Steel III)/Gral of Erebos - Top Level#McBurn the Blazing Demon|McBurn the Blazing Demon]]''' | ||
==== [[List of enemies (Cold Steel III)/Gral of Erebos - Middle Level| | === Middle Level === | ||
==== Maps ==== | |||
<tabber> | |||
|-|Middle Level Upper= | |||
{| class="article-table" style="width:100%" | |||
!Middle Level Upper | |||
|- | |||
|style="text-align:center"|[[File:Gral of Erebos Middle Level Upper.png|borderless]] | |||
|} | |||
|-|Middle Corridor 1 Upper= | |||
{| class="article-table" style="width:100%" | |||
!Middle Corridor 1 Upper | |||
|- | |||
|style="text-align:center"|[[File:Gral of Erebos Middle Corridor 1 Upper.png|borderless]] | |||
|} | |||
|-|Middle Corridor 1 Lower= | |||
{| class="article-table" style="width:100%" | |||
!Middle Corridor 1 Lower | |||
|- | |||
|style="text-align:center"|[[File:Gral of Erebos Middle Corridor 1 Lower.png|borderless]] | |||
|} | |||
|-|Middle Level Middle= | |||
{| class="article-table" style="width:100%" | |||
!Middle Level Middle | |||
|- | |||
|style="text-align:center"|[[File:Gral of Erebos Middle Level Middle.png|borderless]] | |||
|} | |||
|-|Middle Corridor 2 Upper= | |||
{| class="article-table" style="width:100%" | |||
!Middle Corridor 2 Upper | |||
|- | |||
|style="text-align:center"|[[File:Gral of Erebos Middle Corridor 2 Upper.png|borderless]] | |||
|} | |||
|-|Middle Corridor 2 Middle= | |||
{| class="article-table" style="width:100%" | |||
!Middle Corridor 2 Middle | |||
|- | |||
|style="text-align:center"|[[File:Gral of Erebos Middle Corridor 2 Middle.png|borderless]] | |||
|} | |||
|-|Middle Corridor 2 Lower= | |||
{| class="article-table" style="width:100%" | |||
!Middle Corridor 2 Lower | |||
|- | |||
|style="text-align:center"|[[File:Gral of Erebos Middle Corridor 2 Lower.png|borderless]] | |||
|} | |||
|-|Middle Level Lower= | |||
{| class="article-table" style="width:100%" | |||
!Middle Level Lower | |||
|- | |||
|style="text-align:center"|[[File:Gral of Erebos Middle Level Lower.png|borderless]] | |||
|} | |||
</tabber> | |||
==== [[List of enemies (Cold Steel III)/Gral of Erebos - Middle Level|Enemies]] ==== | |||
* [[List of enemies (Cold Steel III)/Gral of Erebos - Middle Level#Zaphkiel|Zaphkiel]] | * [[List of enemies (Cold Steel III)/Gral of Erebos - Middle Level#Zaphkiel|Zaphkiel]] | ||
* [[List of enemies (Cold Steel III)/Gral of Erebos - Middle Level#Archangel|Archangel]] | * [[List of enemies (Cold Steel III)/Gral of Erebos - Middle Level#Archangel|Archangel]] | ||
| 37번째 줄: | 133번째 줄: | ||
* '''[[List of enemies (Cold Steel III)/Gral of Erebos - Middle Level#Jaeger King Rutger|Jaeger King Rutger]]''' | * '''[[List of enemies (Cold Steel III)/Gral of Erebos - Middle Level#Jaeger King Rutger|Jaeger King Rutger]]''' | ||
==== [[List of enemies (Cold Steel III)/Gral of Erebos - Lower Level| | === Lower Level === | ||
==== Maps ==== | |||
<tabber> | |||
|-|Lower Level Upper= | |||
{| class="article-table" style="width:100%" | |||
!Lower Level Upper | |||
|- | |||
|style="text-align:center"|[[File:Gral of Erebos Lower Level Upper.png|borderless]] | |||
|} | |||
|-|Lower Corridor 1 Upper= | |||
{| class="article-table" style="width:100%" | |||
!Lower Corridor 1 Upper | |||
|- | |||
|style="text-align:center"|[[File:Gral of Erebos Lower Corridor 1 Upper.png|borderless]] | |||
|} | |||
|-|Lower Corridor 1 Lower= | |||
{| class="article-table" style="width:100%" | |||
!Lower Corridor 1 Lower | |||
|- | |||
|style="text-align:center"|[[File:Gral of Erebos Lower Corridor 1 Lower.png|borderless]] | |||
|} | |||
|-|Lower Level Middle= | |||
{| class="article-table" style="width:100%" | |||
!Lower Level Middle | |||
|- | |||
|style="text-align:center"|[[File:Gral of Erebos Lower Level Middle.png|borderless]] | |||
|} | |||
|-|Lower Corridor 2 Upper= | |||
{| class="article-table" style="width:100%" | |||
!Lower Corridor 2 Upper | |||
|- | |||
|style="text-align:center"|[[File:Gral of Erebos Lower Corridor 2 Upper.png|borderless]] | |||
|} | |||
|-|Lower Corridor 2 Lower= | |||
{| class="article-table" style="width:100%" | |||
!Lower Corridor 2 Lower | |||
|- | |||
|style="text-align:center"|[[File:Gral of Erebos Lower Corridor 2 Lower.png|borderless]] | |||
|} | |||
|-|Lower Level Lower= | |||
{| class="article-table" style="width:100%" | |||
!Lower Level Lower | |||
|- | |||
|style="text-align:center"|[[File:Gral of Erebos Lower Level Lower.png|borderless]] | |||
|} | |||
</tabber> | |||
==== [[List of enemies (Cold Steel III)/Gral of Erebos - Lower Level|Enemies]] ==== | |||
* [[List of enemies (Cold Steel III)/Gral of Erebos - Lower Level#Dark Knight|Dark Knight]] | * [[List of enemies (Cold Steel III)/Gral of Erebos - Lower Level#Dark Knight|Dark Knight]] | ||
* [[List of enemies (Cold Steel III)/Gral of Erebos - Lower Level#Greater Devil|Greater Devil]] | * [[List of enemies (Cold Steel III)/Gral of Erebos - Lower Level#Greater Devil|Greater Devil]] | ||
| 46번째 줄: | 188번째 줄: | ||
* '''[[List of enemies (Cold Steel III)/Gral of Erebos - Lower Level#Governor General Rufus|Governor General Rufus]]''' | * '''[[List of enemies (Cold Steel III)/Gral of Erebos - Lower Level#Governor General Rufus|Governor General Rufus]]''' | ||
==== [[List of enemies (Cold Steel III)/Gral of Erebos - Bottom Level| | === Bottom Level === | ||
==== Maps ==== | |||
<tabber> | |||
|-|Bottom Level Upper= | |||
{| class="article-table" style="width:100%" | |||
!Bottom Level Upper | |||
|- | |||
|style="text-align:center"|[[File:Gral of Erebos Bottom Level Upper.png|borderless]] | |||
|} | |||
|-|Final Corridor= | |||
{| class="article-table" style="width:100%" | |||
!Final Corridor | |||
|- | |||
|style="text-align:center"|[[File:Gral of Erebos Final Corridor.png|borderless]] | |||
|} | |||
|-|Bottom Level Middle= | |||
{| class="article-table" style="width:100%" | |||
!Bottom Level Middle | |||
|- | |||
|style="text-align:center"|[[File:Gral of Erebos Bottom Level Middle.png|borderless]] | |||
|} | |||
|-|Final Elevator= | |||
{| class="article-table" style="width:100%" | |||
!Final Elevator | |||
|- | |||
|style="text-align:center"|[[File:Gral of Erebos Final Elevator.png|borderless]] | |||
|} | |||
|-|Twilight's Birth= | |||
{| class="article-table" style="width:100%" | |||
!Twilight's Birth | |||
|- | |||
|style="text-align:center"|[[File:Gral of Erebos Twilight's Birth.png|borderless]] | |||
|} | |||
</tabber> | |||
==== [[List of enemies (Cold Steel III)/Gral of Erebos - Bottom Level|Enemies]] ==== | |||
* [[List of enemies (Cold Steel III)/Gral of Erebos - Bottom Level#Afterglow Vessel|Afterglow Vessel]] | * [[List of enemies (Cold Steel III)/Gral of Erebos - Bottom Level#Afterglow Vessel|Afterglow Vessel]] | ||
* [[List of enemies (Cold Steel III)/Gral of Erebos - Bottom Level#Shadow Vessel|Shadow Vessel]] | * [[List of enemies (Cold Steel III)/Gral of Erebos - Bottom Level#Shadow Vessel|Shadow Vessel]] | ||
| 53번째 줄: | 229번째 줄: | ||
* '''[[List of enemies (Cold Steel III)/Divine Knights/Panzer Soldat Fights#Nameless One 2|Nameless One ]]''' | * '''[[List of enemies (Cold Steel III)/Divine Knights/Panzer Soldat Fights#Nameless One 2|Nameless One ]]''' | ||
=== [[List of treasure chests (Cold Steel III)|Treasure Chests]] === | === [[List of treasure chests (Cold Steel III)#Gral of Erebos|Treasure Chests]] === | ||
{| class="article-table | <div class="mw-collapsible mw-collapsed" data-expandtext="Show Treasures" data-collapsetext="Hide Treasures"> | ||
{| class="article-table" style="width:100%" | |||
! style="width:1%" |Key | ! style="width:1%" |Key | ||
! | !Contents | ||
|- | |- | ||
!1 | !1 | ||
| 65번째 줄: | 242번째 줄: | ||
|- | |- | ||
!3 | !3 | ||
|{{Quartz|Wind SR|Sen}} Zeus Gem | |{{Quartz|Wind SR|Sen III}} Zeus Gem | ||
|- | |- | ||
!4 | !4 | ||
|{{Quartz|Space SR|Sen}} Seraph | |{{Quartz|Space SR|Sen III}} Seraph | ||
|- | |- | ||
!5 | !5 | ||
| 74번째 줄: | 251번째 줄: | ||
|- | |- | ||
!6 | !6 | ||
|{{Item|Potion|Sen III}} Power Potion II | |{{Item|Potion|Sen III}} Power Potion II, {{Item|Potion|Sen III}} Shield Potion II, {{Item|Potion|Sen III}} Mind Potion II | ||
|- | |- | ||
!7 | !7 | ||
| 80번째 줄: | 257번째 줄: | ||
|- | |- | ||
!8 | !8 | ||
|{{ | |{{Quartz|Mirage SR|Sen III}} Fenrir Gem | ||
|- | |- | ||
!9 | !9 | ||
|{{ | |{{Item|Potion|Sen III}} Zeram Powder | ||
|- | |- | ||
!10 | !10 | ||
|{{Item|Potion|Sen III}} | |{{Item|Potion|Sen III}} Brave Seed | ||
|- | |- | ||
!11 | !11 | ||
| 95번째 줄: | 272번째 줄: | ||
|- | |- | ||
!13 | !13 | ||
|{{Quartz|Space SR|Sen}} Sevenfold Gem | |{{Quartz|Space SR|Sen III}} Sevenfold Gem | ||
|- | |- | ||
!14 | !14 | ||
| 114번째 줄: | 291번째 줄: | ||
!19 | !19 | ||
|{{Item|Potion|Sen III}} Zeram Capsule | |{{Item|Potion|Sen III}} Zeram Capsule | ||
|} | |}</div> | ||
=== [[List of quests (Cold Steel III)|Quests]] === | === [[List of quests (Cold Steel III)|Quests]] === | ||
*[[List_of_quests_(Cold_Steel_III)/Final_Chapter/Day_After_The_Incident|Day After The Incident]] | |||
== Gallery == | == Gallery == | ||
2026년 7월 29일 (수) 23:37 기준 최신판

Hold on, it looks like Millium wants to tell you something.
Hey-hey! White Rabbit here! Lammy scanned this article and said it contains unmarked spoilers for all Trails games. Turn back now if you don't want to get lasered! Okay, byee!
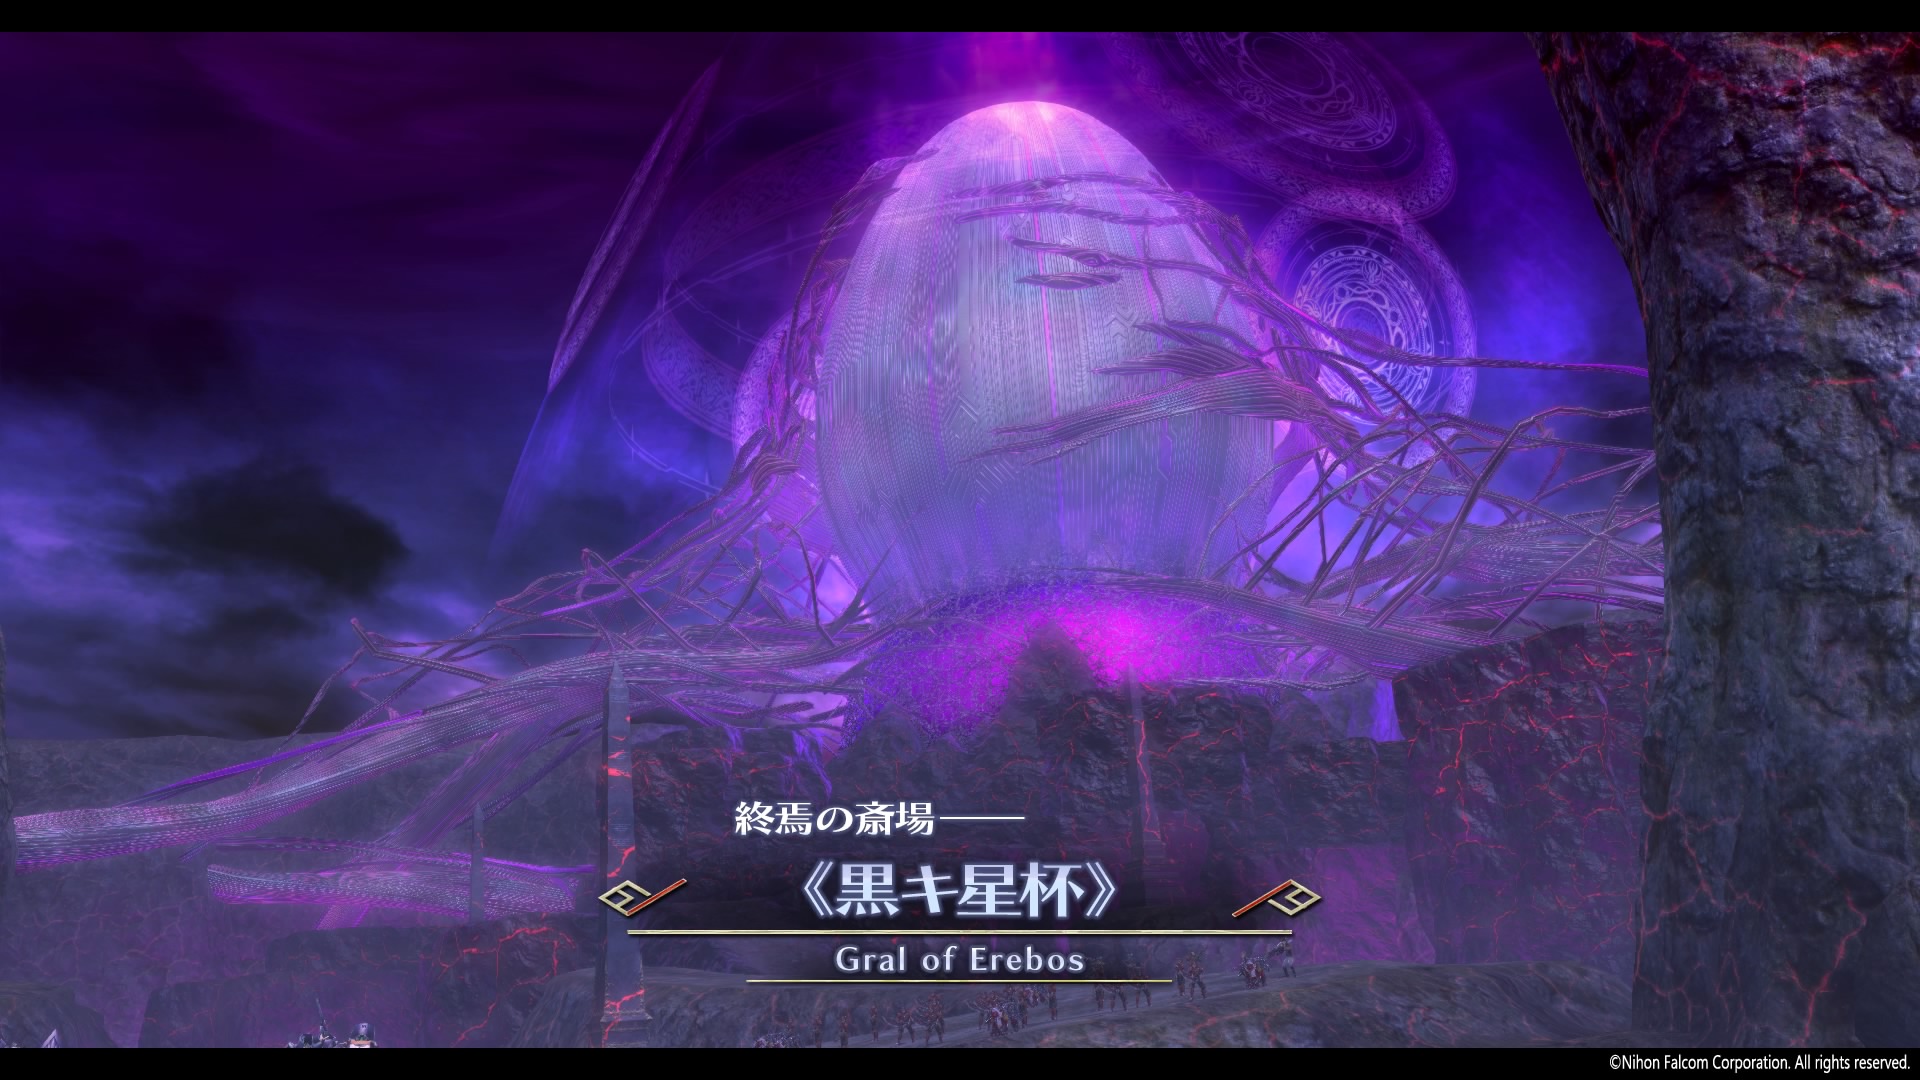
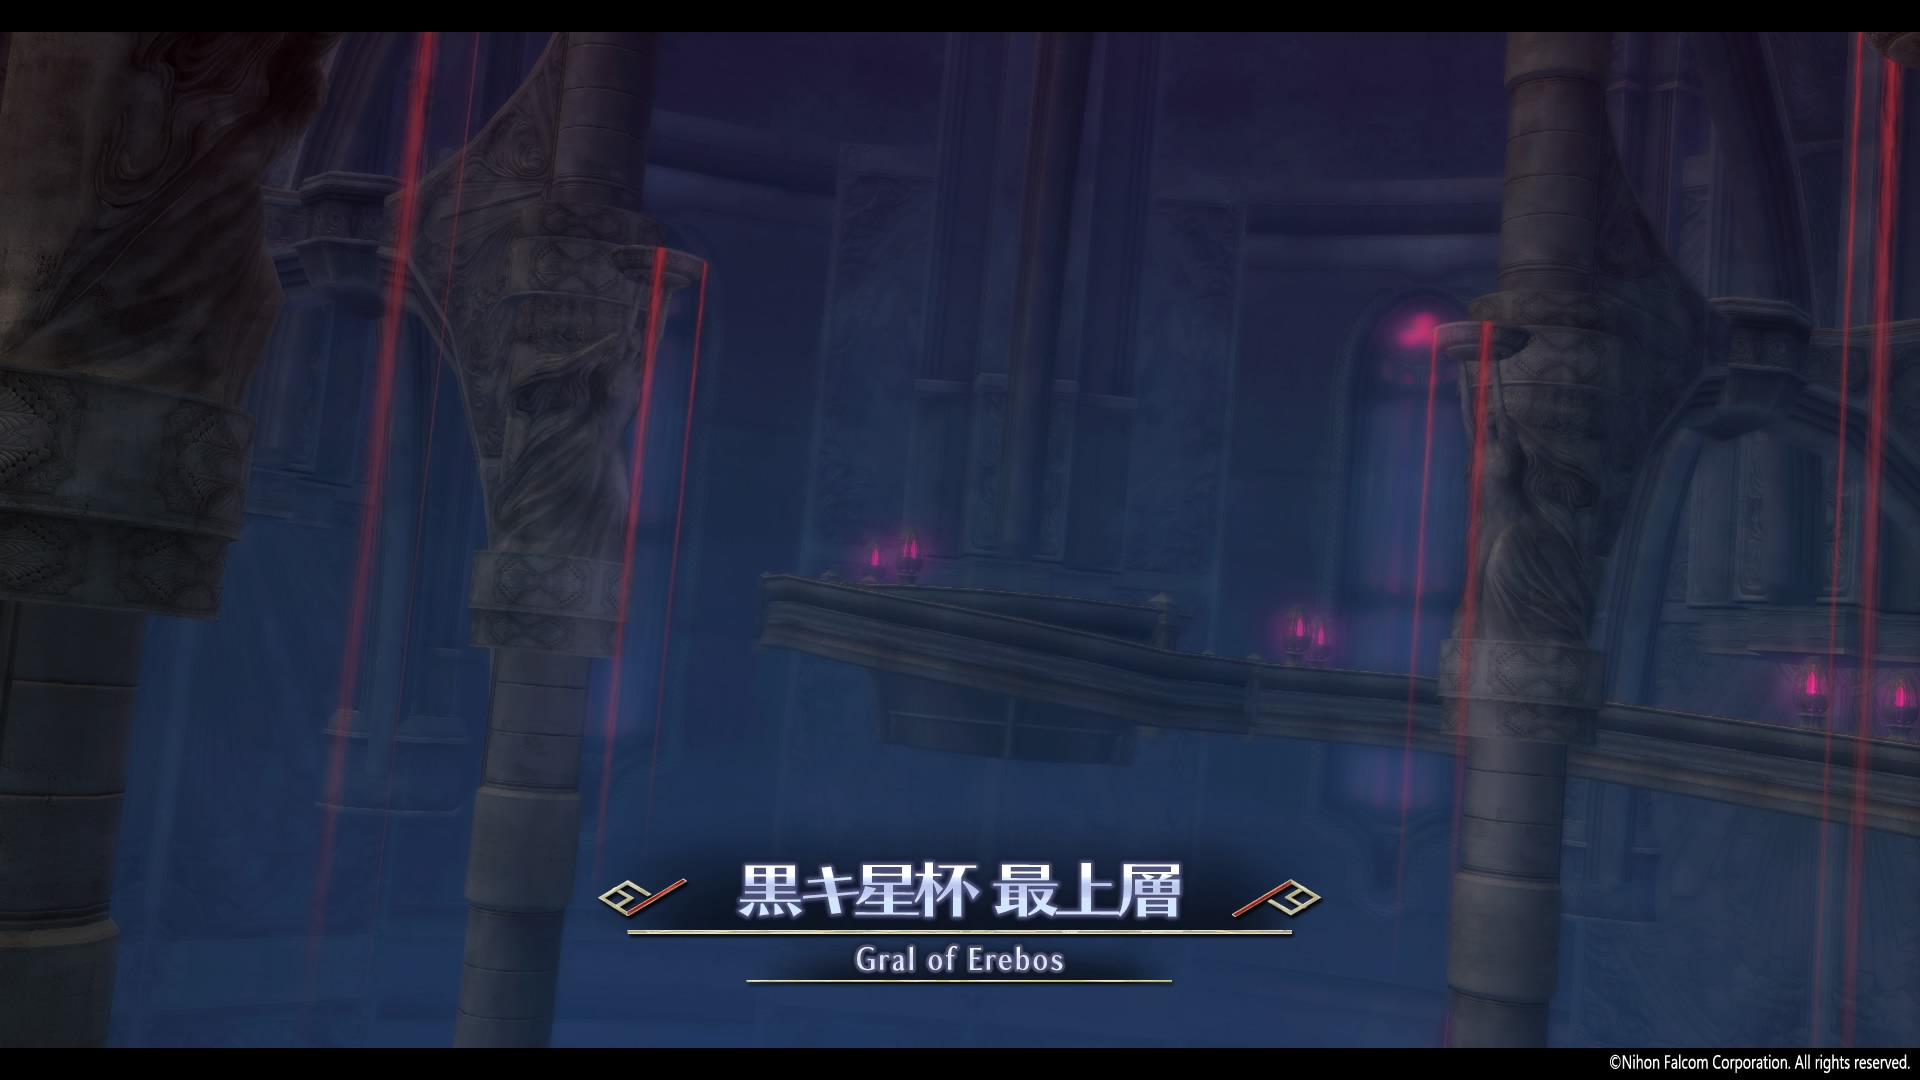
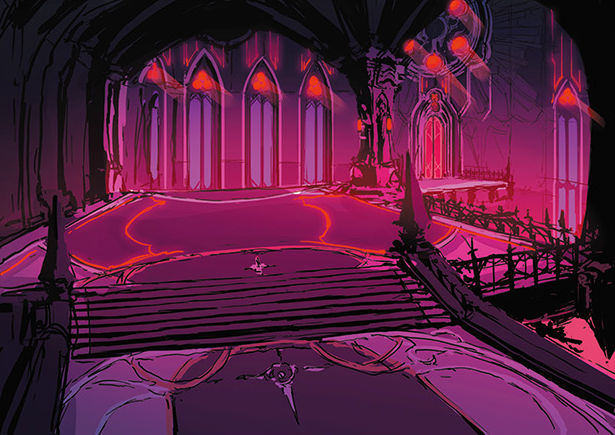
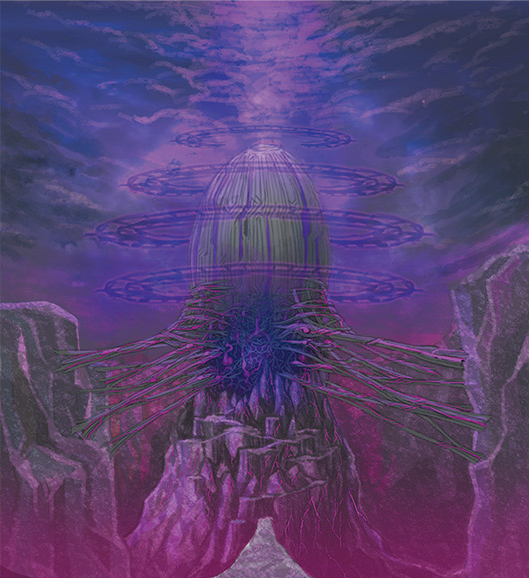
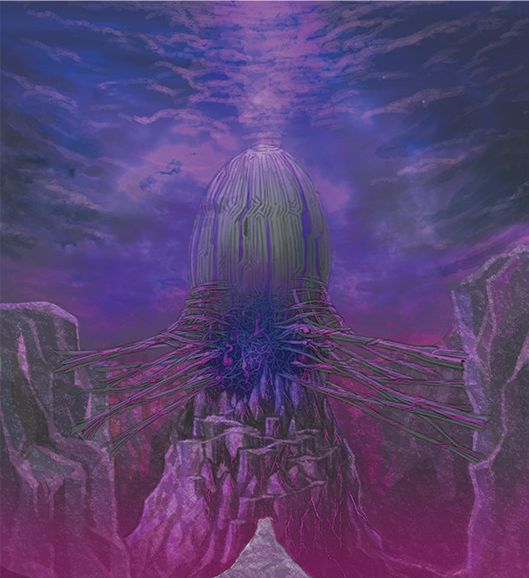
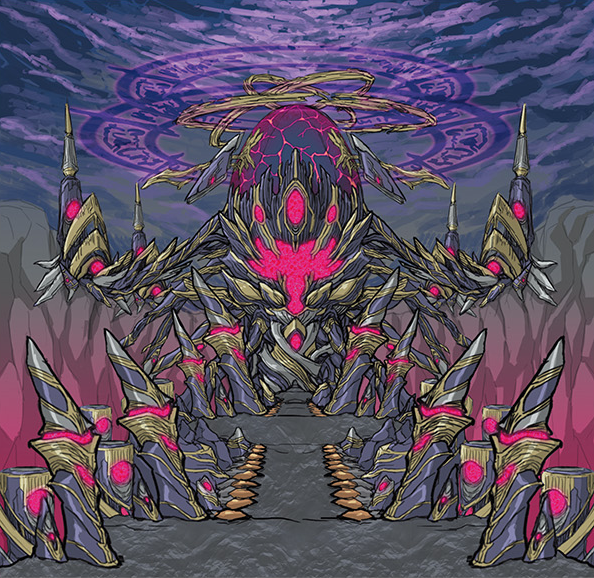
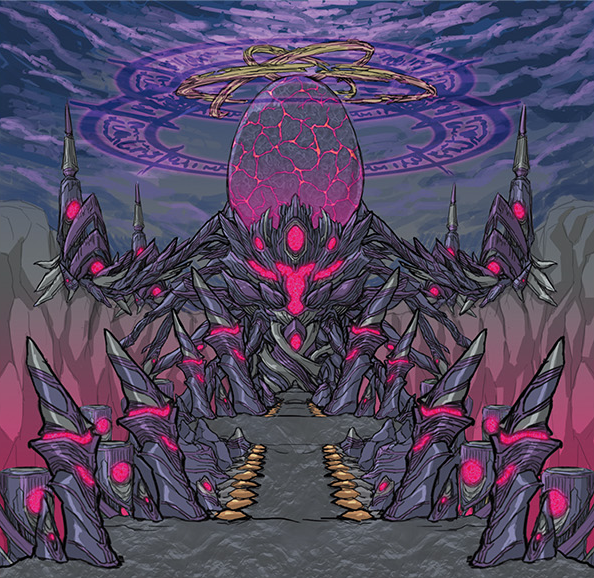
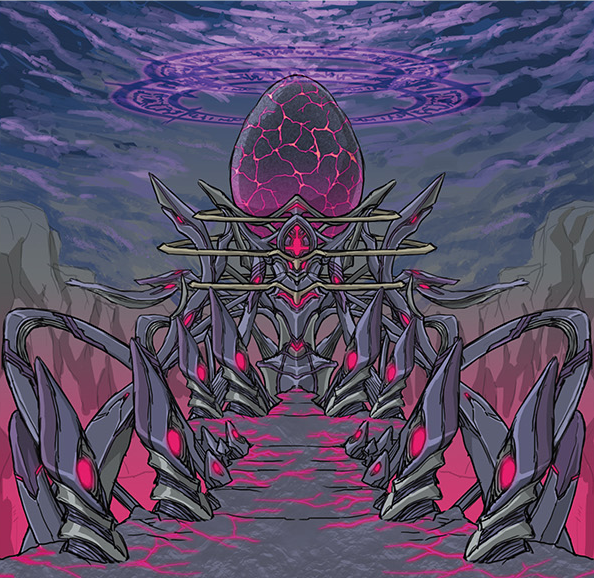
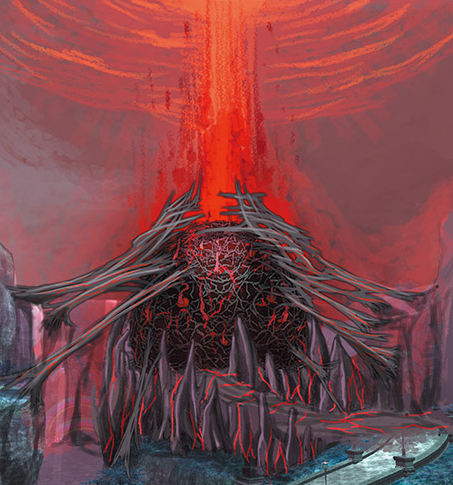
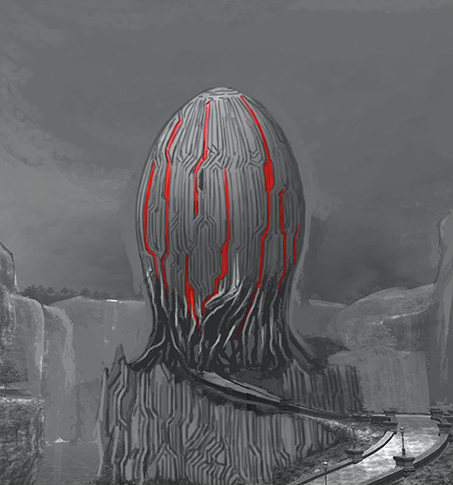
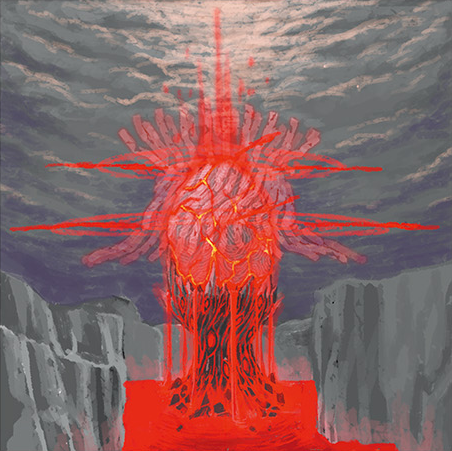
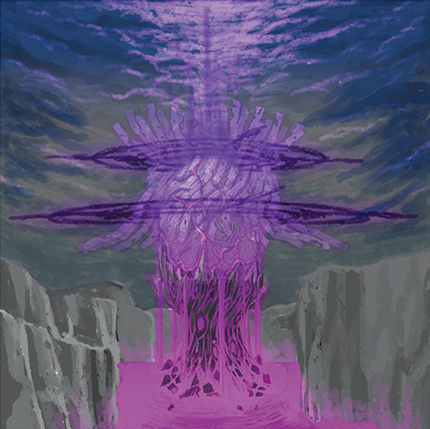
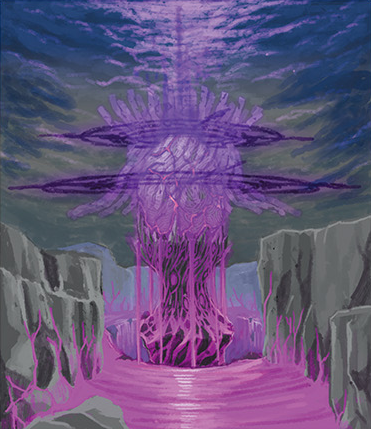
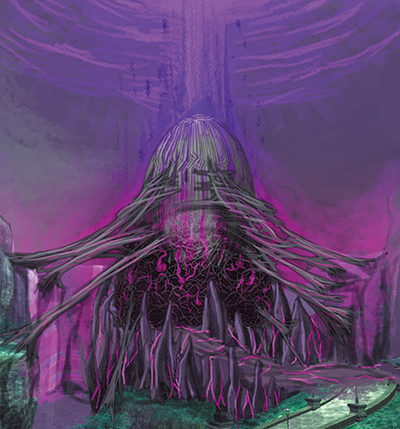
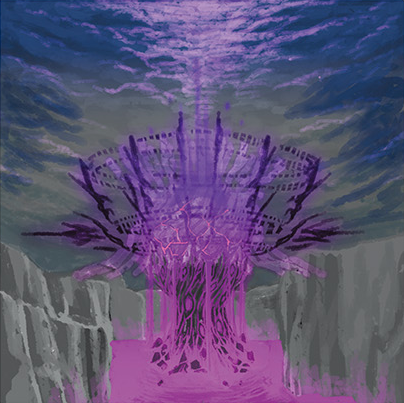
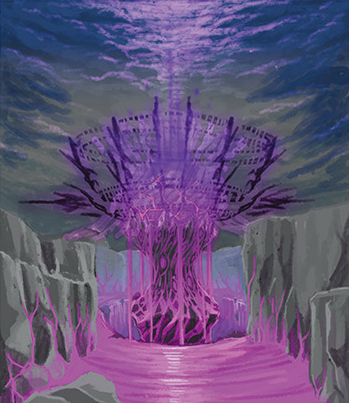
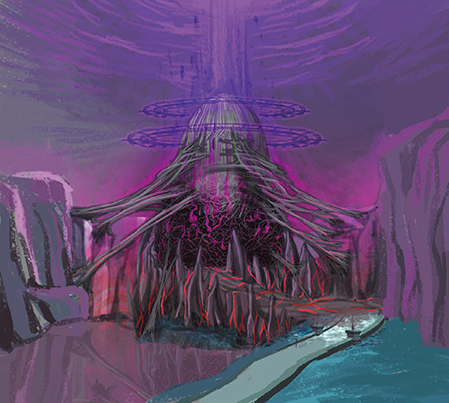
The Gral of Erebos is the sanctuary of the corrupted Holy Beast, the Nameless One.
Background
Around S.281, the Holy Beast of the Gnomes took the majority of the Erebonian Curse into itself and sealed itself in the Primal Ground under Heimdallr Cathedral, spawning Zoro-Agruga soon after. However, after Heimdallr was retaken, the site of the Primal Ground was replaced with stone. Unbeknownst to the Septian Church and the House of Arnor, the Primal Ground was transported 800 arge under Karel Imperial Villa, becoming the Gral of Erebos.
영웅전설 섬의 궤적 III
Background
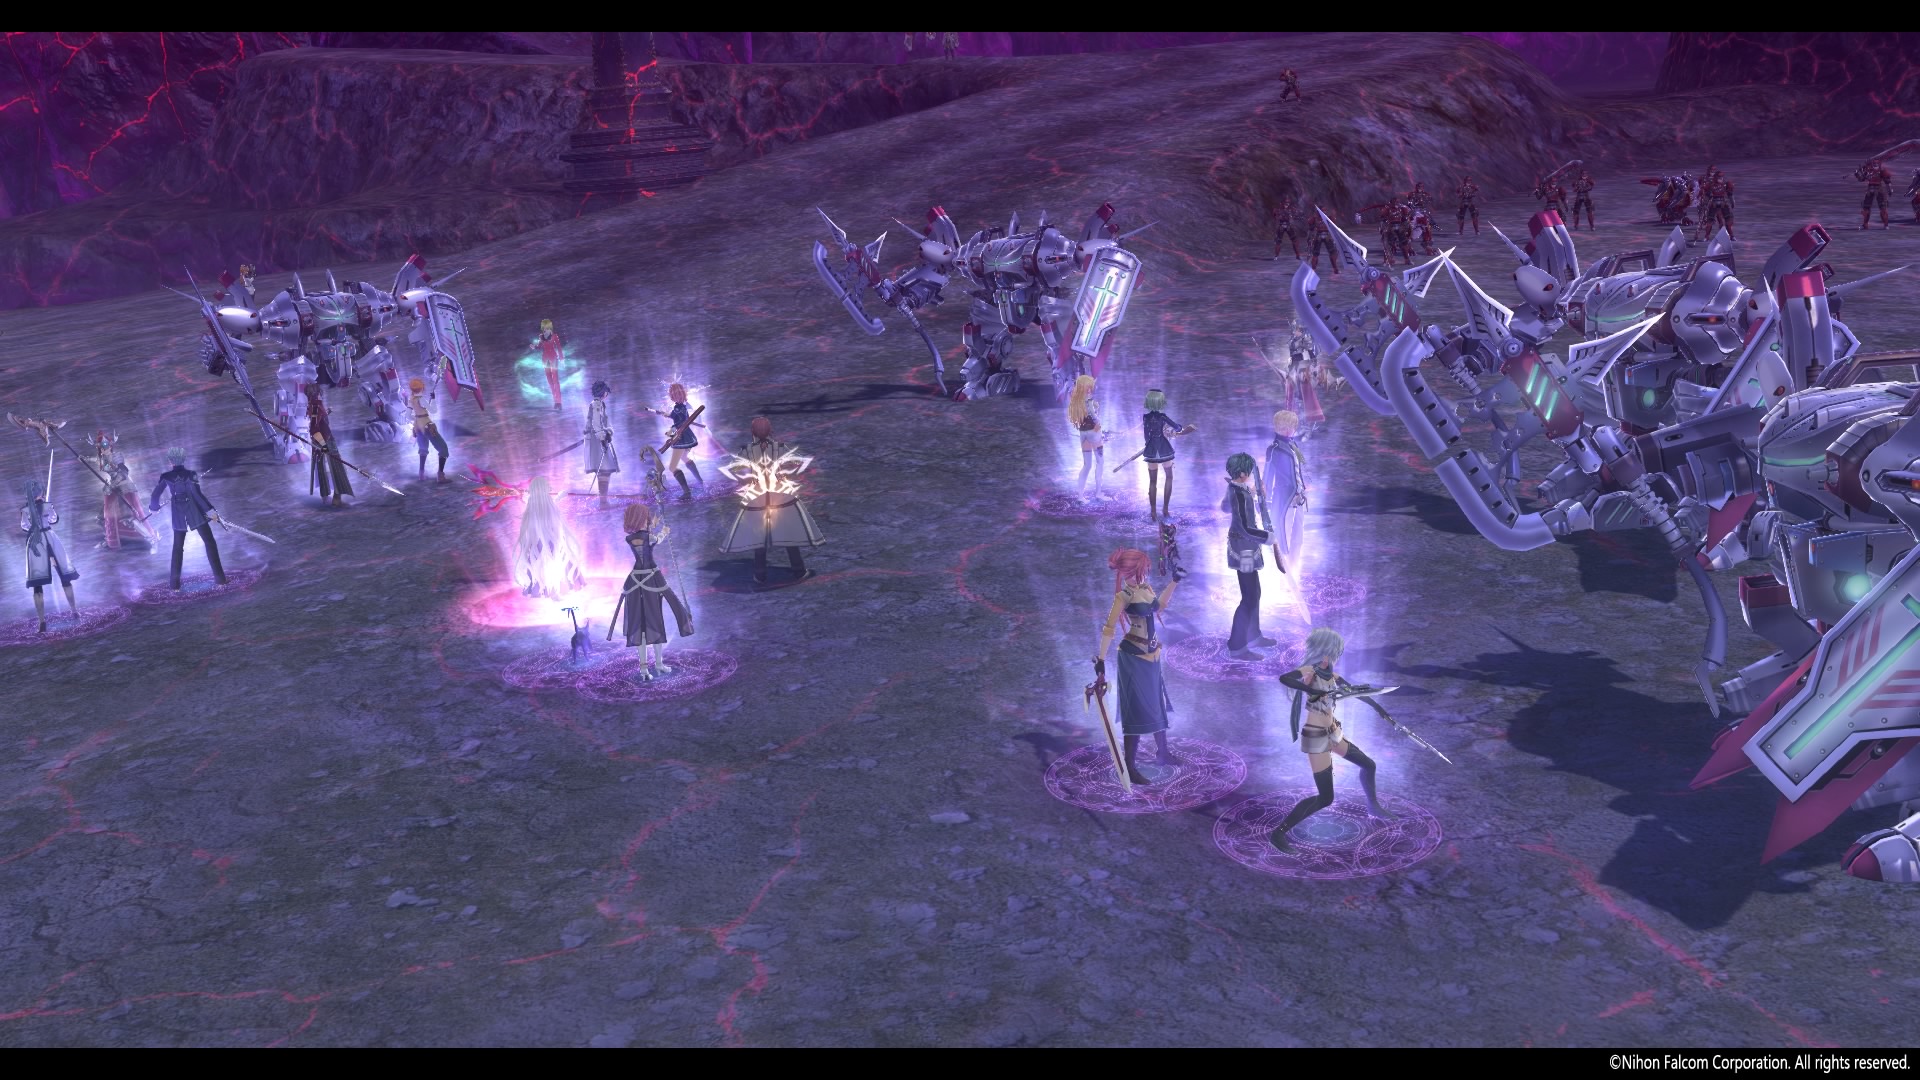
The Gral of Erebos resurfaces on top of Karel Imperial Villa, as part of the prophecy for the Great Twilight, after Ash Carbide shoots Emperor Eugent during the Summer Festival of S.1206. Giliath Osborne, Black Alberich, the Ironbloods and Ouroboros' Enforcers take Altina Orion inside, while the main Thors Military Academy students, the rest of Ouroboros, the Red Constellation and Zephyr defend the outside from Thors Branch Campus students and their allies.
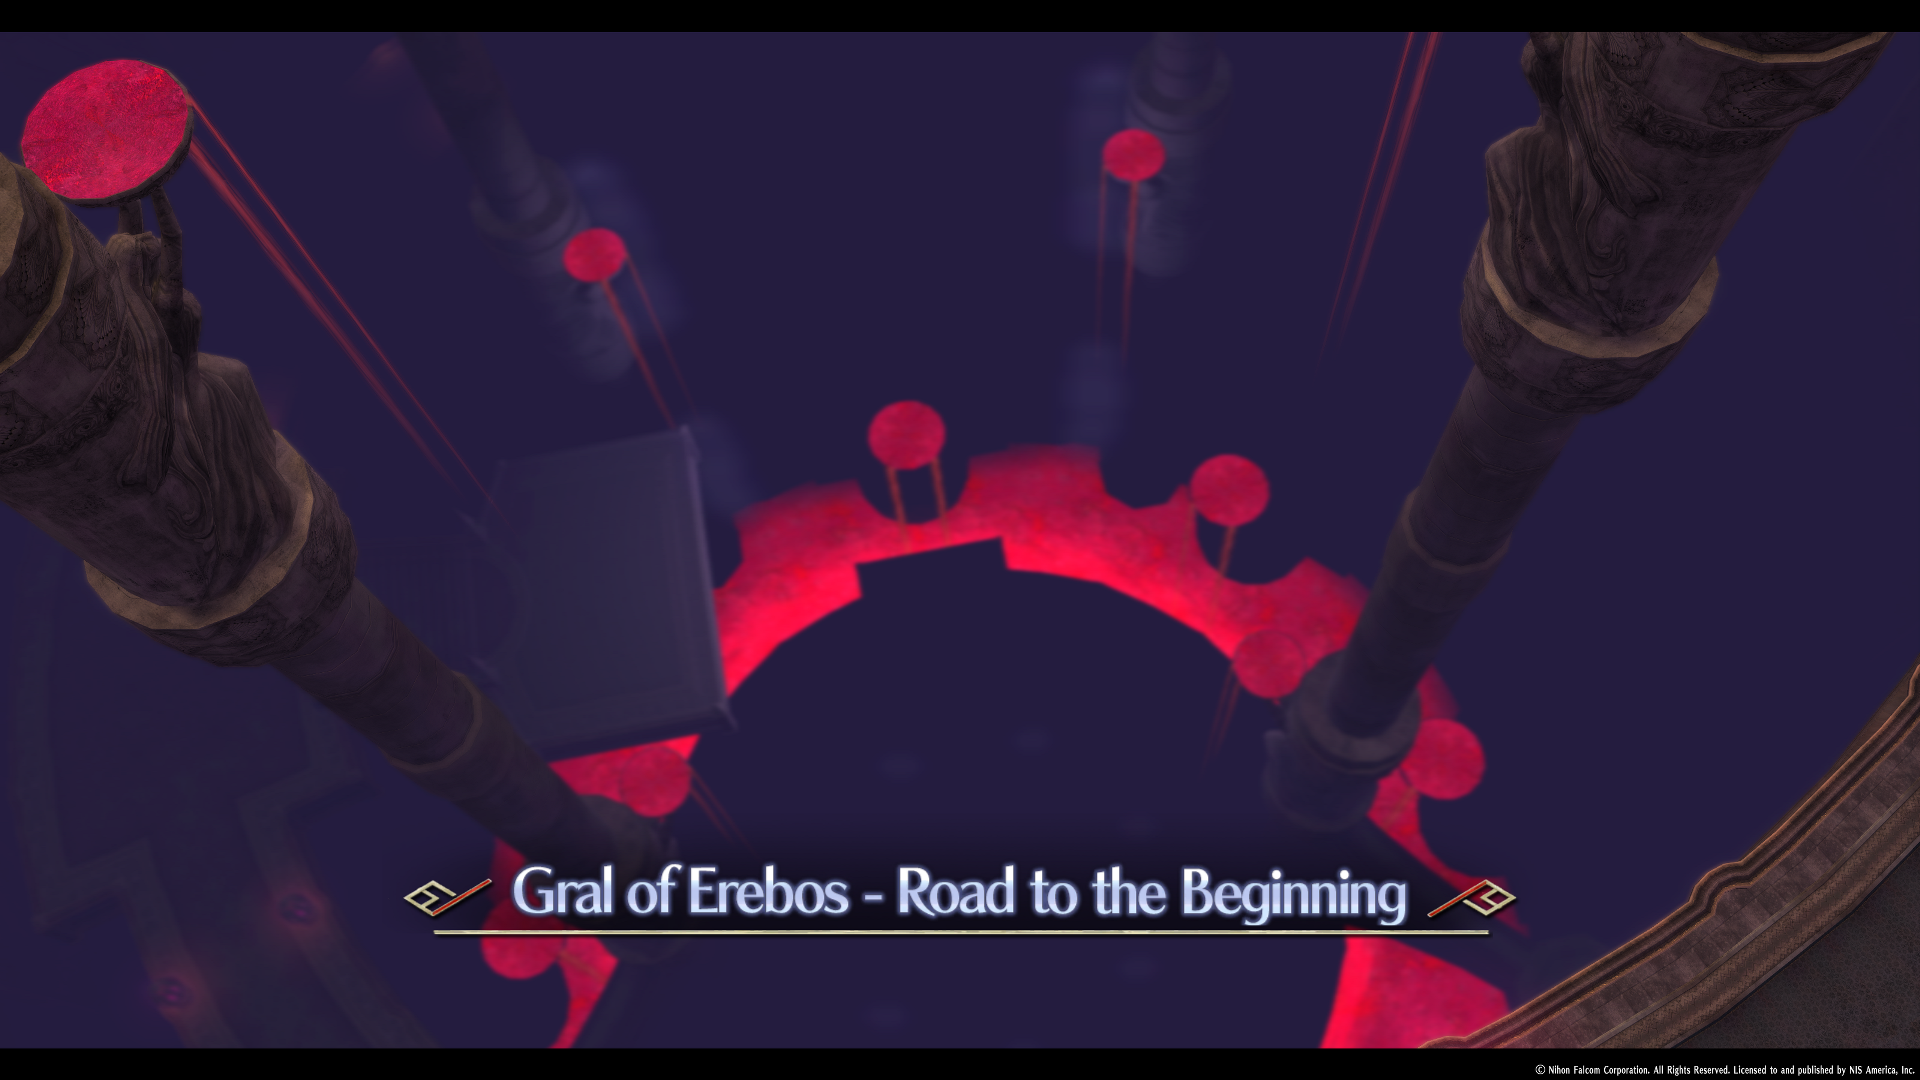
Thanks to Roselia Millstein's power and Thomas Lysander's partitions, Class VII is able to infiltrate the Gral from the top. They descend stratum by stratum, where Old Class VII members stay behind to fight their adversaries:
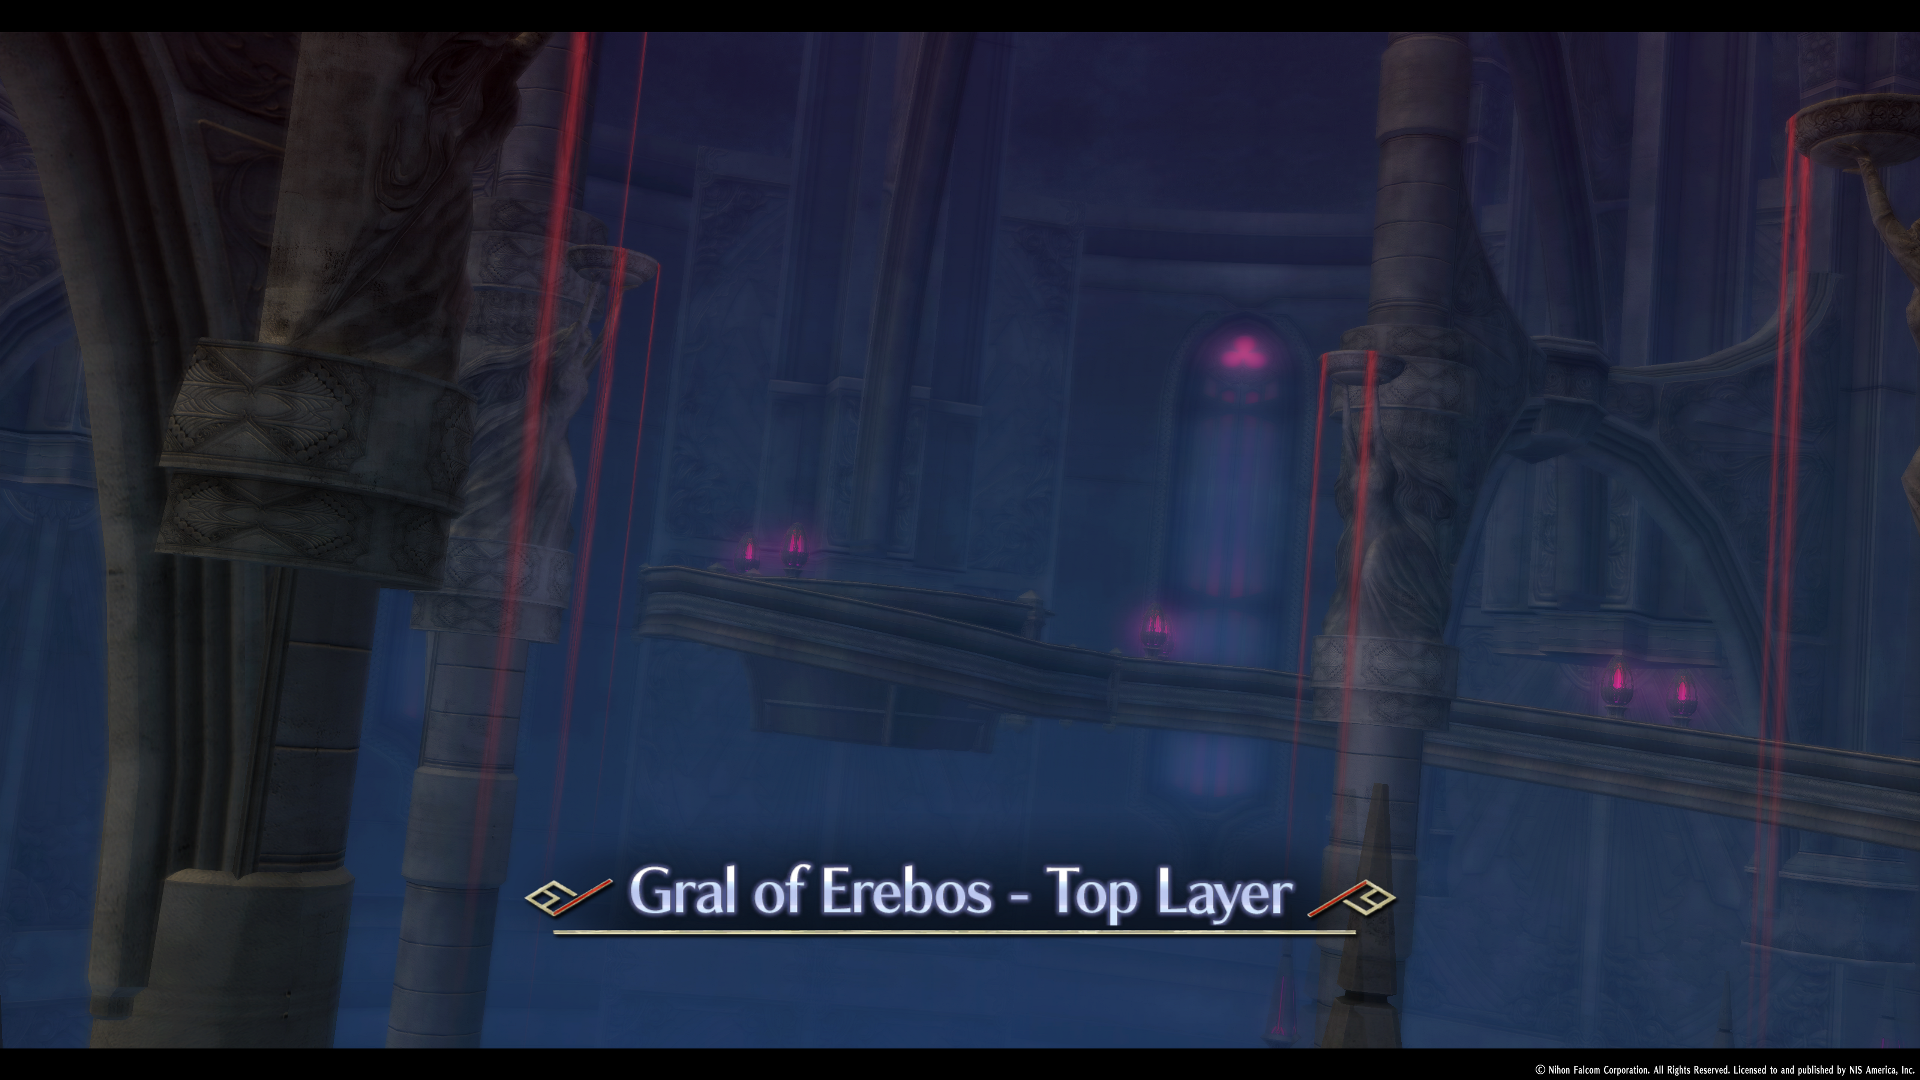
- Arianrhod and McBurn are fought on the top level: Laura, Emma, and Gaius stay behind
- Azure Siegfried, Kreuger, Rutger, and Shirley are fought on the middle level: Alisa, Fie, and Sara stay behind.
- Claire, Lechter, Millium, and Rufus are fought on the lower level: Elliot, Jusis, and Machias stay behind.
At the bottom, they find Testa-Rossa almost restored after its defeat at the Infernal Castle, with Crown Prince Cedric about to kill Altina in order to create the Originator Zero sword. Outside, the Courageous arrives with Olivert Reise Arnor, Victor S. Arseid and Toval Randonneur as reinforcements for the Branch Campus. As Rean and the remainder of Class VII intend to stop them, Alberich awakens the Holy Beast and traps them with it.
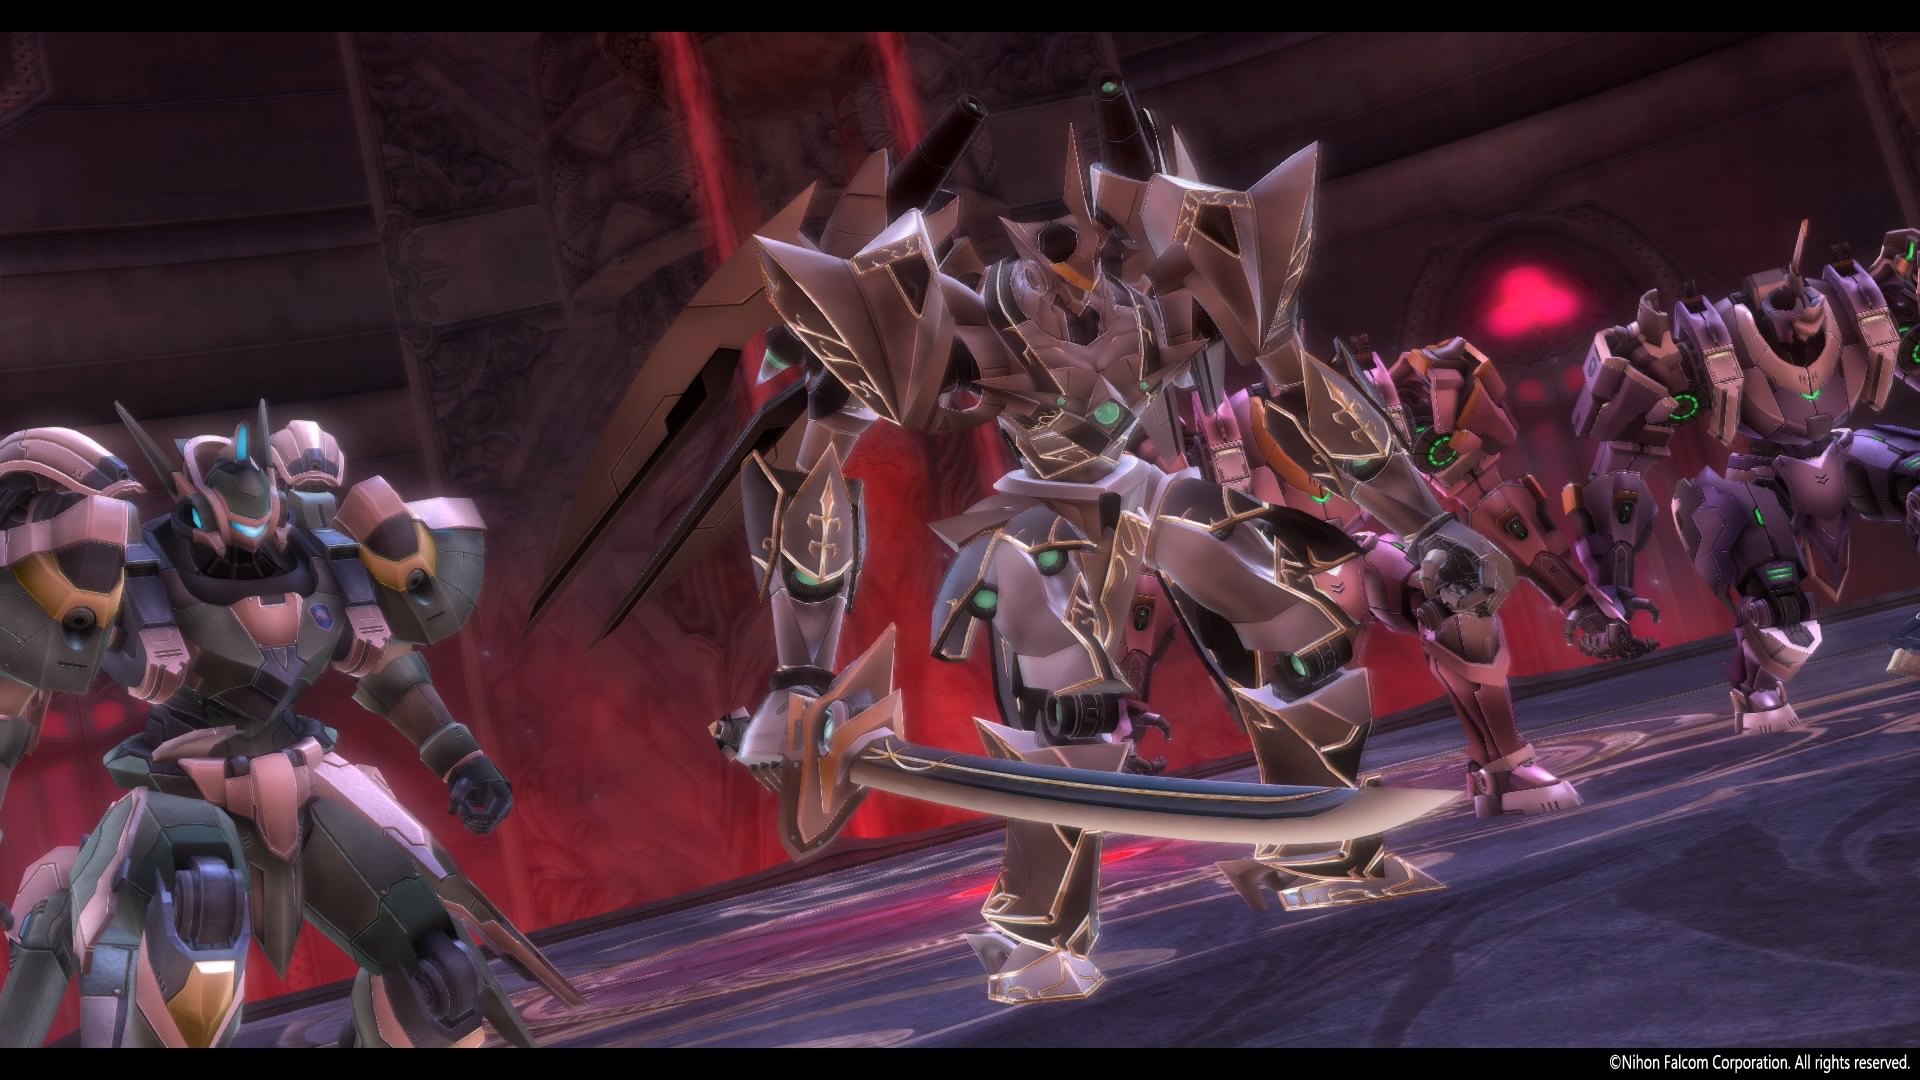
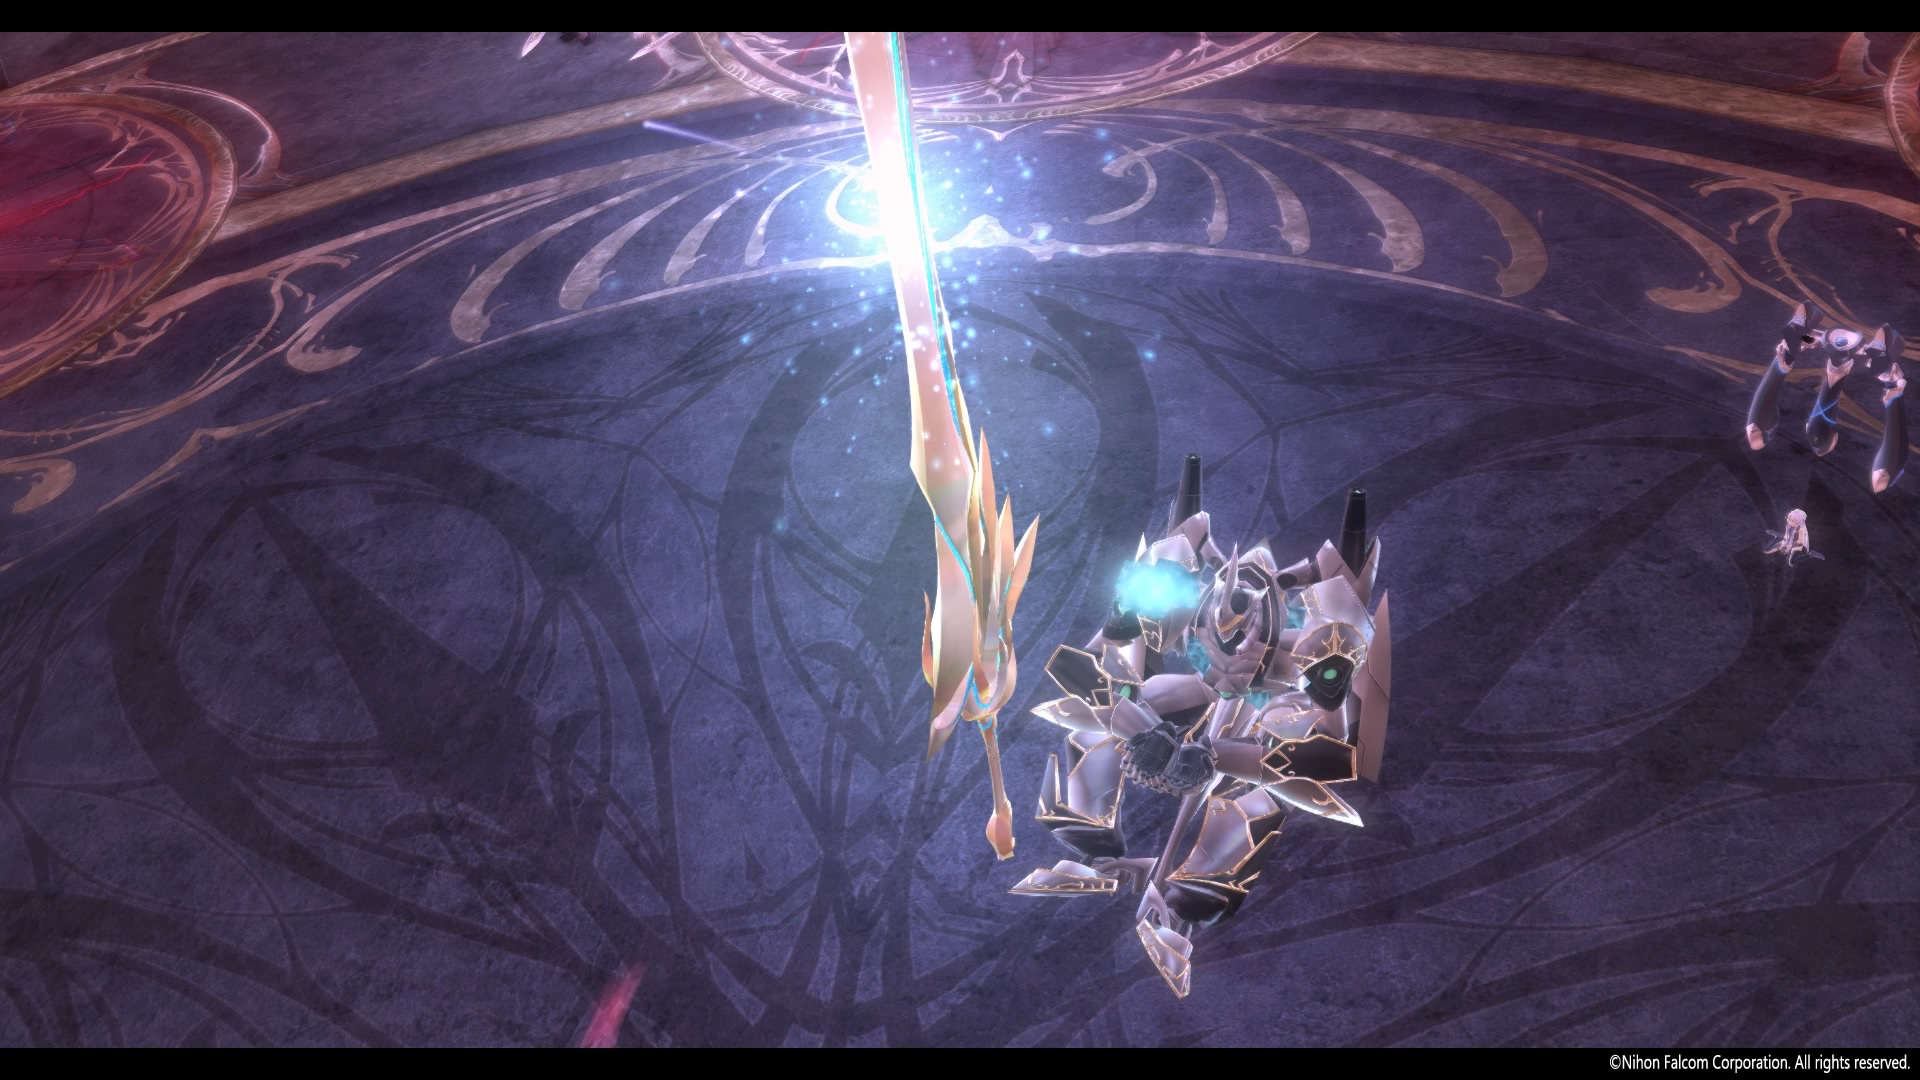
They are unable to suppress the Holy Beast, and Valimar ends up trapped under its claws. Outside, Copper Georg detonates explosive charges he'd previously set in the Courageous, completely destroying the ship in midair. Altina struggles out of Cedric's grasp and attempts to defend Valimar with Claimh Solais, but Millium shoves her out of the way and takes the Nameless One's attack for her, dying from the wounds and becoming the Sword of the End.
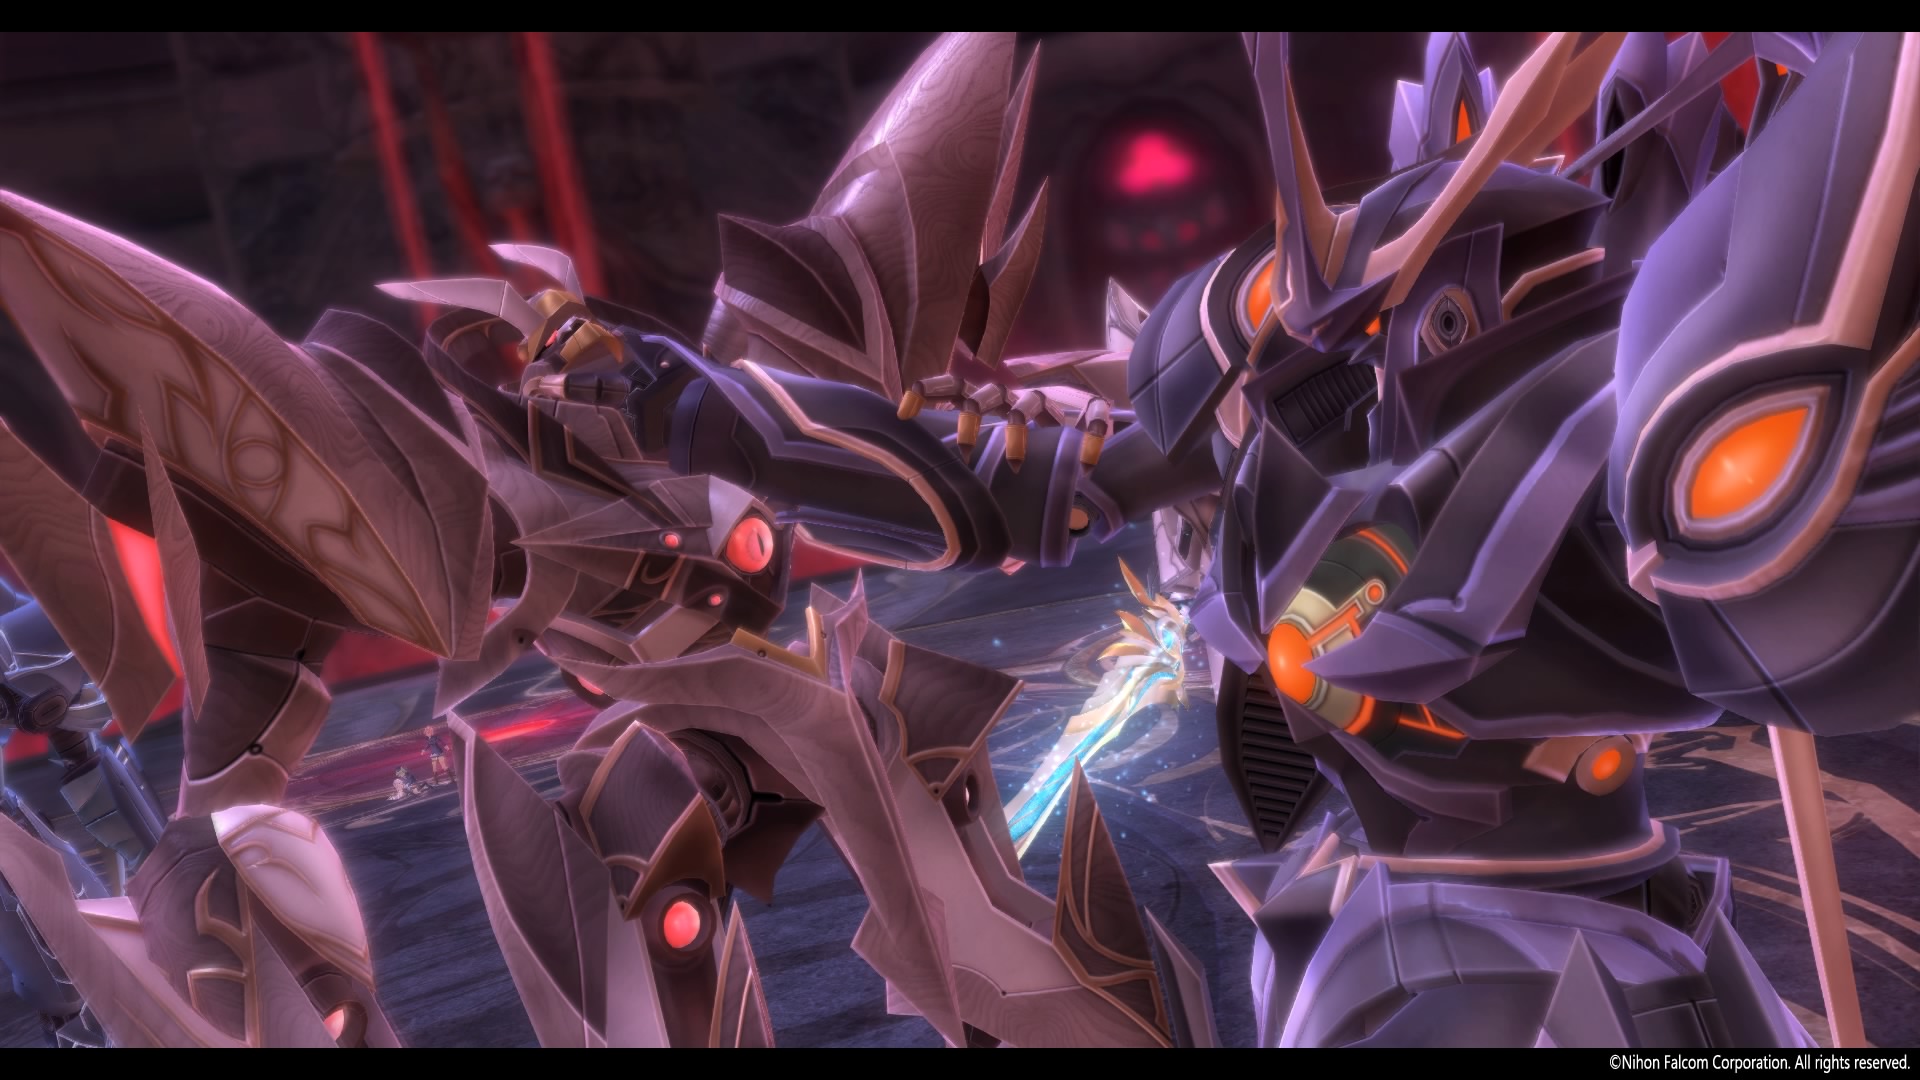
Rean goes berserk, transforming Valimar into his second form, as he brutally kills the Holy Beast with the Sword of the End, fulfilling the prophecy as the final Sacrifice. As the Great Twilight spreads across Erebonia, Zector, Ordine, Testa-Rossa and Argreion hold the berserk Valimar back as Osborne summons Ishmelga, who suppresses Valimar as they take him and Rean away.
Top Level
Maps
| Top Level Middle |
|---|

|
| Top Corridor Upper |
|---|

|
| Top Corridor Lower |
|---|

|
| Top Level Lower |
|---|

|
Enemies
Middle Level
Maps
| Middle Level Upper |
|---|

|
| Middle Corridor 1 Upper |
|---|

|
| Middle Corridor 1 Lower |
|---|

|
| Middle Level Middle |
|---|

|
| Middle Corridor 2 Upper |
|---|

|
| Middle Corridor 2 Middle |
|---|

|
| Middle Corridor 2 Lower |
|---|

|
| Middle Level Lower |
|---|

|
Enemies
- Zaphkiel
- Archangel
- True Abaddon
- Shirley the Sanguine Ogre
- Kreuger the Severing Eclipse
- Azure Siegfried
- Jaeger King Rutger
Lower Level
Maps
| Lower Level Upper |
|---|

|
| Lower Corridor 1 Upper |
|---|

|
| Lower Corridor 1 Lower |
|---|

|
| Lower Level Middle |
|---|

|
| Lower Corridor 2 Upper |
|---|

|
| Lower Corridor 2 Lower |
|---|

|
| Lower Level Lower |
|---|

|
Enemies
- Dark Knight
- Greater Devil
- Arachne Zigma
- Millium the White Rabbit
- Major Claire
- Major Lechter
- Governor General Rufus
Bottom Level
Maps
| Bottom Level Upper |
|---|

|
| Final Corridor |
|---|

|
| Bottom Level Middle |
|---|

|
| Final Elevator |
|---|

|
| Twilight's Birth |
|---|

|
Enemies
Treasure Chests
| Key | Contents |
|---|---|
| 1 |  Tear All Balm Tear All Balm
|
| 2 | EP Charge IV
|
| 3 |  Zeus Gem Zeus Gem
|
| 4 |  Seraph Seraph
|
| 5 | Celestial Balm EX
|
| 6 | Power Potion II, Shield Potion II, Mind Potion II
|
| 7 |  Grail Locket Grail Locket
|
| 8 |  Fenrir Gem Fenrir Gem
|
| 9 | Zeram Powder
|
| 10 | Brave Seed
|
| 11 | Spirit Incense
|
| 12 | Tear All Balm
|
| 13 | Sevenfold Gem
|
| 14 | EP Charge IV
|
| 15 | Proxy Puppet
|
| 16 | Celestial Balm EX
|
| 17 | Brave Soul
|
| 18 | Dragon Incense
|
| 19 | Zeram Capsule
|
Quests
Gallery
-
-
-
-
-
-
-
-
-
-
-
-
-
-
-
-
 Concept art
 -
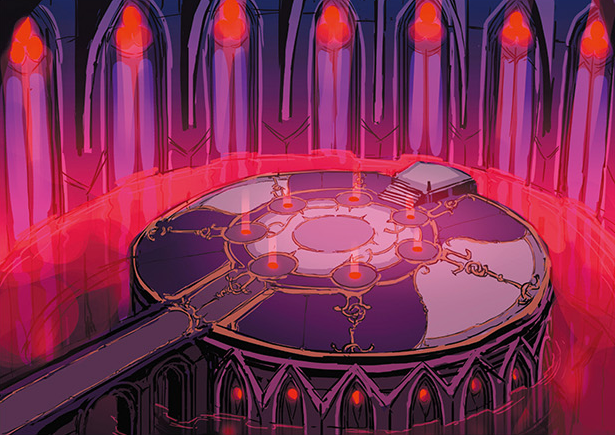 Concept art
 -
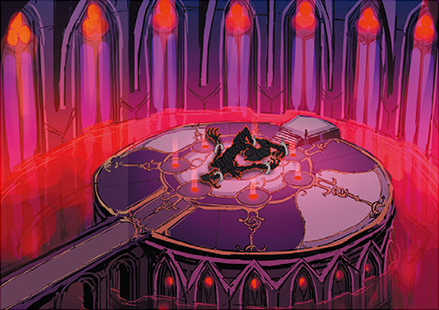 Concept art
 -
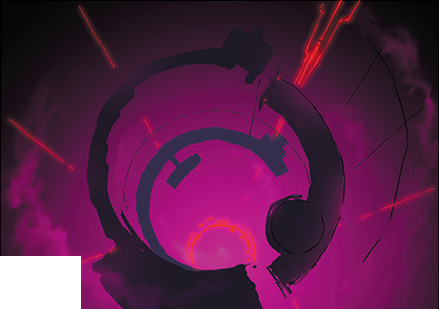 Concept art
 -
 Concept art
 -
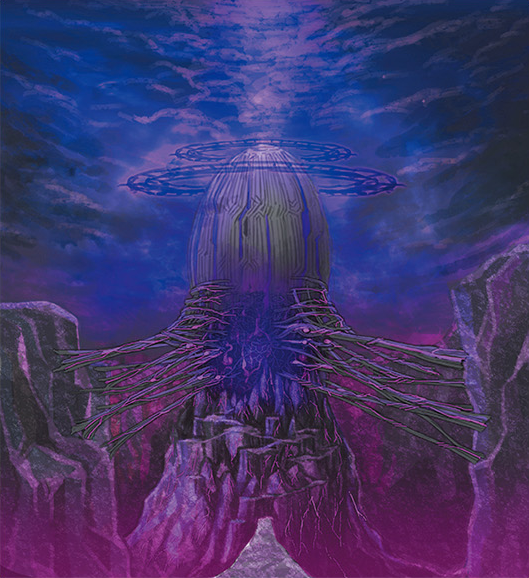 Concept art
 -
 Concept art
 -
 Concept art
 -
 Concept art
 -
 Concept art
 -
 Concept art
 -
 Concept art
 -
 Concept art
 -
 Concept art
 -
 Concept art
 -
 Concept art
 -
 Concept art
 -
 Concept art
 -
 Concept art
 -
 Concept art
.jpg)
_-_Introduction_(CS_III).png)
_-_Introduction_(CS_III).png)
_-_Introduction_(CS_III).png)
.jpg)
.jpg)
.jpg)
.jpg)
.jpg)
.jpg)
.jpg)
.jpg)
.jpg)
.jpg)
.png)
.png)
.png)
.png)
.png)
.png)
.png)
.png)
.png)
.png)
.png)
.png)
.png)
.png)
.png)
.png)
.png)
.png)
.png)
.png)